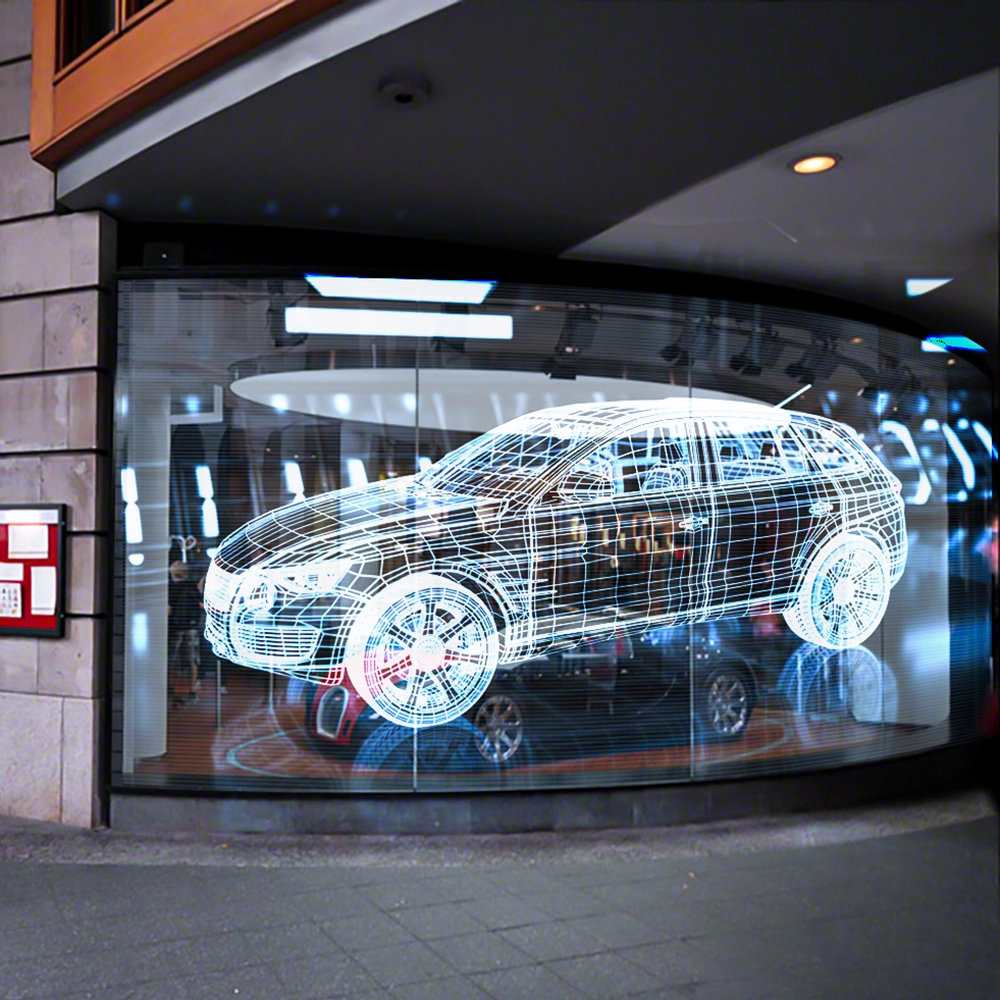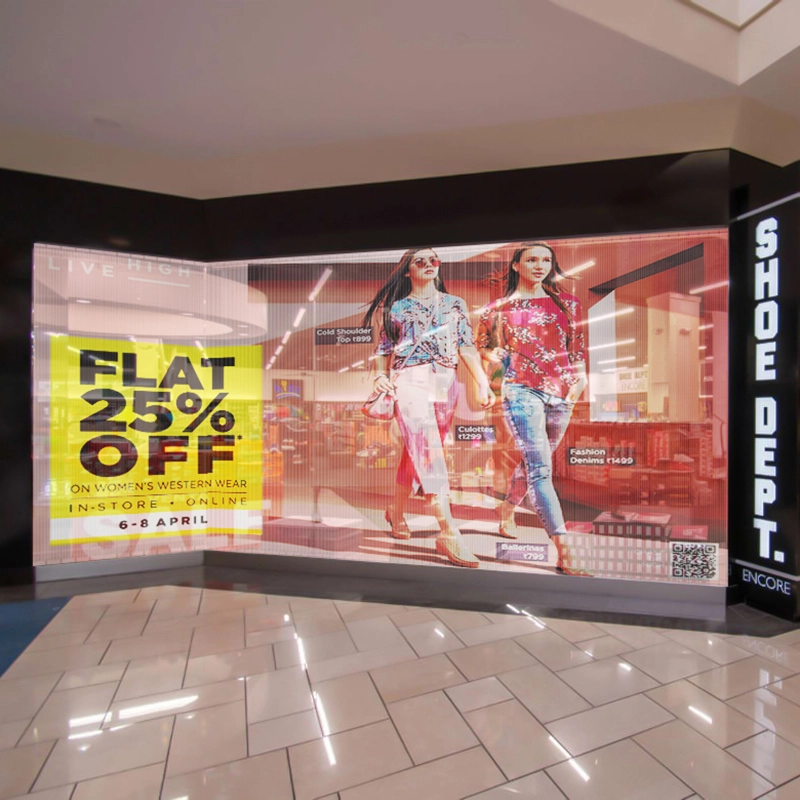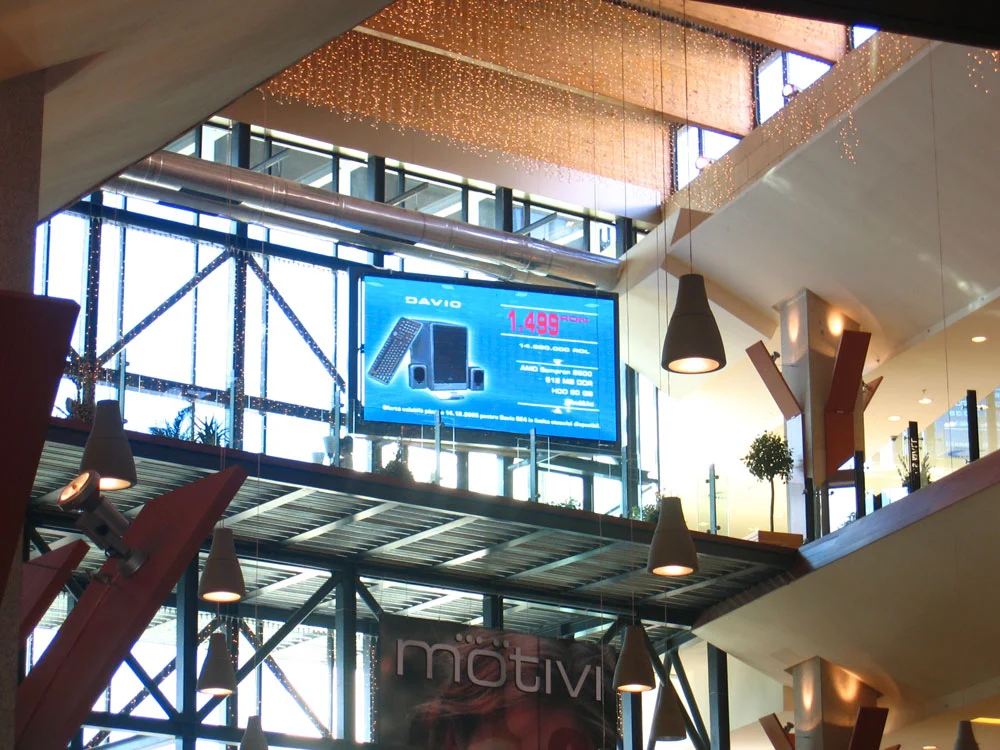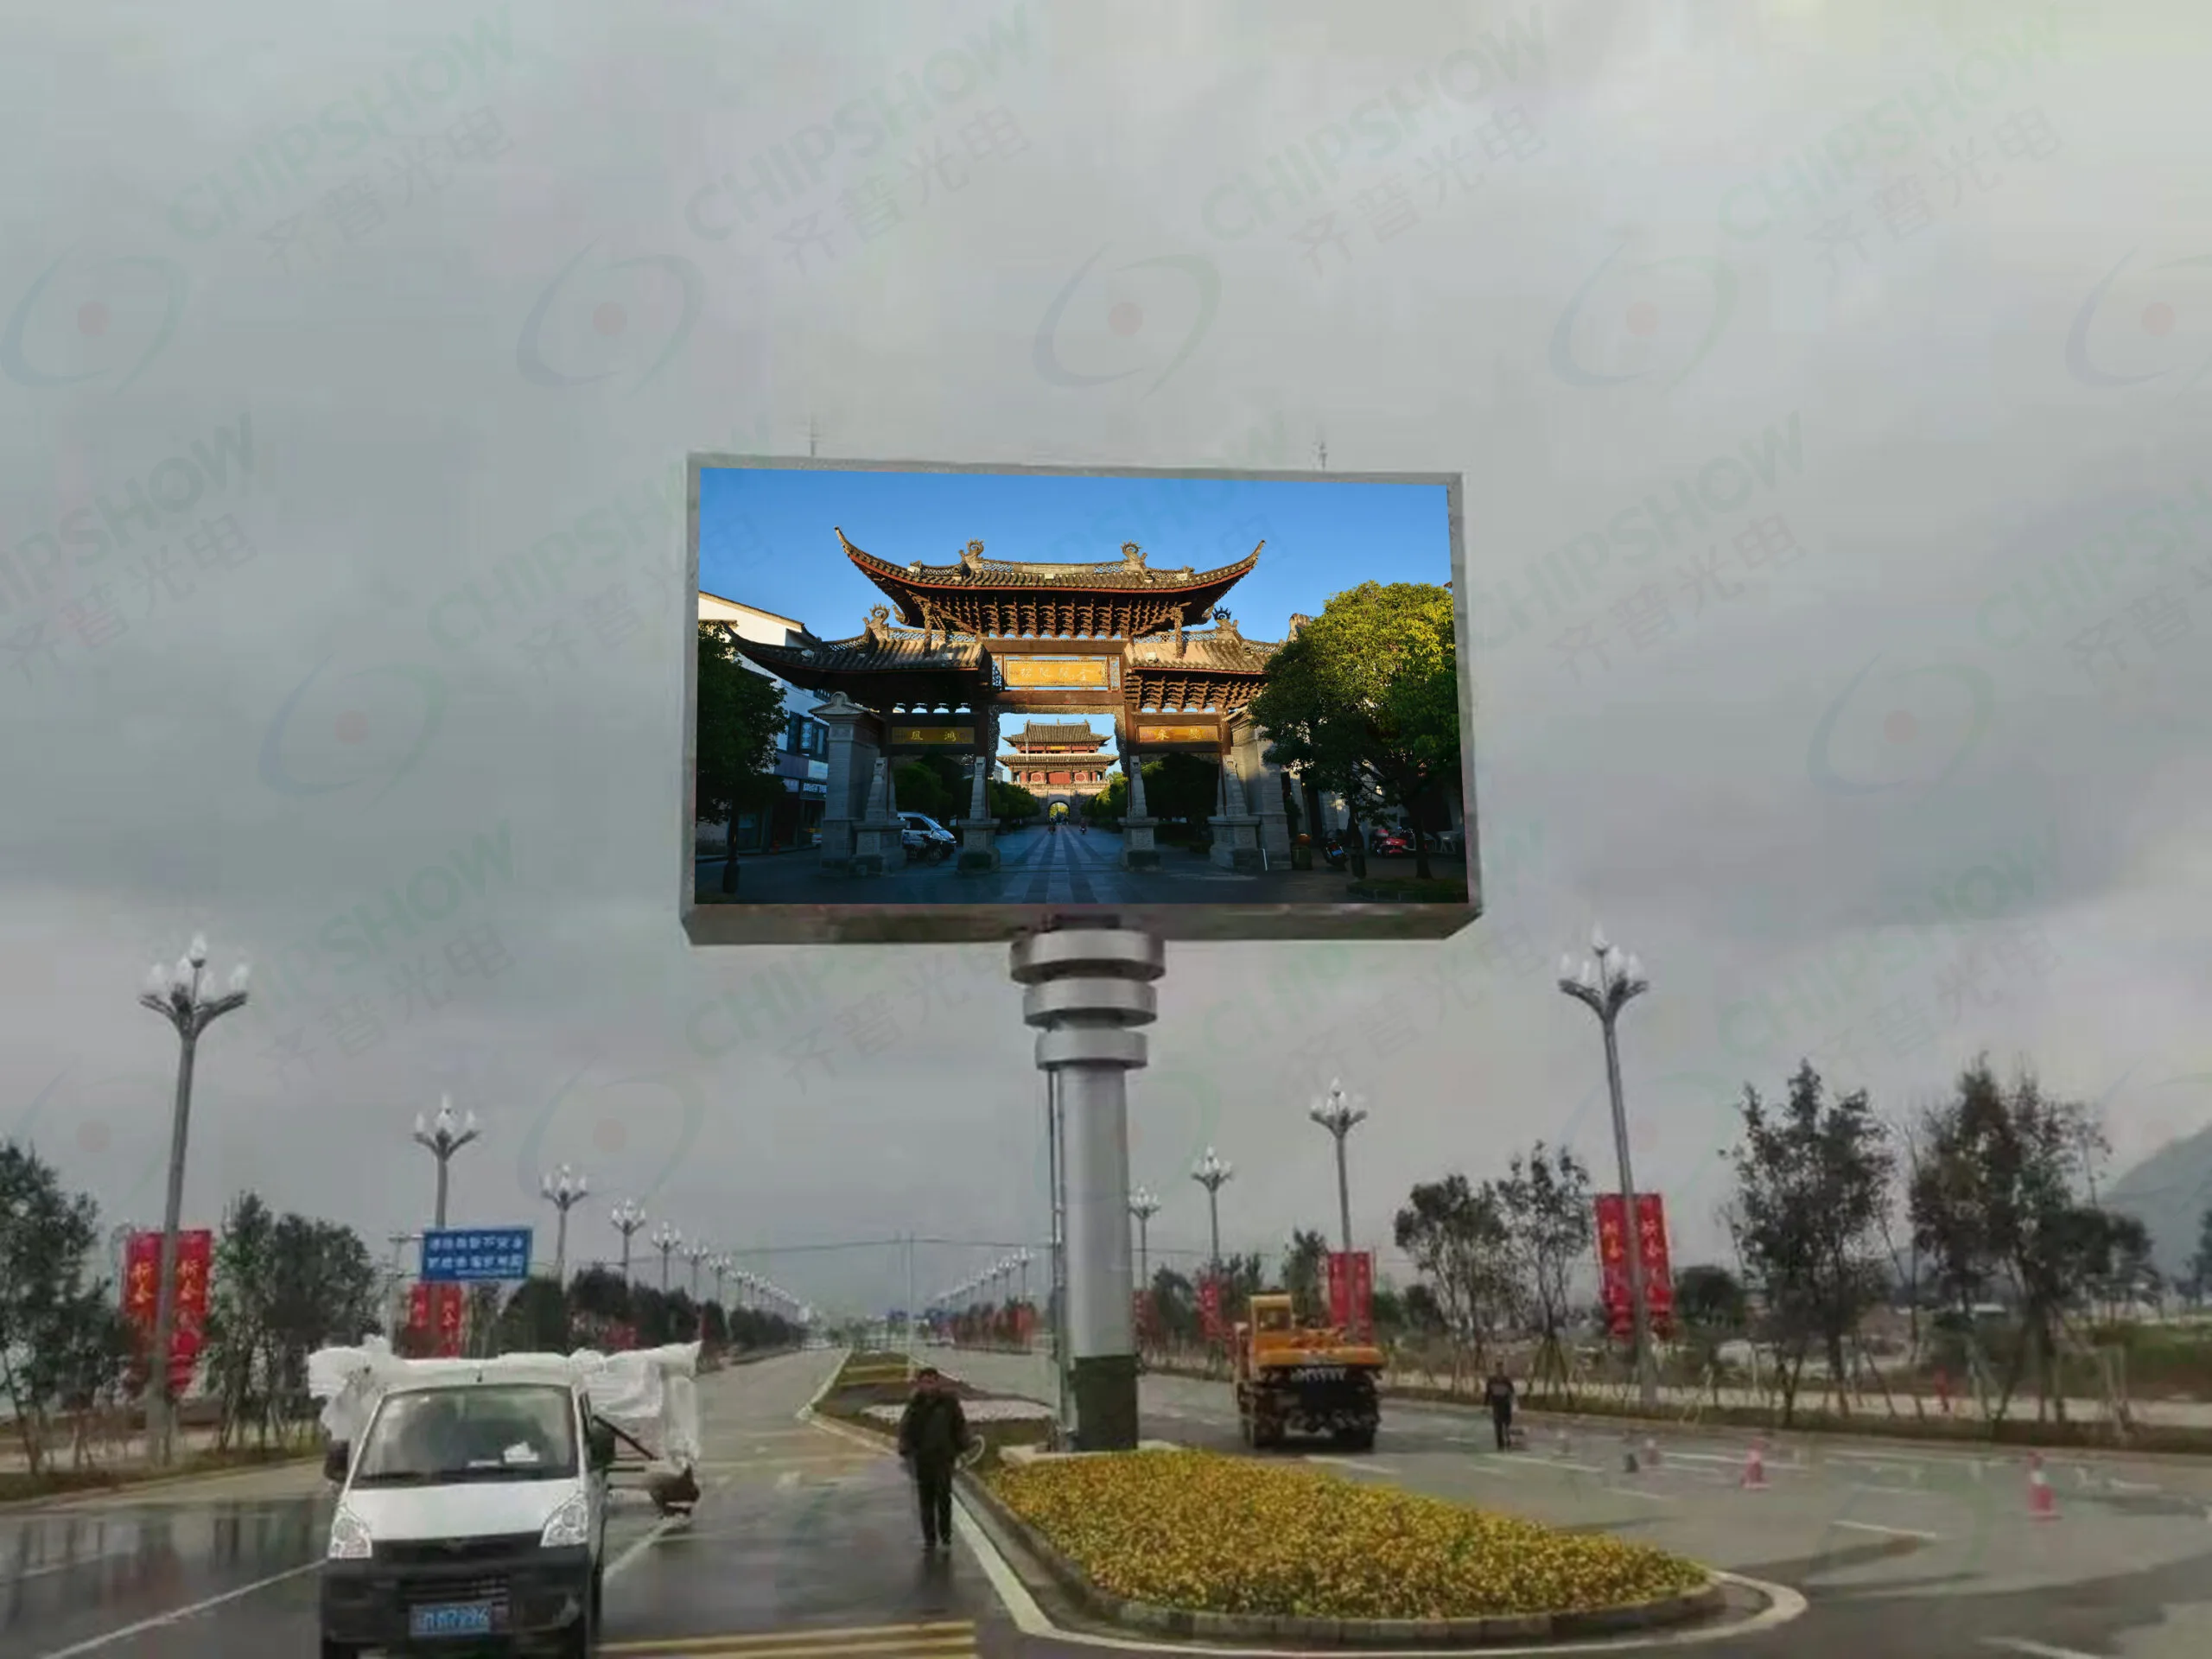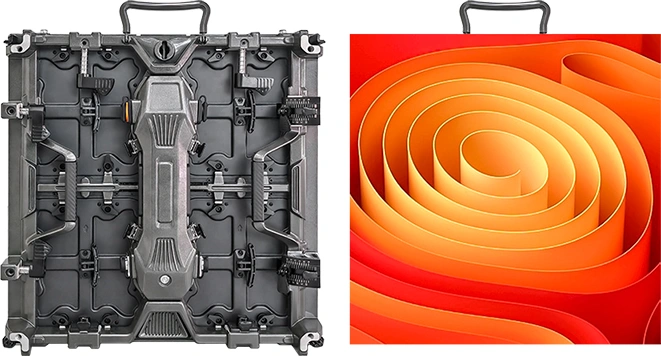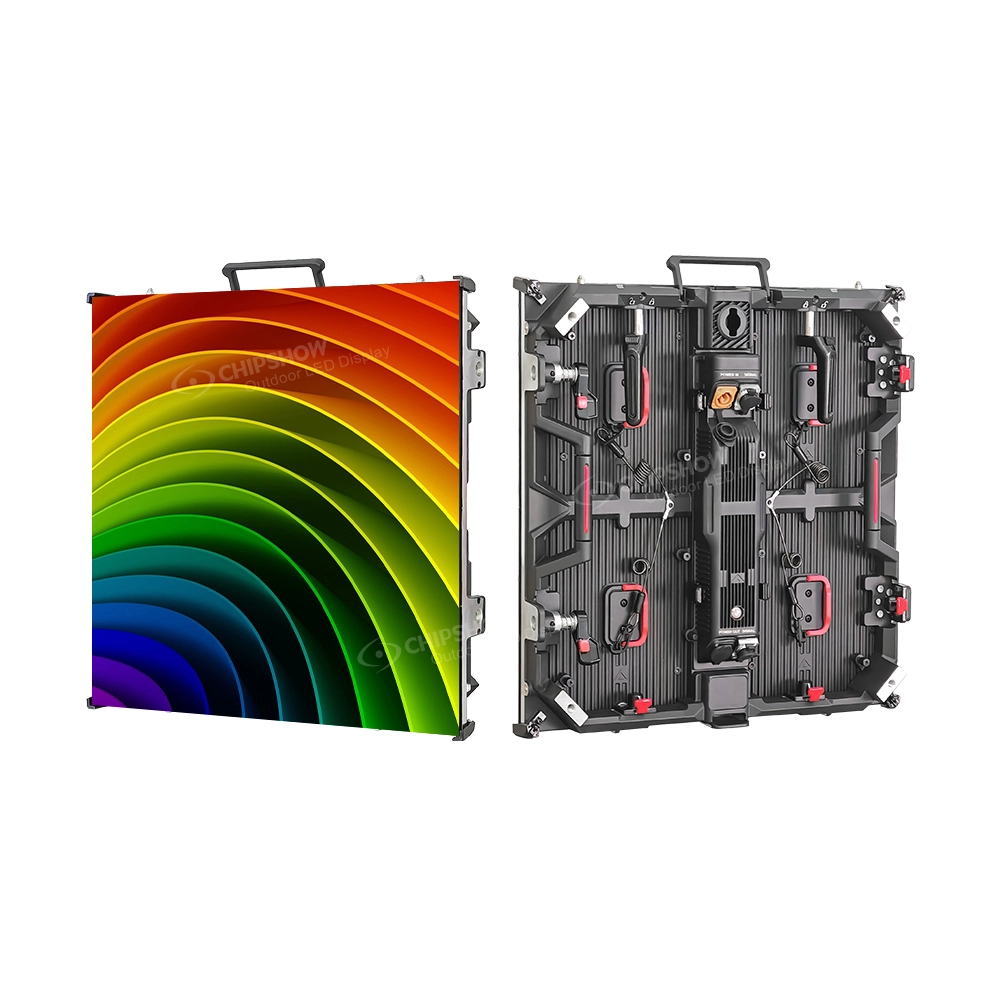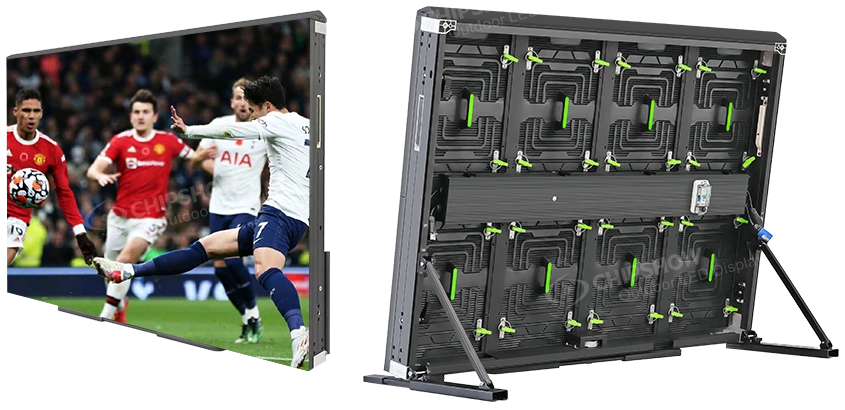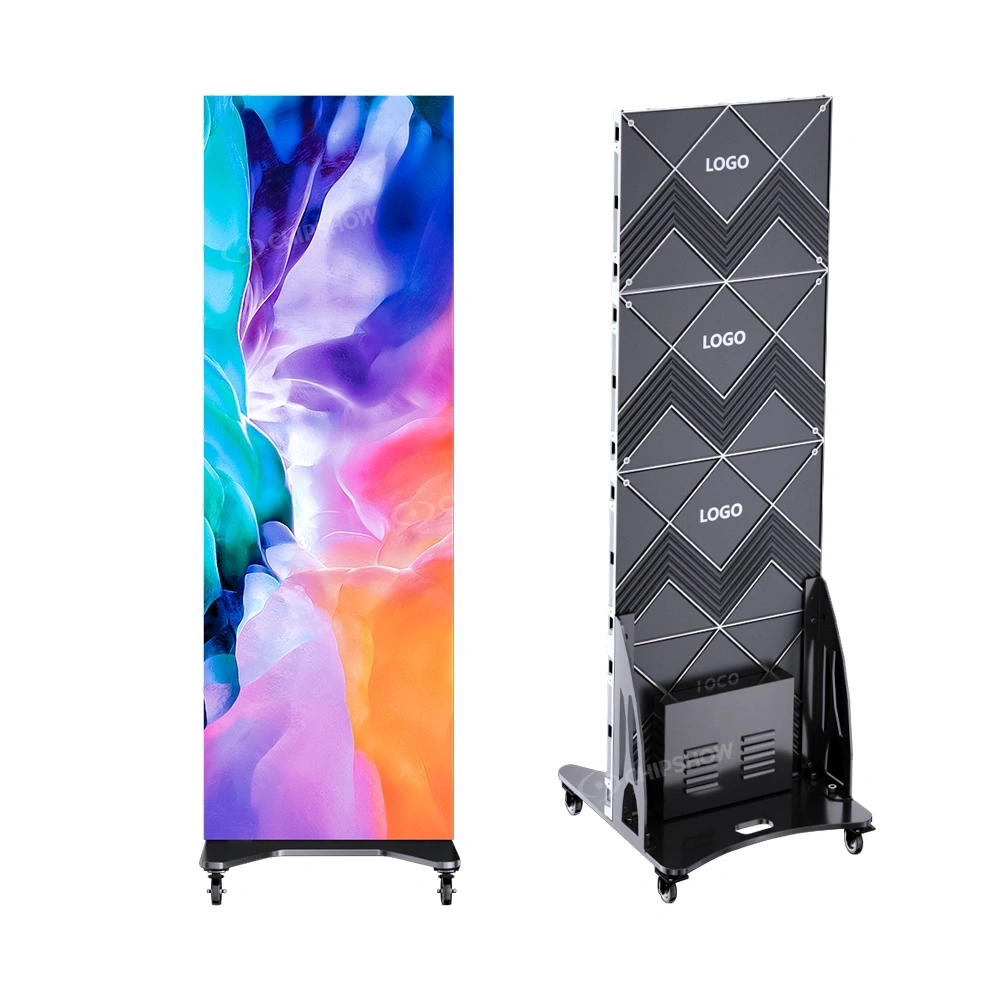
Close-view urban outdoor LED displays are selected around pedestrian viewing distance, content detail, daylight exposure, permanent installation conditions, weather protection, and service access. The closest sustained viewing position provides a practical first reference for pixel pitch, while site exposure helps define brightness and IP protection. Facade structure, mounting depth, maintenance access, and project documentation then narrow the suitable outdoor fixed configuration.
You can size this to your venue in minutes with the Europe LED screen selector: pick your nearest viewer, choose the format, and compare product references.
Urban outdoor LED displays are often seen from far closer than highway billboards or roadside screens. A display fixed to a building facade, mounted outside a retail entrance, or set along a pedestrian street gets read at walking distance, and that changes what matters in the specification. Selecting the right configuration comes down to three judgment chains — pixel pitch, brightness, and weather protection — followed by mounting, service access, and documentation.
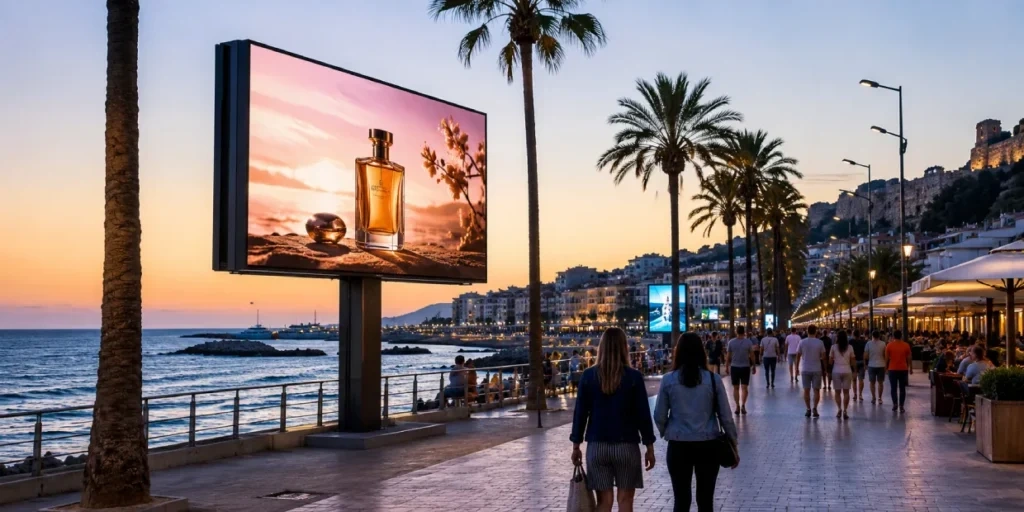
What Makes an Outdoor LED Display “Close View“
A close-view outdoor display sits in the space between indoor fine-pitch LED and large roadside outdoor signage.
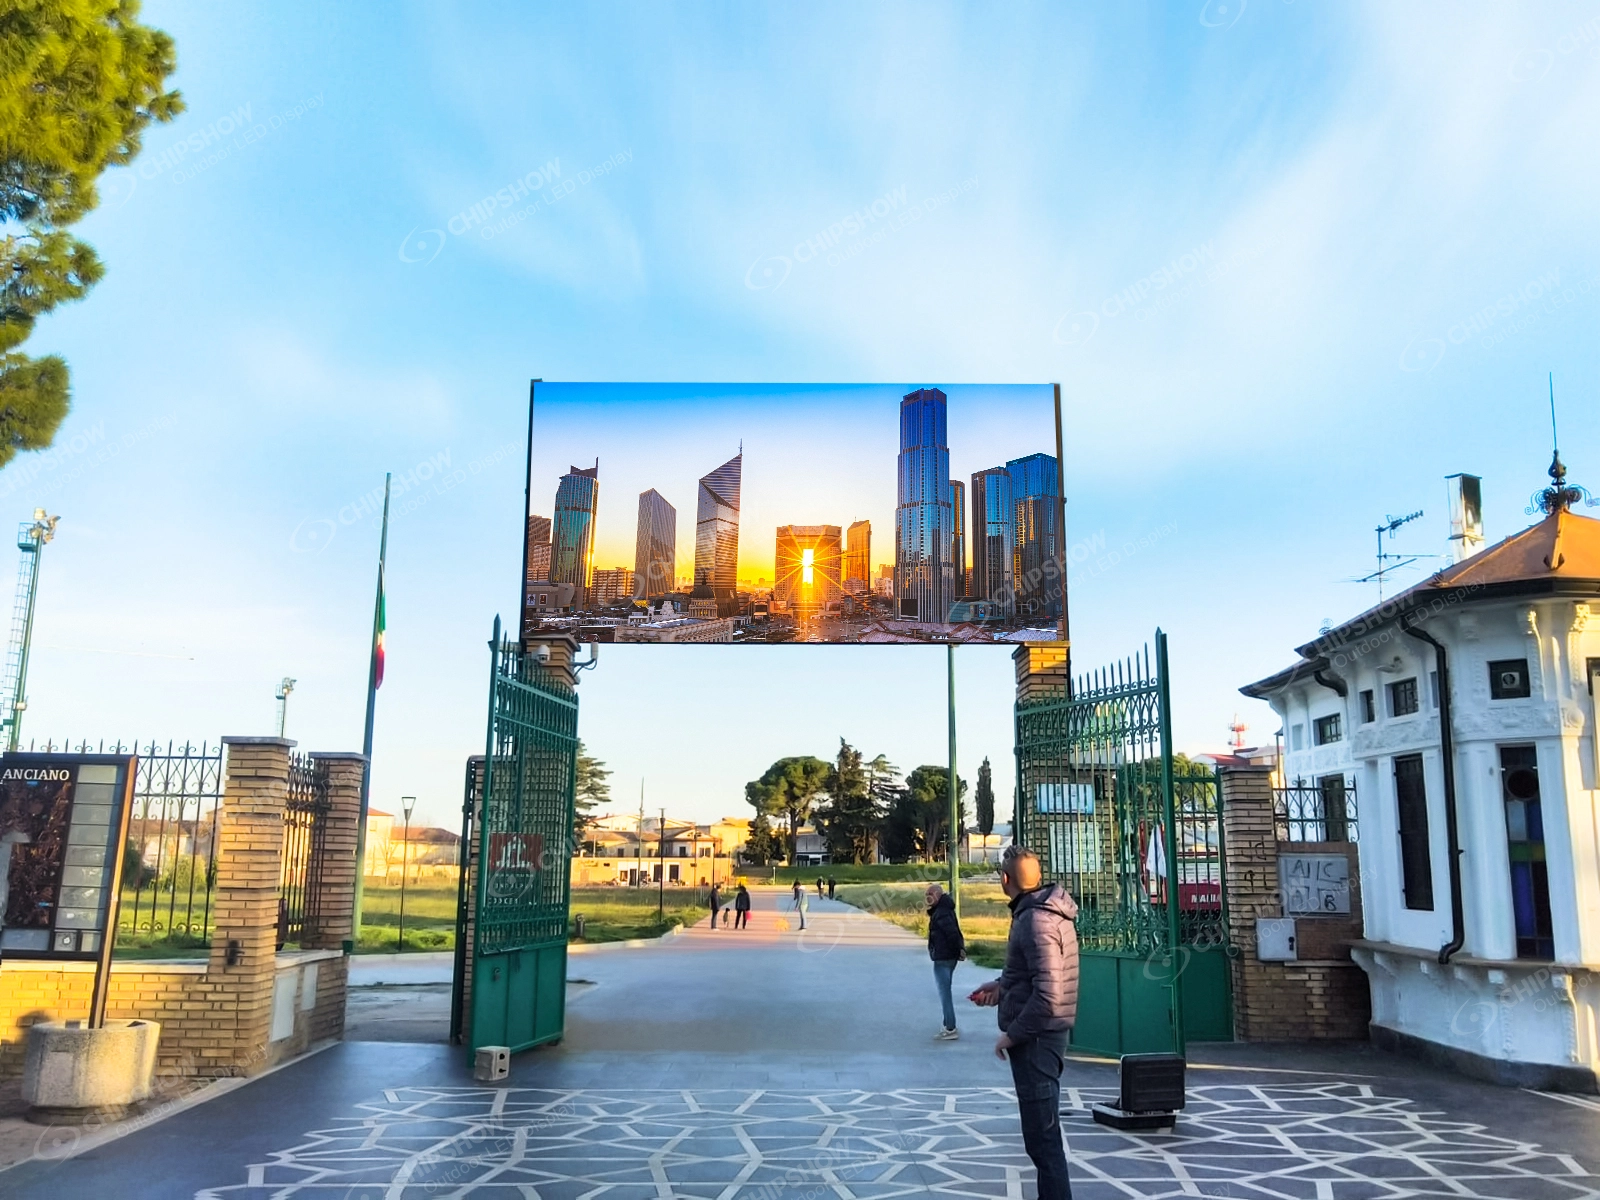
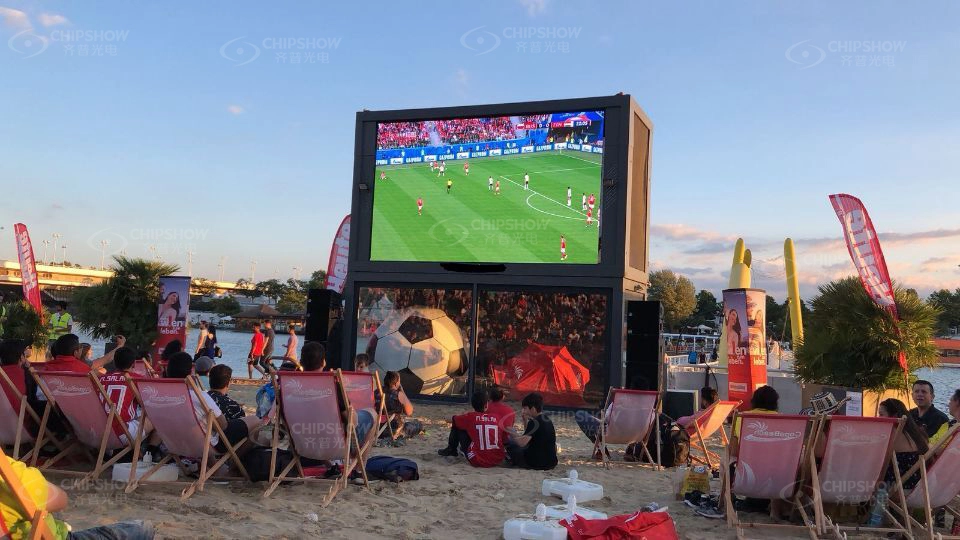
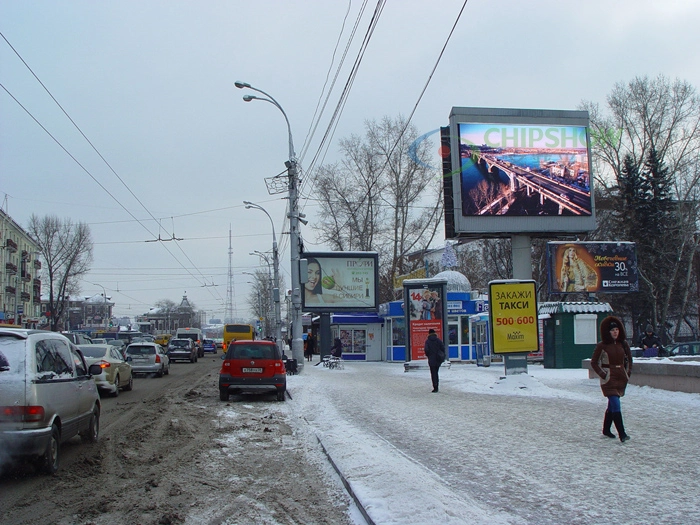
Typical installations include screens mounted outside retail buildings, commercial facades, pedestrian streets, transport entrances, public plazas, hospitality properties, and other urban locations where viewers may approach the display on foot.
The important distinction is how people experience the screen.
A roadside billboard may mainly be seen from moving vehicles and at long distances. An urban fixed display may remain within a viewer’s field of vision while that person walks toward it, stops nearby, reads text, or looks at detailed promotional content.
That changes the specification priorities.
Pixel pitch becomes more sensitive because individual pixels become easier to notice at short distance. Content resolution matters because small text and detailed graphics require enough physical pixels. Daylight conditions can vary sharply between a shaded facade and a screen facing direct afternoon sun.
The result is that “outdoor LED display” alone is too broad a category for selecting the right configuration.
What Close Viewing Changes
A close-view outdoor fixed display has to work at pedestrian scale.
The first difference is image inspection. People walking beside a facade or waiting near an entrance can see more image detail than drivers passing a roadside billboard. Fine text, prices, maps, logos, and information-heavy layouts can expose pixel structure more easily at short distance.
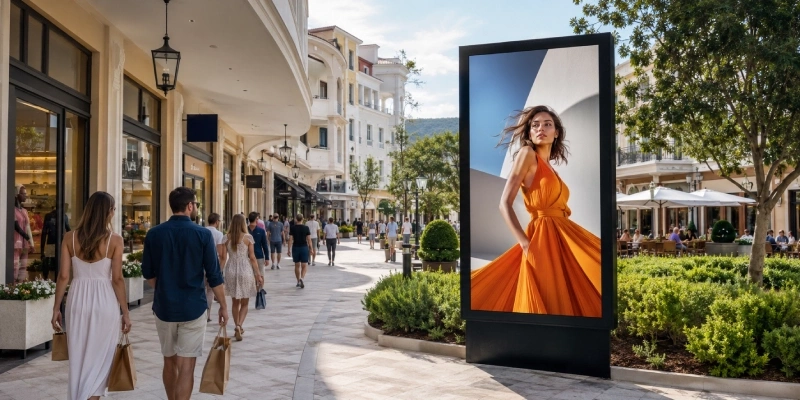
The second difference is the building relationship. Urban fixed installations frequently sit against completed architecture. Screen depth, structural load, fixing points, facade materials, cable entry, nearby glazing, and service access all need to fit the existing site.
The third difference is ambient light. A screen may receive direct sun for part of the day, reflected light from nearby glazing at another time, and deep shade later. The useful brightness range therefore depends on the orientation and surroundings of the installation.
These conditions make the site itself part of the display specification.
Common Urban Close-View Applications
Urban outdoor fixed LED covers several pedestrian-facing formats. Their common feature is a permanent exterior installation serving people who can approach the display closely.
Street-Level Storefront Displays
Here, a storefront display refers to an LED screen installed outdoors on an exterior facade, fascia, entrance wall, or weather-exposed architectural recess. Displays placed behind shop glazing follow different indoor or semi-outdoor requirements and fall outside the scope of this guide.
Pedestrians may stop only a few metres from the screen, so product images, prices, promotional text, and campaign graphics need to remain clear at close range. The closest sustained viewing position should provide the first reference for pixel pitch.
The exterior location also introduces direct daylight, reflected light, rain exposure, facade loading, cable routing, and future service access. Where working space behind the screen is limited, a shallow wall-mounted structure with front maintenance can simplify integration with the completed frontage.
Pedestrian Entrances
Entrance displays commonly carry welcome information, event schedules, access guidance, branding, and short announcements.
Audiences often view the screen while approaching or entering the building. Pitch selection should therefore account for both the closest stopping position and the smallest important text in the content.
The building can become the stronger constraint. Concrete walls, masonry, cladding systems, glazed entrances, and architectural features provide different options for structural fixing, cable routing, and maintenance access.
Queue and Waiting Areas
Waiting areas create longer viewing periods because people may remain close to the screen while reading information or watching video.
Longer dwell time makes pixel structure and text edges more noticeable. A finer pitch can therefore bring more practical value here than in a location where people only pass the screen briefly.
The installation may also face regular public contact, cleaning, rain exposure, and changing operating conditions. Screen position, physical clearance, service access, and protection should be considered together.
Visitor Information and Wayfinding
Outdoor wayfinding displays carry arrows, pictograms, destination labels, maps, and visitor information.
Content detail has a direct effect on pitch selection. Large arrows and short labels can remain clear with less pixel density than detailed maps, smaller type, or layouts containing several destinations.
Brightness can become the stronger concern in open pedestrian areas where the screen faces direct daylight, broad sky, or reflective surroundings.
Application Factors at a Glance
| Application | Content Character | Main Viewing Concern | Site Concern | Typical Installation |
| Exterior storefront facade | Promotions, prices, product imagery and text | Fine detail at close range | Daylight, weather exposure and facade depth | Outdoor wall mounting |
| Pedestrian entrance | Branding, schedules and access information | Fast readability while approaching | Fixing surface and cable route | Wall or integrated structure |
| Queue and waiting area | Information and video | Longer viewing at close range | Public access, cleaning and weather exposure | Wall or site structure |
| Outdoor wayfinding | Arrows, maps, labels and directions | Text and graphic legibility | Daylight, viewing angle and placement | Wall or freestanding |
How to Choose Pixel Pitch
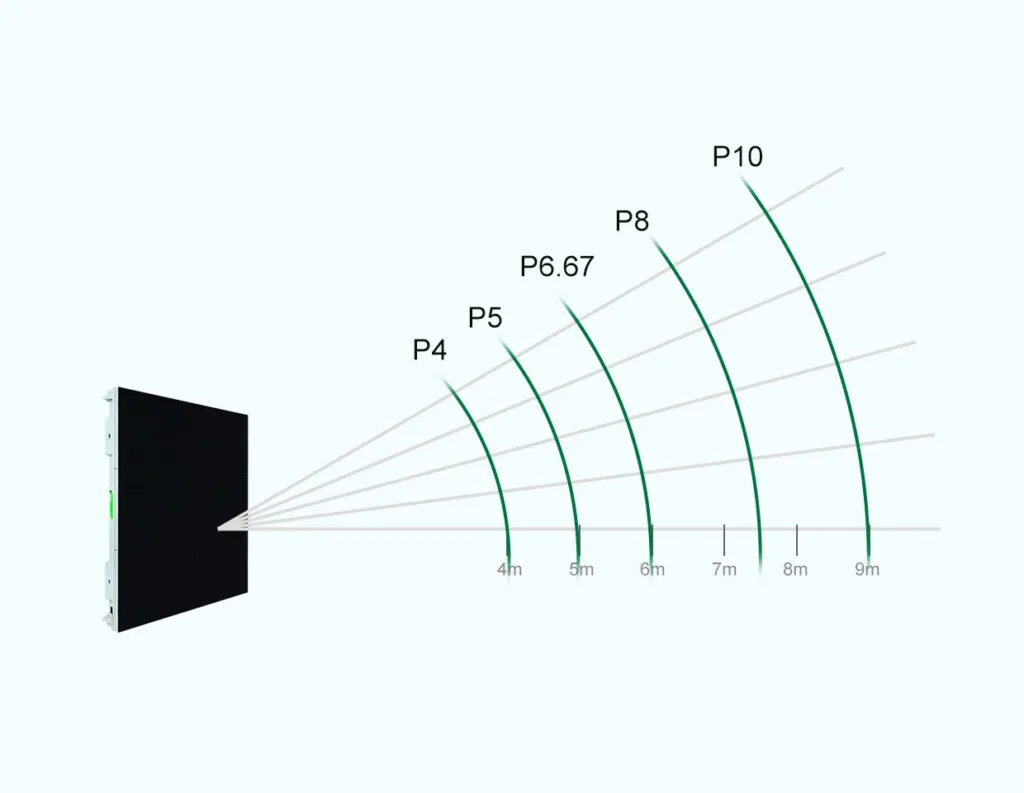
The pitch decision follows one line: viewing distance → content detail → starting pitch → total resolution → content check.
Start from viewing distance. The first question is how close people will regularly stand to the screen, not how wide the wall is. A common industry rule of thumb associates roughly 1 mm of pixel pitch with about 1 m of viewing distance as a first-pass screening reference. It is indicative, not a fixed definition — image quality also depends on screen dimensions, text size, image detail, viewing angle, dwell time, and how demanding the content is.
Check content detail next. A screen that people pass briefly from several metres away does not create the same requirement as one showing menus, pricing, event details, or branded graphics that people stop to read. Finer pitch gives more pixels in the same area, so it supports smaller text and sharper detail — but only up to the point where the content actually needs it.
Calculate total resolution. Once a pitch is shortlisted, work out the physical resolution:
Horizontal resolution = screen width in millimetres ÷ pixel pitch Vertical resolution = screen height in millimetres ÷ pixel pitch
Total resolution alone does not prove readability, though. Place the actual content into that pixel canvas and check the pixel size of the headlines, prices, logos, wayfinding, product images, and small icons. A screen can be physically large yet still carry too few pixels for the intended content.
Verify against a sample where it matters. For projects with unusually short sustained viewing distances, validate the pitch against a real content mock-up or physical sample rather than a generic chart.
Pitch Planning Reference
The table below is a starting point for scoping, not a final answer. Confirm each case against actual viewing distance and content.
| Application | Indicative Closest Viewing Position | First-Pass Pitch Range | When a Finer Pitch May Help |
| Exterior storefront facade | About 3–5 m | P3 to P4 | Narrow pavements, prices, smaller promotional text, or viewing within 2–3 m |
| Pedestrian entrance | About 2.5–4 m | P2.5 to P4 | Detailed welcome content, close stopping positions, or smaller text |
| Queue and waiting area | About 1.5–2.5 m | P1.9 to P2.5 | Longer dwell time and information-rich content |
| Outdoor wayfinding | About 1.5–3 m | P1.9 to P2.5 for maps and smaller text; P2.5 to P3.91 for arrows and short labels | Detailed maps, multiple destinations, or smaller type |
| Commercial totem | About 2–4 m | P2.5 to P3.91 | Eye-level viewing, product details, prices, or longer dwell time |
Indicative planning reference only. Outdoor model availability and final pitch selection require project-level confirmation.
The final selection should be reviewed with representative content at the expected viewing position. A physical sample or comparable installation provides stronger project evidence than the distance formula alone.
How to Choose Outdoor Brightness
The brightness decision follows: strongest sunlight → starting brightness → reflections and orientation → night dimming.
There is no single nit value that defines a suitable urban screen. A display under an architectural canopy faces different ambient light from one on an exposed southwest-facing facade. Nearby glass, pale paving, reflective buildings, seasonal sun angles, and operating hours all affect perceived contrast.
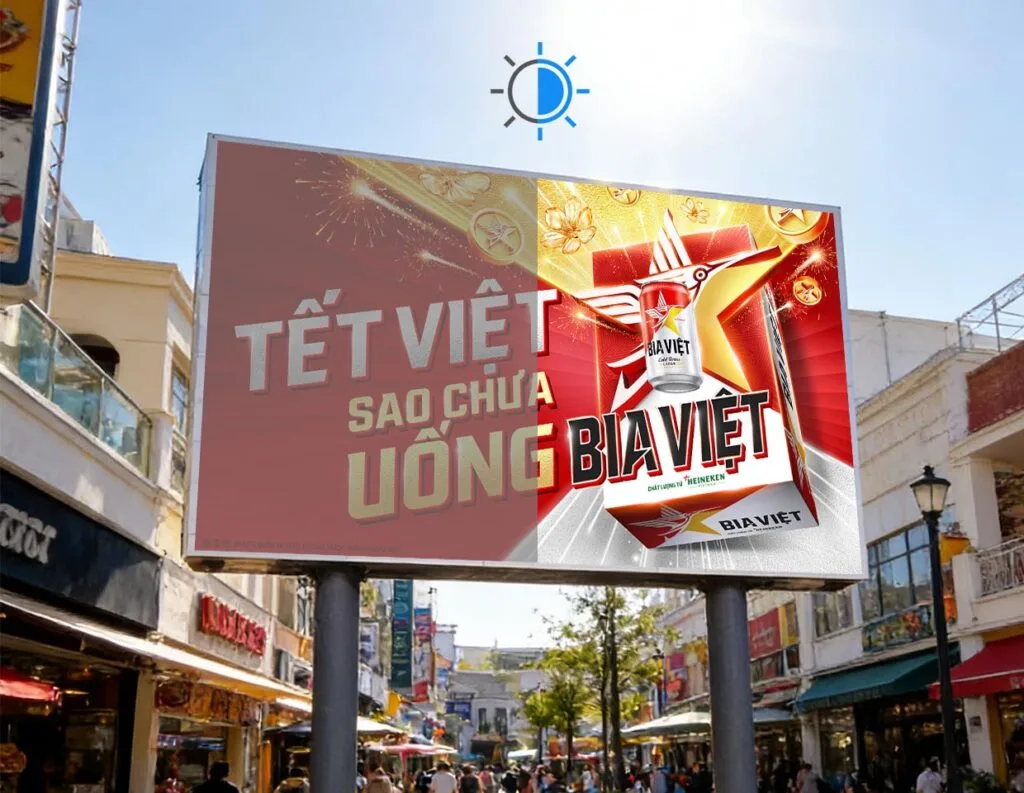
Start from the strongest sunlight the screen will face. A site survey should record whether direct sun reaches the display, the direction and duration of exposure, and whether nearby surfaces create glare. A higher maximum brightness gives headroom in demanding daylight, but maximum output should not become the normal operating level.
Check reflections and orientation. A facade facing a bright reflecting surface can look washed out even with high output. Orientation, shading, and surrounding materials matter as much as raw nits.
Plan night dimming. In an urban environment brightness control matters for visual comfort, nighttime operation, energy use, and local requirements. Automatic brightness adjustment should be part of the specification, so the screen runs at the right level after dark rather than at full daytime output.
The procurement question is therefore not “how many nits do we need?” but “what luminance range gives this site enough contrast across its operating conditions?” — answered from the environment and the verified capability of the selected configuration.
Brightness Planning Reference
Use the table to plan a site test, not to assign a brightness threshold from a location label. Confirm the exact configuration’s output, then review the proposed content under the site’s strongest daylight and evening operating conditions.
| Site Exposure | Site test focus | Main Check |
| Sheltered exterior recess or deep canopy | Preview readability during the brightest operating period | Confirm readability during the brightest period |
| Mixed sun and shade | Review changing daylight, reflections and planned content | Review facade orientation and changing reflections |
| Direct sunlight or open-sky exposure | Test content contrast at the proposed site and orientation | Test content contrast under peak daylight |
| Exceptional glare or highly exposed location | Document the actual glare problem before selecting extra output | Confirm the requirement through site evidence and model-level specifications |
Weather Protection and Site Exposure
Select weather protection from the actual rain, splash and cleaning exposure. Then check the documented front and rear protection, cable entries and complete installation, with separate corrosion evidence where relevant.
An IP rating should never be read without checking what it applies to. An LED display contains several exposed areas — the front LED surface, rear enclosure, module interfaces, power and signal connections, cabinet joints, ventilation components, and cable entries. When reviewing a product, confirm whether the published rating applies to the front, rear, or complete tested configuration.
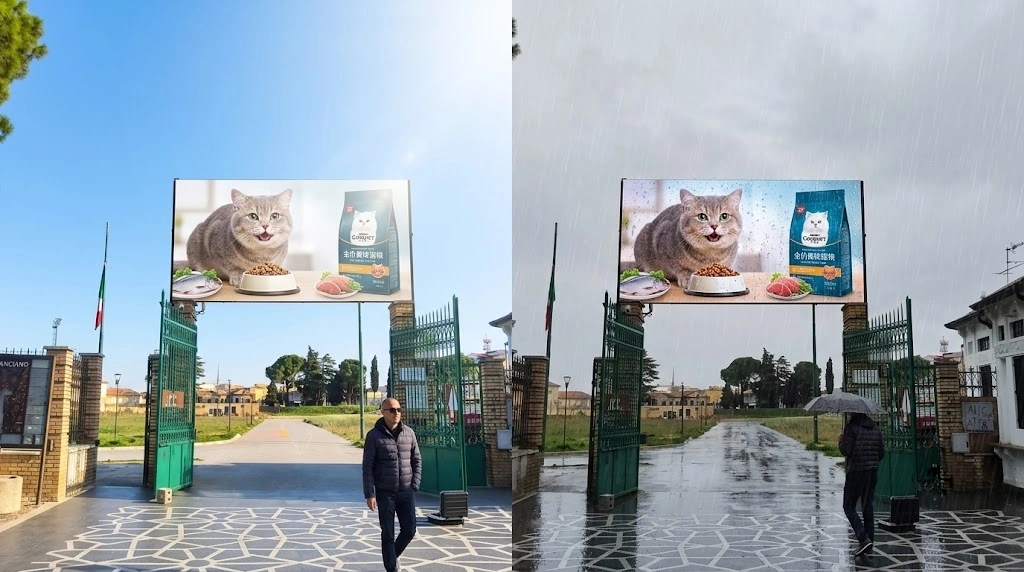
Mounting conditions vary. A display fixed to an exposed wall may face wind-driven rain from multiple directions, while another has a protected rear service corridor. The protection strategy can differ even when two projects use similar dimensions. The mounting structure itself is part of the weatherproofing system — drainage, cable routing, connector protection, sealing around penetrations, and installation workmanship all affect the finished result regardless of the cabinet’s published rating.
Check corrosion evidence for demanding sites. Where cleaning agents, splash water, or coastal salt are present, look beyond the IP number to whether the product has supporting corrosion or salt-fog test information relevant to that exposure.
IP Selection Guide
| Installation Condition | Protection Reference | Additional Check |
| Outdoor facade beneath a canopy | Confirm the quoted enclosure and cable-entry protection for rain that can reach the screen | Check module joints, cable entries and drainage |
| Exposed exterior facade | Review model-specific test documentation for the actual exposure | Confirm the rating for the supplied model and complete installation |
| Open to driving rain, road splash or regular wash-down | Match the documentation to rain, splash and the proposed cleaning method | Review connectors, enclosures and structural interfaces |
| Front and rear surfaces exposed | Verify the rating for both faces | A front-face rating describes only part of the installation |
| Coastal or salt-laden environment | Suitable IP rating plus corrosion and salt-fog evidence | Review housings, fasteners, connectors and model-level test documentation |
Specify the exposure and ask which tests support the quoted configuration. Do not treat a larger IP number as approval for every kind of water exposure or cleaning method. Confirm front and rear ratings, connectors, drainage and the supplier’s permitted cleaning procedure.
Service Access Comes Before Installation
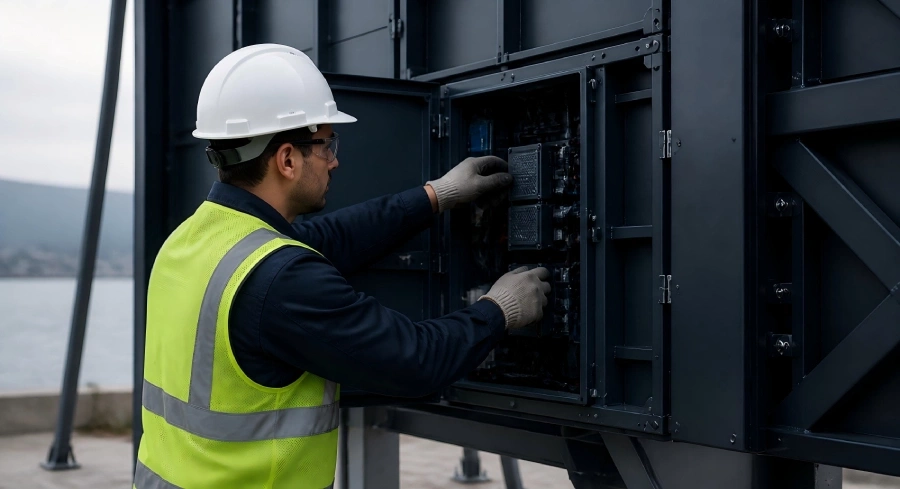
Maintenance strategy can affect cabinet selection as much as visual performance. Where a screen is mounted close to a wall, rear service space may be limited. A front-service design reduces the need for a rear corridor — where safe access from the display face remains available.
That condition matters. Front maintenance does not automatically make every installation easy to service; technicians still need a safe way to reach the screen, remove components, isolate power, and complete repairs. Before confirming the structure, check front or rear service direction, clearance for component removal, technician access, lifting equipment, cable routing, power isolation, ventilation, drainage, and module handling.
What a Site Survey Should Record
A useful survey produces information the LED supplier, structural team, installer, electrical contractor, and content team can all use. Record at minimum:
- Viewing: nearest sustained viewing position, primary viewing zone, approach direction, audience movement.
- Location: proposed width, height, mounting height, orientation, available depth, architectural restrictions.
- Light: direct sunlight exposure, shading, reflective surfaces, operating periods.
- Environment: rain, dust, drainage, coastal exposure where relevant.
- Maintenance: front and rear clearance, safe technician access, service routes.
- Infrastructure: power location, data route, cable distance, control equipment location.
A few photographs and dimensioned drawings are usually worth more than a request containing only the desired screen size.
From Specification to Product
Once viewing distance, content detail, daylight exposure, environmental protection, mounting form and service access have been defined, compare the requirements with the quoted outdoor fixed configurations. The table preserves the current published references; request the dated datasheet and test records for the exact option.
| Product / Configuration | Suitable Project Conditions | Pixel Pitch | Brightness | Protection | Format and Installation |
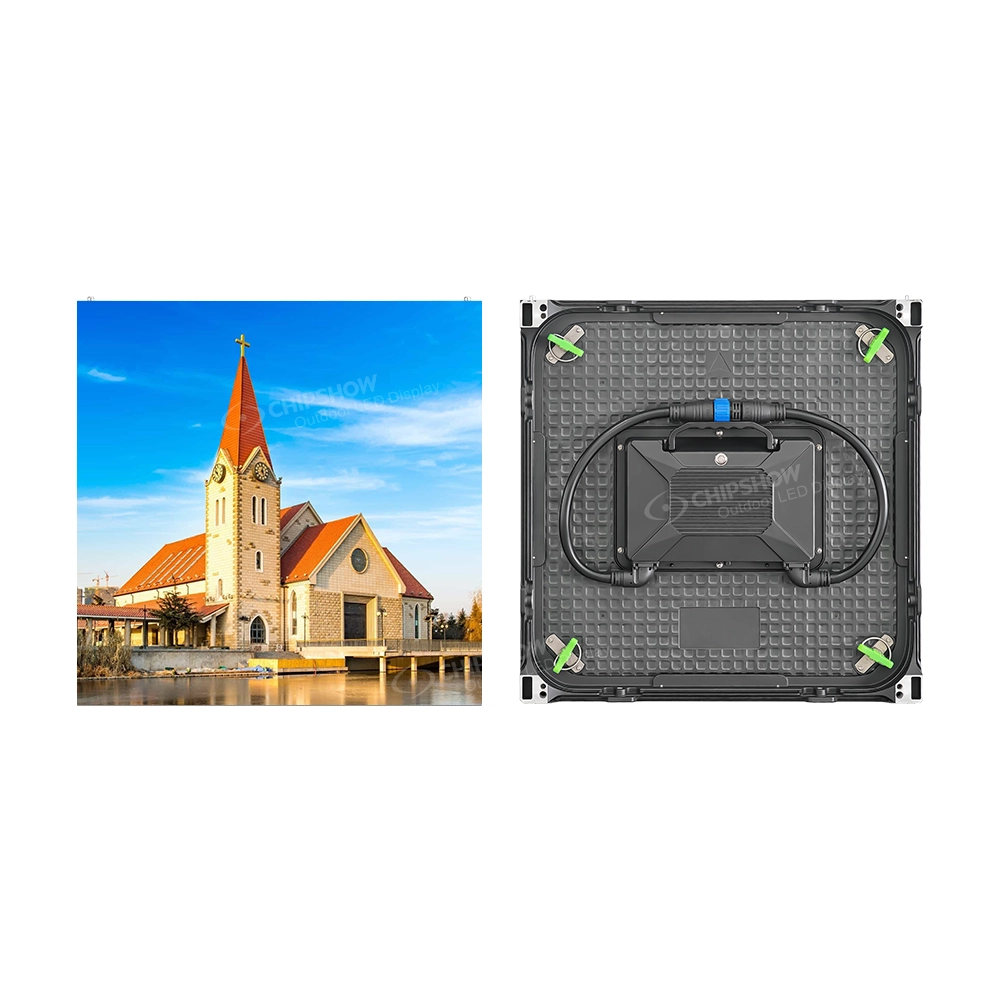
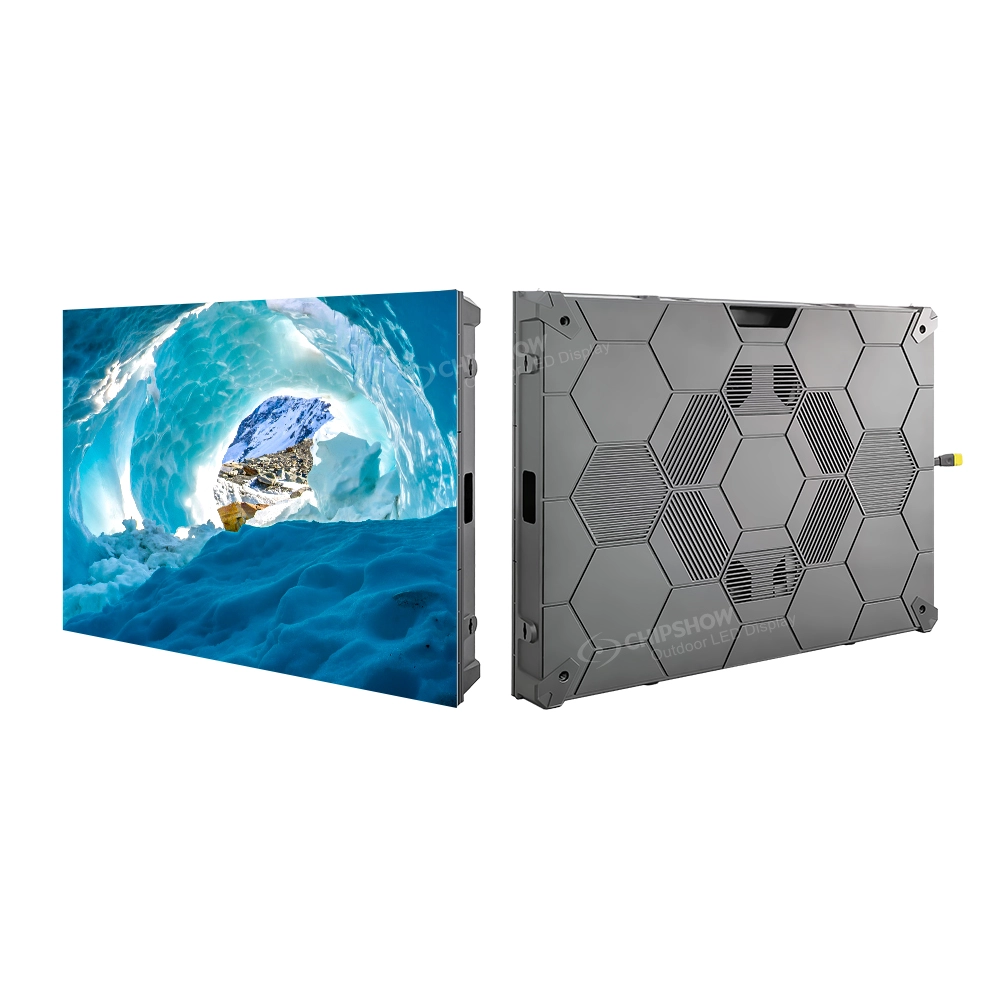
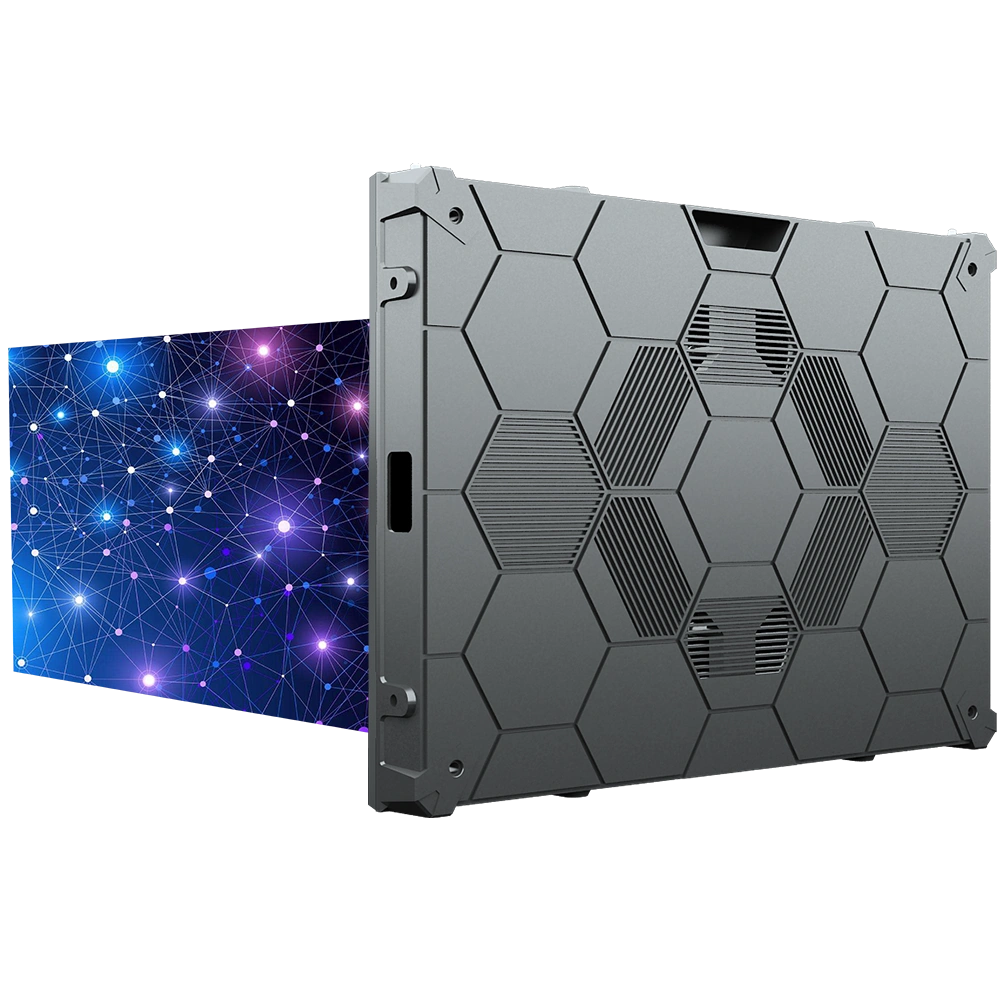
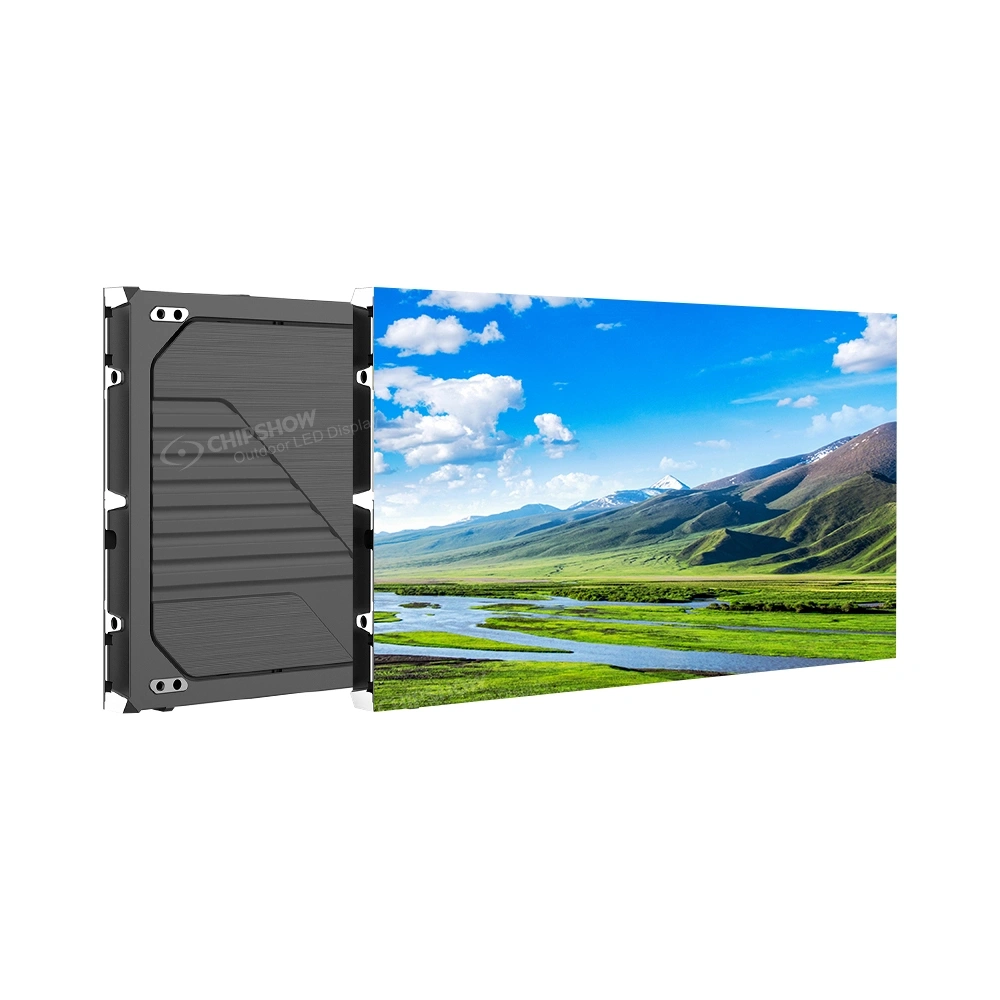
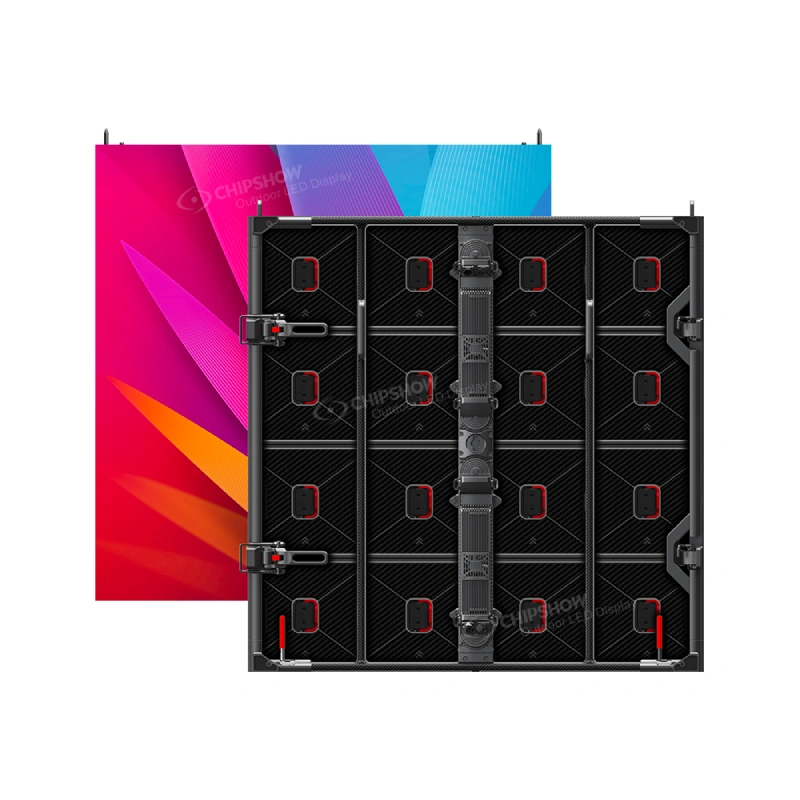
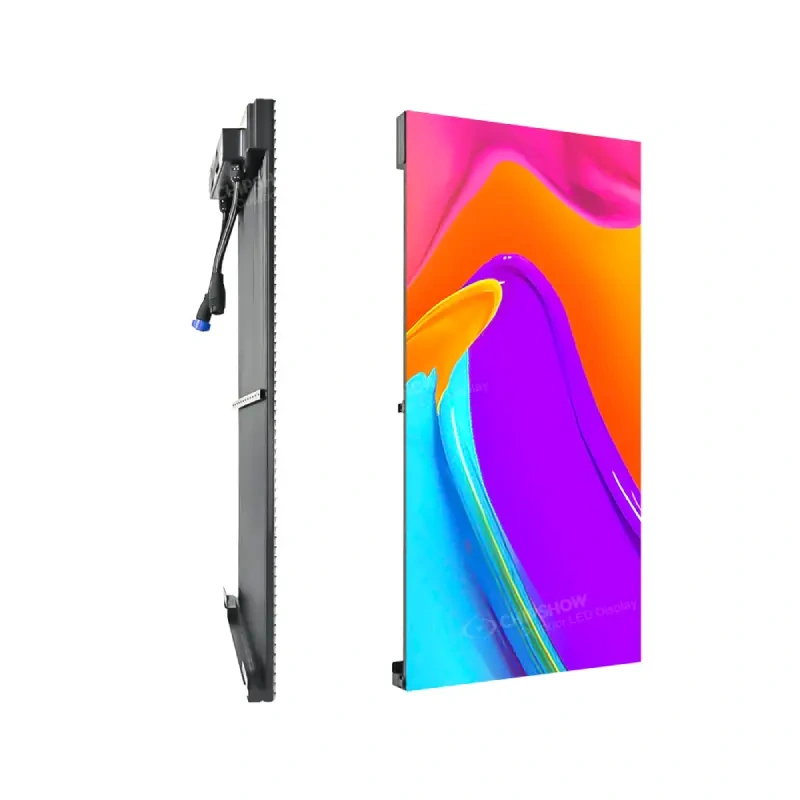
| C-Smart 500×500 | Exterior storefronts, entrances, or totems where the closest sustained viewing distance is around 4 m, subject to content testing | P3.91 | 6,000 nits | IP67 front and rear | 500 × 500 mm; 57 mm system thickness; integrated module and frame; front/rear maintenance |
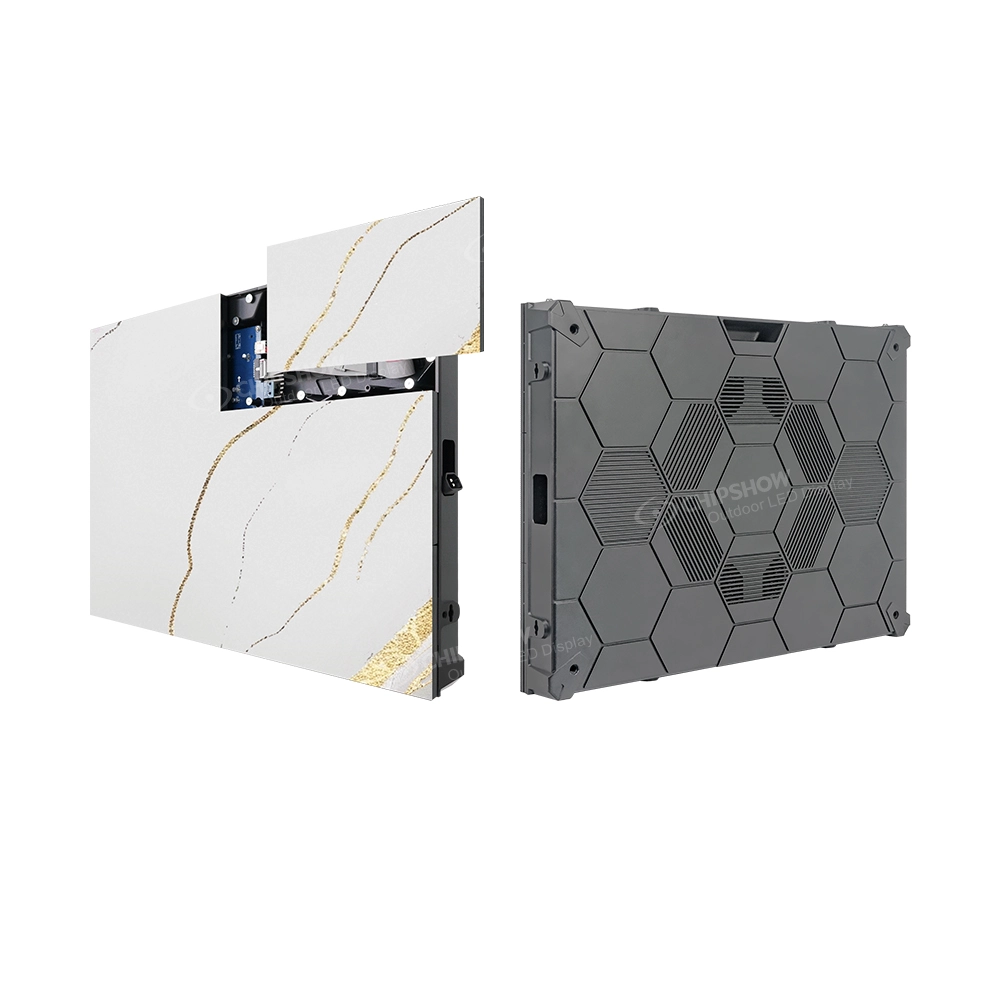
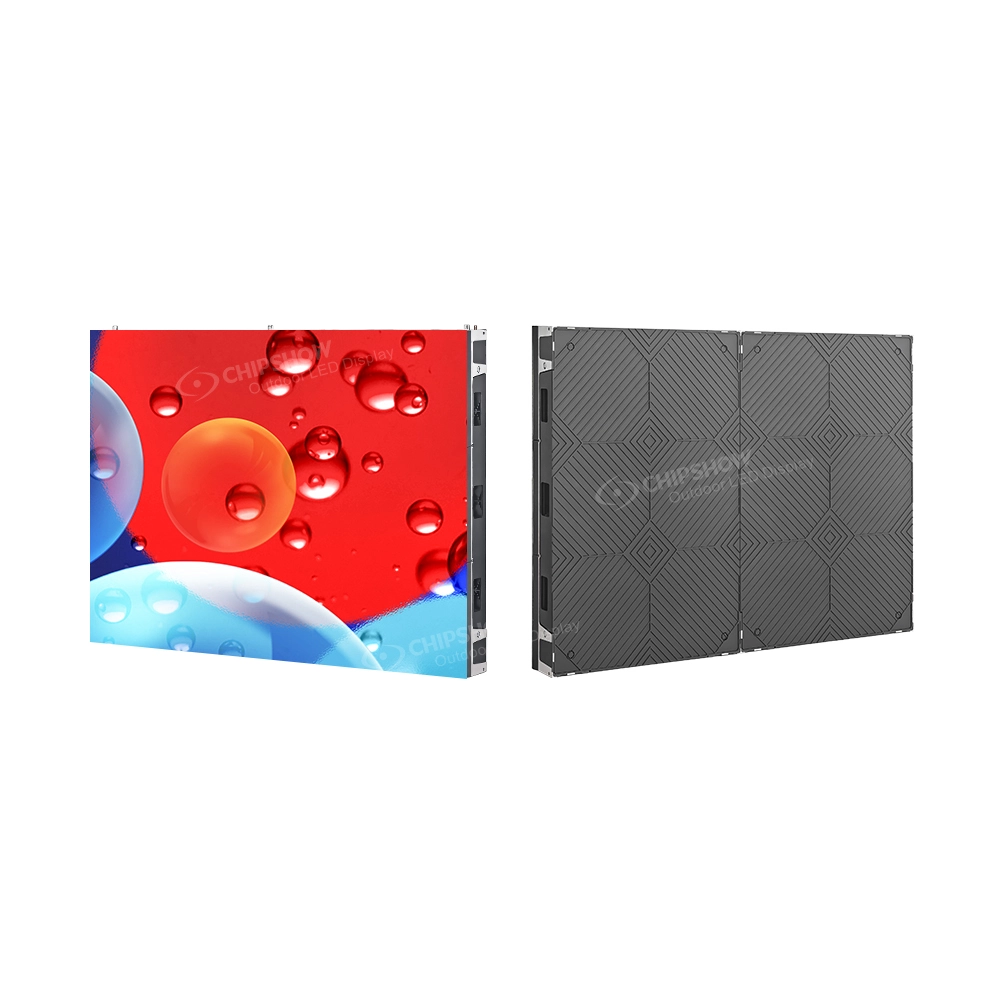
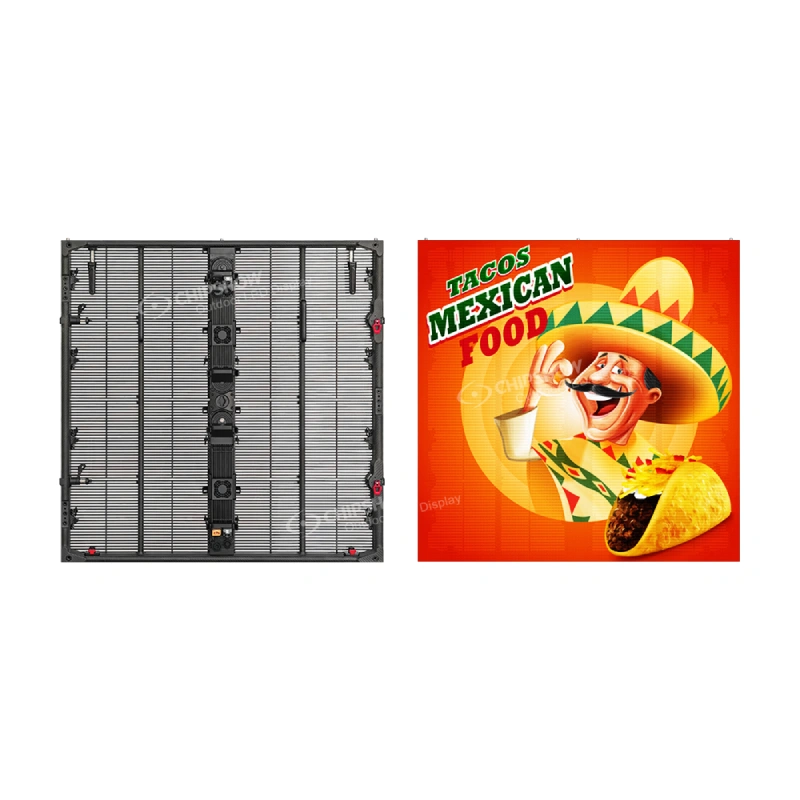
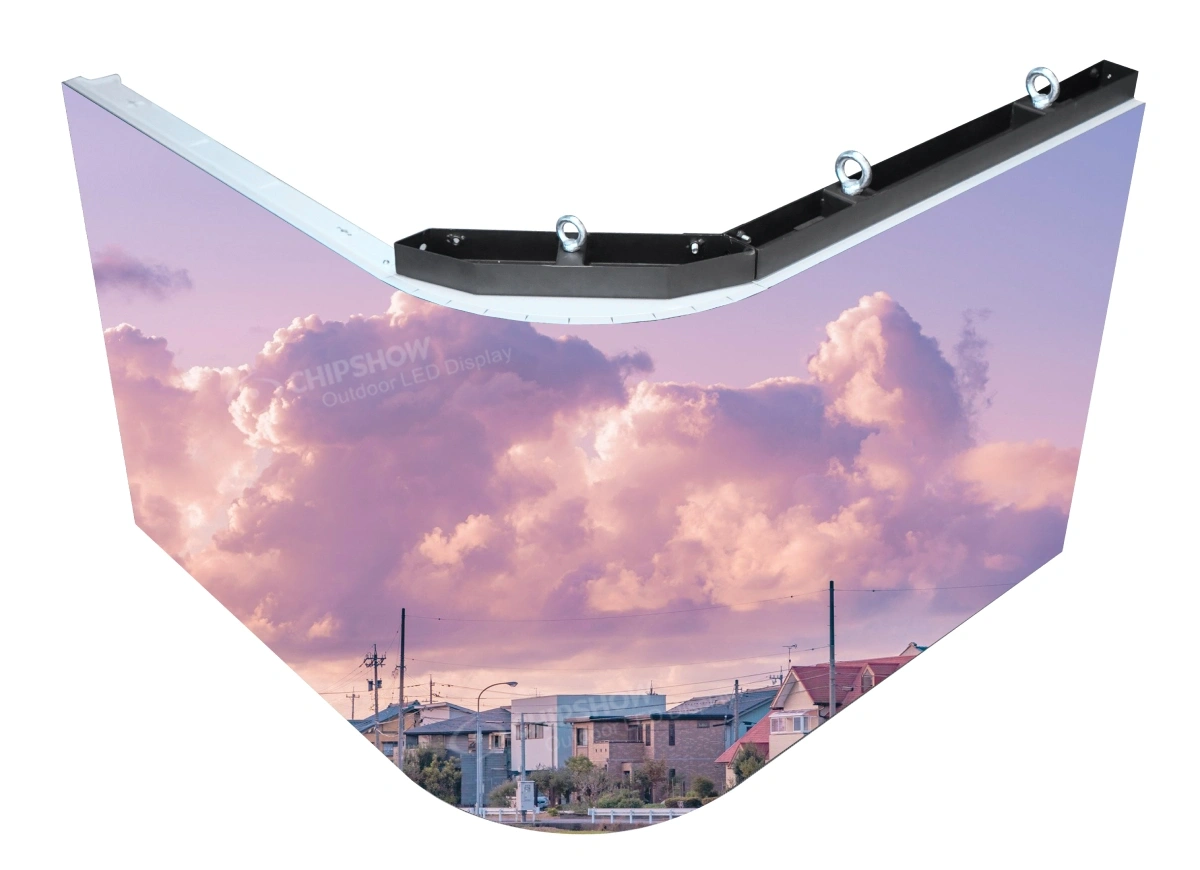
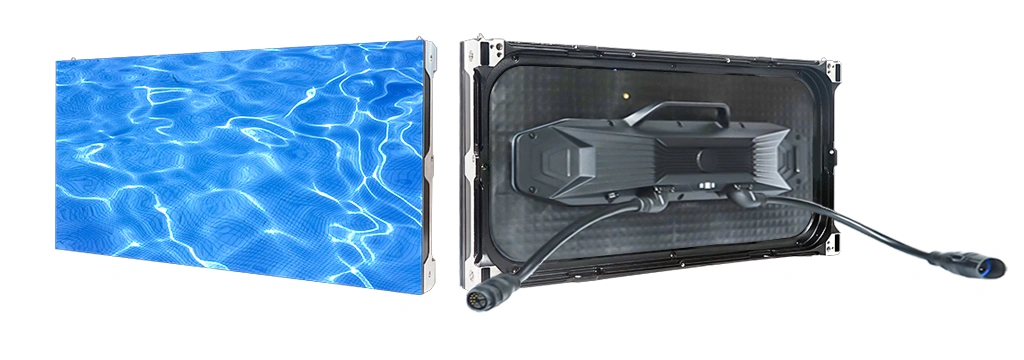
| C-Smart Series | Urban fixed applications with a longer pedestrian viewing distance or stronger daylight exposure | P6.67 | 8,000 nits | IP66 | 640 × 320 mm module; 75 mm profile; cabinet-less installation |
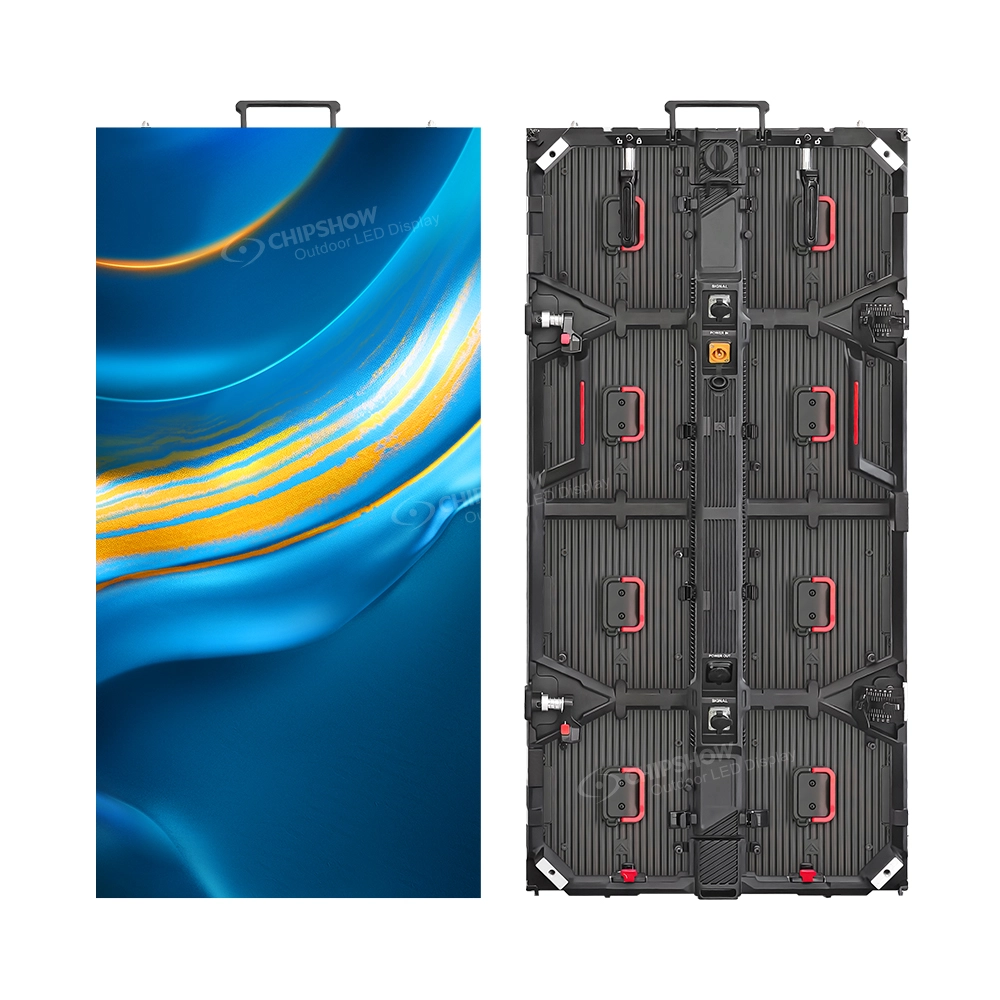
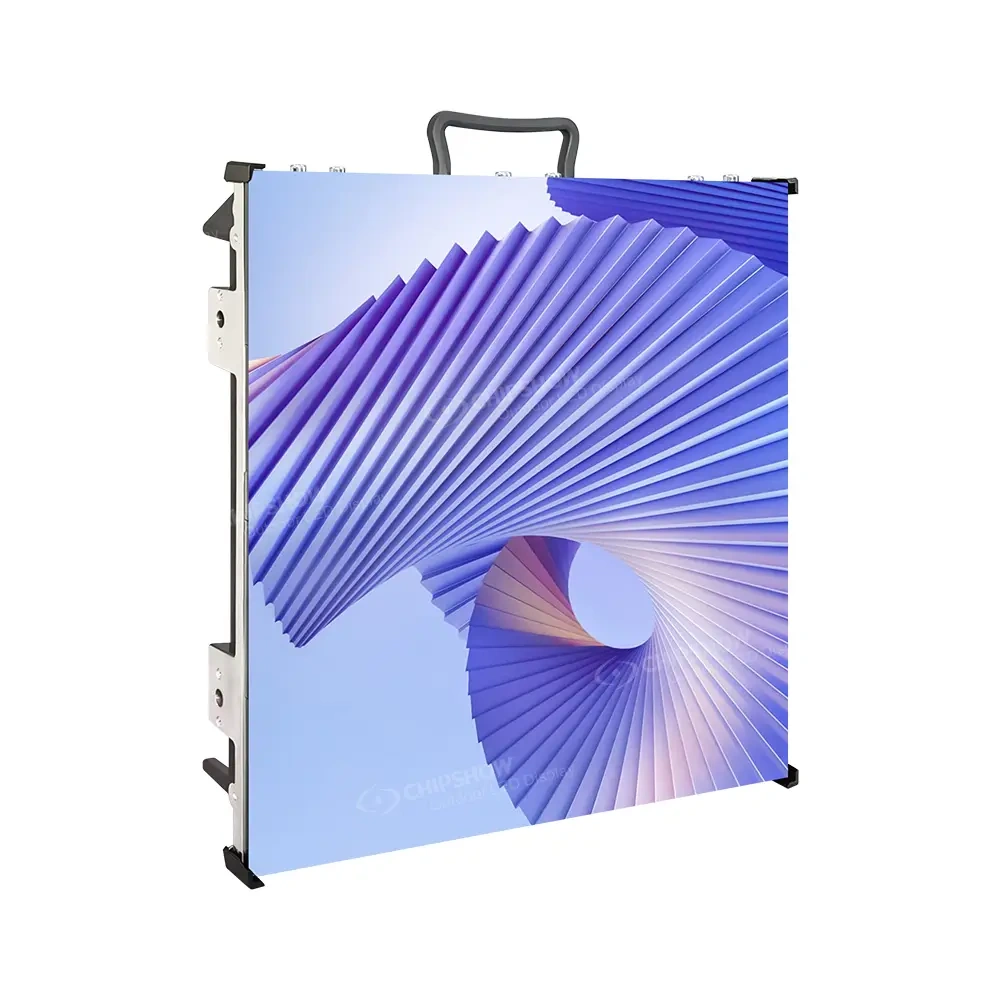
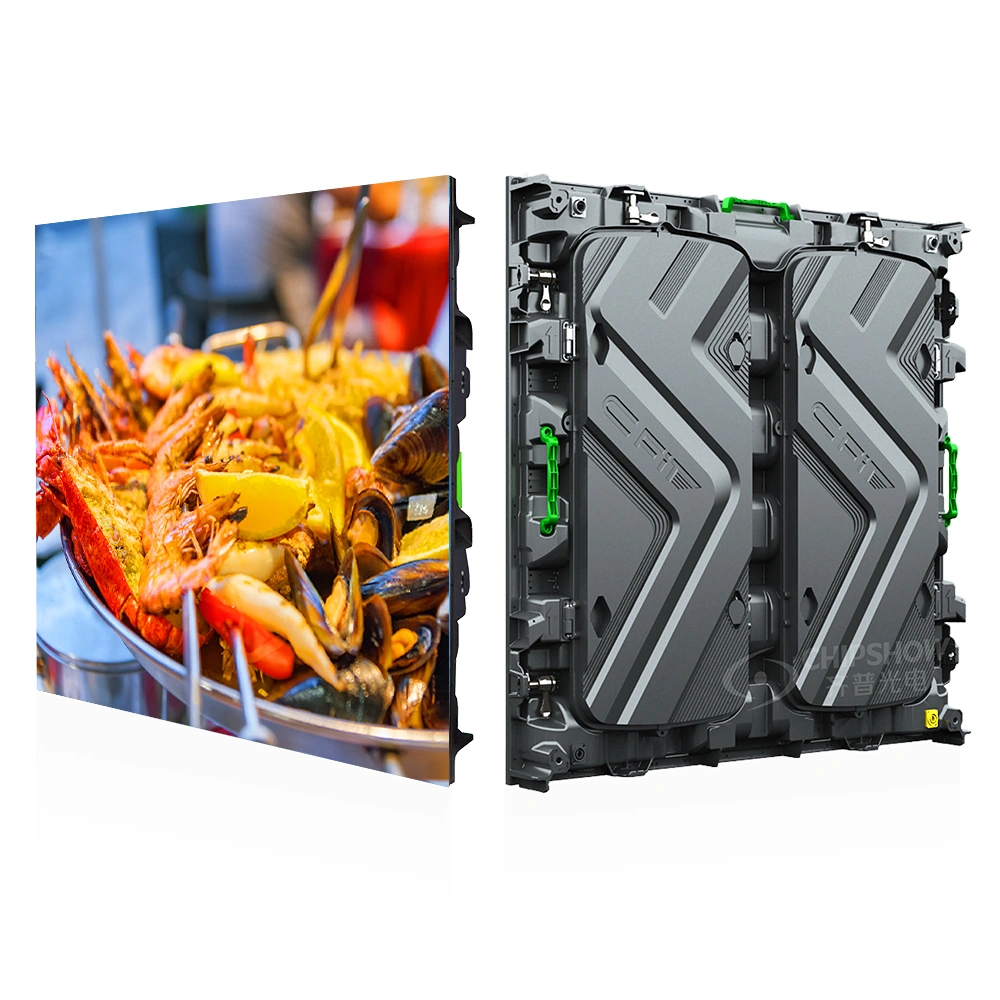
| C-Slim Outdoor Fixed | Larger urban fixed installations using a conventional cabinet structure | P4 to P16 | 5,000–14,000 nits, configuration dependent | IP65 to IP66, model dependent | 960 × 960 × 95 mm magnesium cabinet; about 25 kg; full front maintenance |
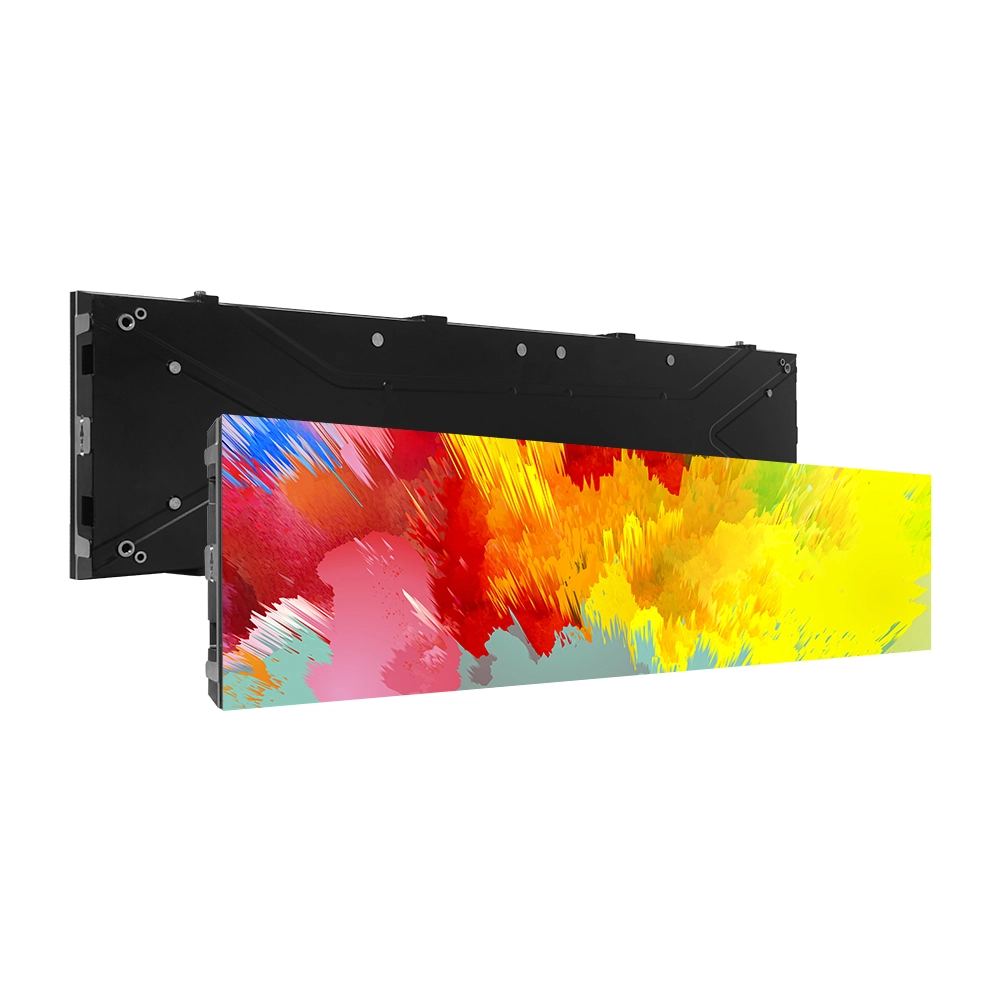
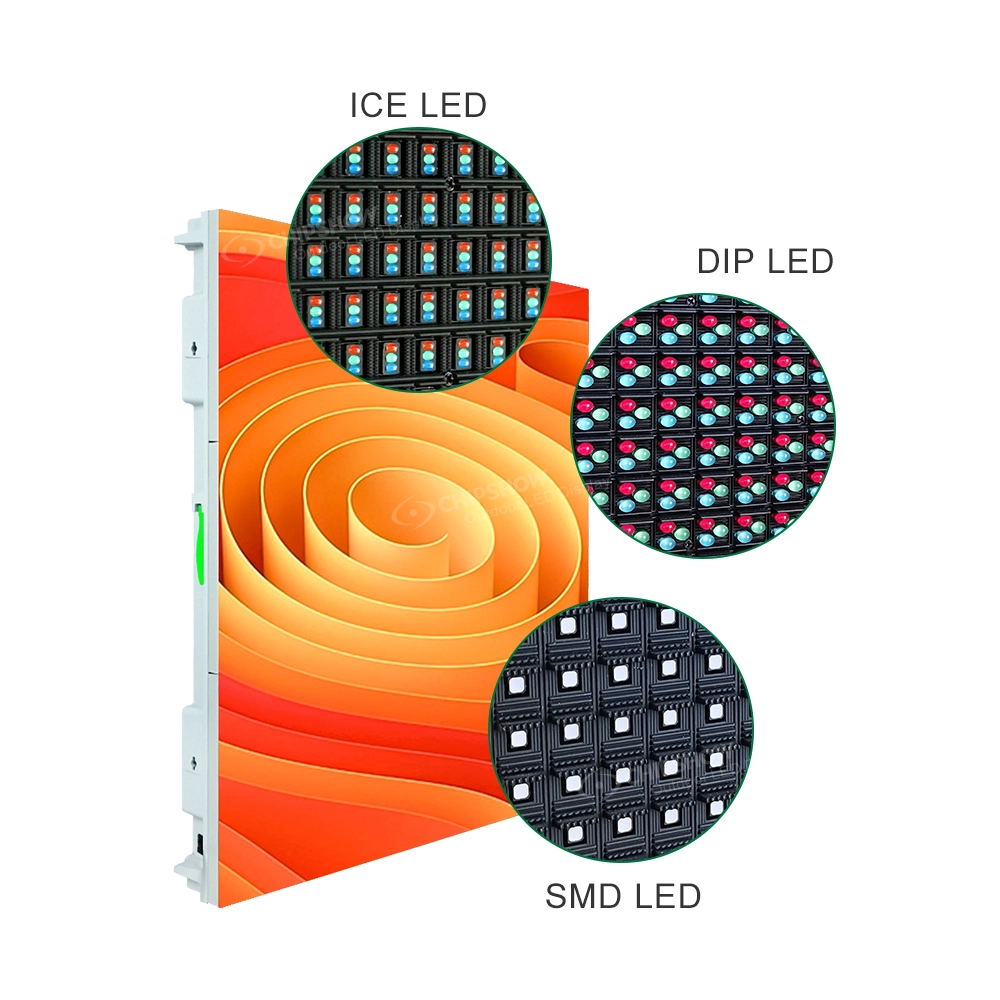
| C-Slim ICE P6.67 | Coastal or severe outdoor environments with a justified need for high brightness and corrosion evidence | P6.67 | 14,000 nits | IP66 | Documented 2,000-hour ISO 9227 salt-fog testing |
C-Smart P3.91 is the finer-pitch reference among the configurations listed here. Consider it for an exterior storefront, entrance or totem only after reviewing the expected viewing distance, representative content and the exact supplied configuration.
C-Smart P6.67 shifts the balance toward longer pedestrian viewing and stronger daylight capability while retaining the module-and-frame installation approach.
For a C-Slim ICE P6.67 proposal, request the cited IP66 and 2,000-hour ISO 9227 salt-fog records for the exact configuration and compare their test scope with the coastal or exposed site. A reported test duration is not, by itself, an installed service-life guarantee.
Netherlands warehouse stock can support European project coordination. Availability should be confirmed for each project because coverage varies by quantity and configuration.
Documentation to Request Before Procurement
Depending on the project and configuration, the document package may include a model-specific datasheet, cabinet or module drawings, power information, installation documentation, IP test information, relevant safety and EMC documentation, an EU Declaration of Conformity where applicable, applicable material-restriction documentation, warranty terms, and maintenance information.
For European projects the applicable requirements depend on the product configuration and how the equipment is placed on the market or integrated into the installation. Review the EU Declaration of Conformity together with the applicable EU legislation and standards for the specific product and project, and confirm EMC, electrical safety, restricted substances, and energy-related requirements according to scope. Product documentation can be provided. Final approvals should be confirmed per project.
A Practical Selection Sequence
- Define the viewing zones — closest sustained position and main audience area.
- Set screen dimensions from the usable installation area.
- Shortlist pixel pitch using viewing distance as an initial reference.
- Calculate screen resolution and check the actual content.
- Assess sunlight exposure and select brightness capability around real conditions.
- Review environmental protection, front and rear, and the full installation.
- Resolve how technicians will safely reach and service the display.
- Check mounting, power, signal, ventilation, and drainage.
- Review model-specific technical and EU compliance documentation.
- Then compare verified product configurations to the finished requirement.
This keeps the project specification in control of the product decision rather than forcing the site around a preselected screen.
When the Application Moves Beyond Close-View Urban Fixed
Some outdoor projects follow a different viewing and installation model.
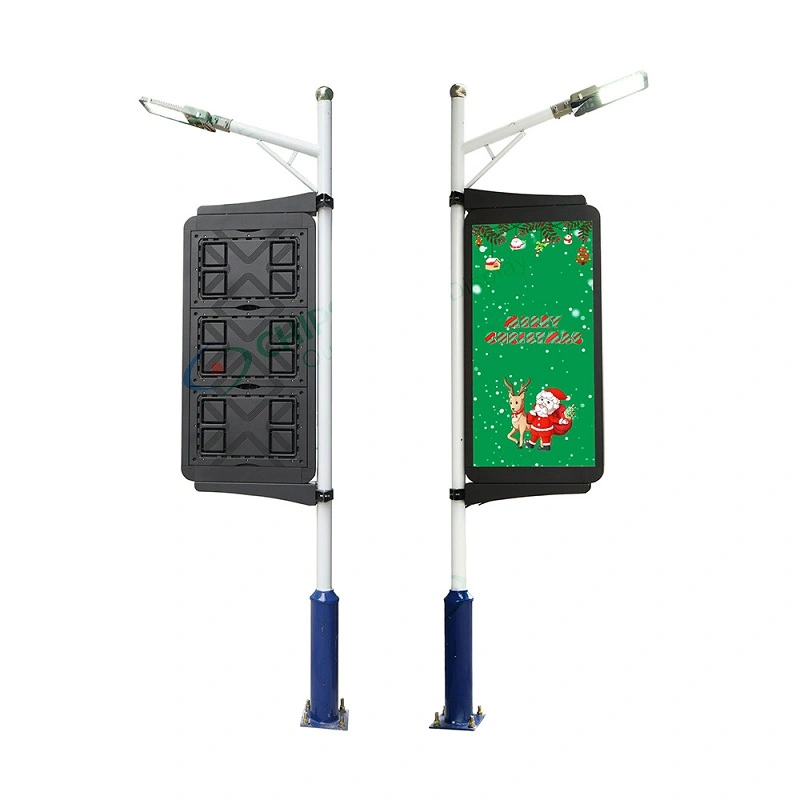
Pole-mounted media networks combine elevated installation with distributed urban advertising and fit the street pole LED display solution.
Roadside advertising assets serving traffic from longer distances fit the digital billboard solution.
Building-scale media surfaces and large architectural installations fit the outdoor DOOH LED video wall solution.
A broader review of outdoor LED specifications, compliance considerations, and ownership factors is covered in the Outdoor LED Display Buying Guide 2026.
Conclusion
Choosing an outdoor LED display for close viewing starts with the site, not the catalogue. Work through the three chains — pitch from viewing distance and content, brightness from sunlight and orientation, protection from real exposure — then resolve mounting, maintenance access, and documentation before matching a product. Chipshow can then match the requirements to an appropriate outdoor fixed LED configuration. For a specific site or specification, Contact Us to review the application and available options.
Chipshow can review a project brief covering viewing position, content, daylight, exposure and service access to discuss a suitable configuration and the documentation required.
Frequently Asked Questions
Q1:How should pixel pitch be selected for a close-view outdoor LED display?
The closest sustained viewing distance provides the first reference. A common screening rule matches approximately one millimetre of pixel pitch to one metre of viewing distance, so a four-metre viewing position can begin around P4. Content detail, screen dimensions, and the required image quality should then refine the choice. Fine text, maps, prices, and detailed imagery generally benefit more from a finer pitch than large arrows and short labels.
Q2:How much brightness does an urban outdoor LED display need?
Choose the brightness range from a site review: strongest daylight, facade orientation, reflections and the planned content. Preview the exact configuration at those conditions, then agree evening dimming and any location-specific operating requirements. A site category alone does not establish the required nits.
Q3:What IP rating is suitable for an urban outdoor fixed display?
Match the quoted protection and test scope to actual rain, splash and cleaning exposure. Check the relevant front and rear surfaces, connectors, cable entries and complete installation. Do not use an IP number as approval for a different exposure; coastal sites also need relevant corrosion evidence.
Q4:Can an outdoor LED display sit close to a facade when rear service space is limited?
Front-maintenance systems support this type of installation because modules and internal components can be accessed from the display face. The final depth depends on the mounting structure, cabling, facade condition, and required working clearance.
Q5:Which documents should European project teams request?
The technical package can include configuration-specific product specifications, applicable CE-related documentation, EMC evidence, IP test reports, energy-related documentation where applicable, and other project-required technical records. Product documentation can be provided. Final approvals should be confirmed per project.
Ready to scope your display? The LED screen selector walks through viewing distance, format and layout in one pass.