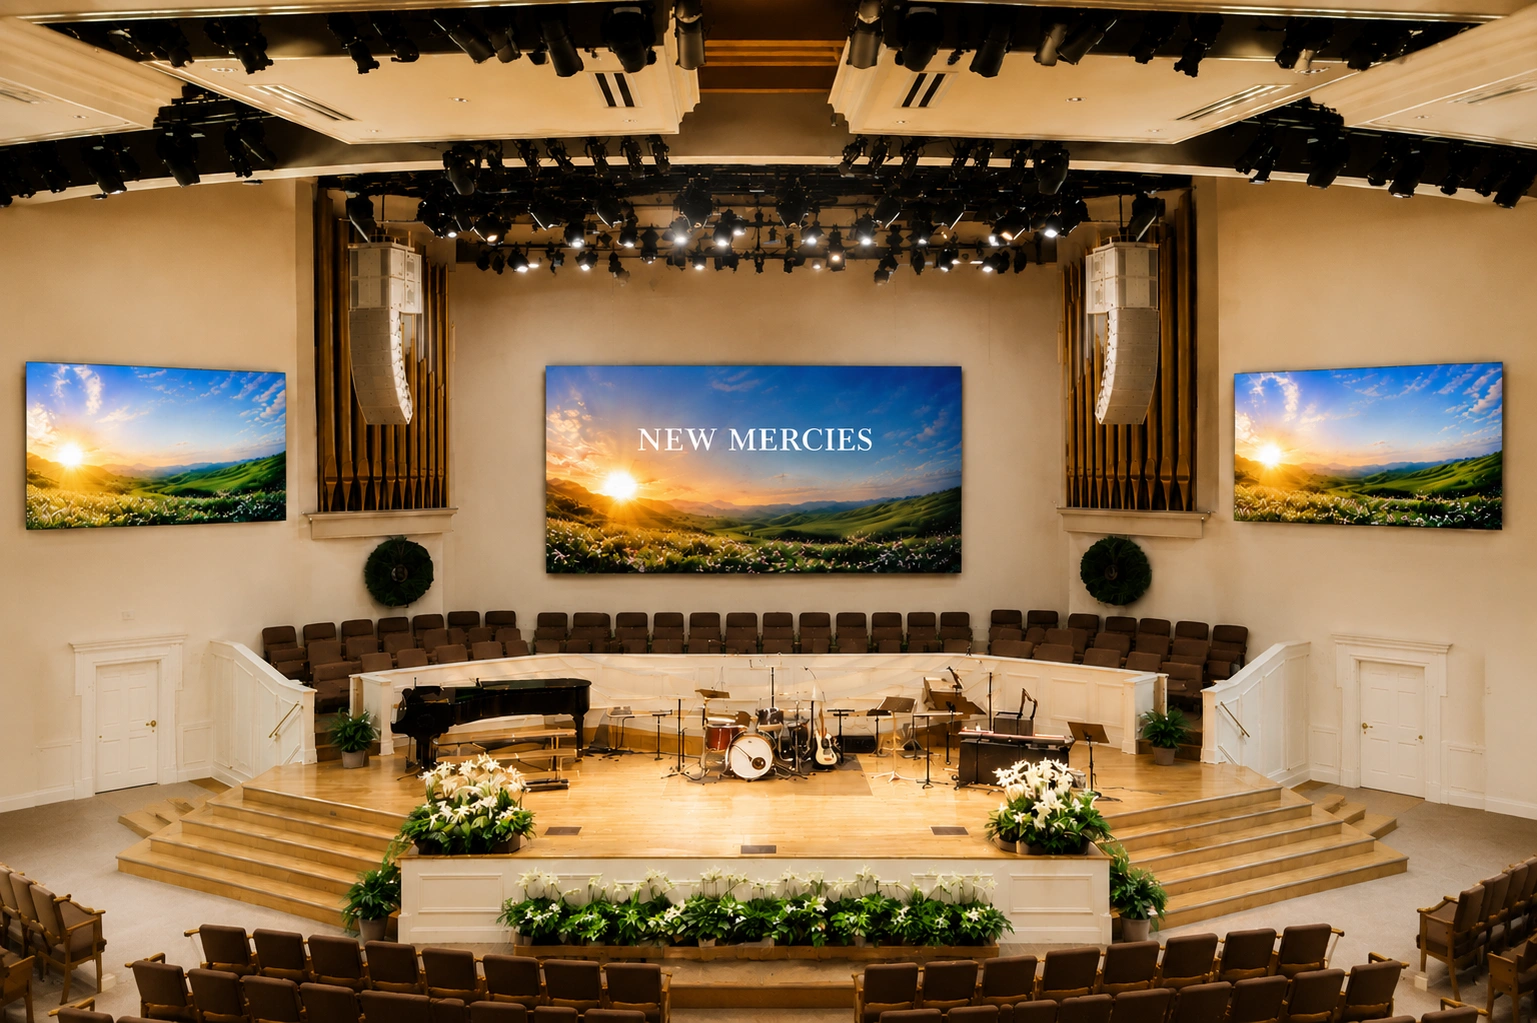
How to Install an Energy-Efficient Indoor LED Video Wall in Europe: Step-by-Step Guide with EU Compliance & Sustainability Tips Chipshow EU

Chipshow EU

How to Install an Energy-Efficient Indoor LED Video Wall in Europe: Step-by-Step Guide with EU Compliance & Sustainability Tips

Share:

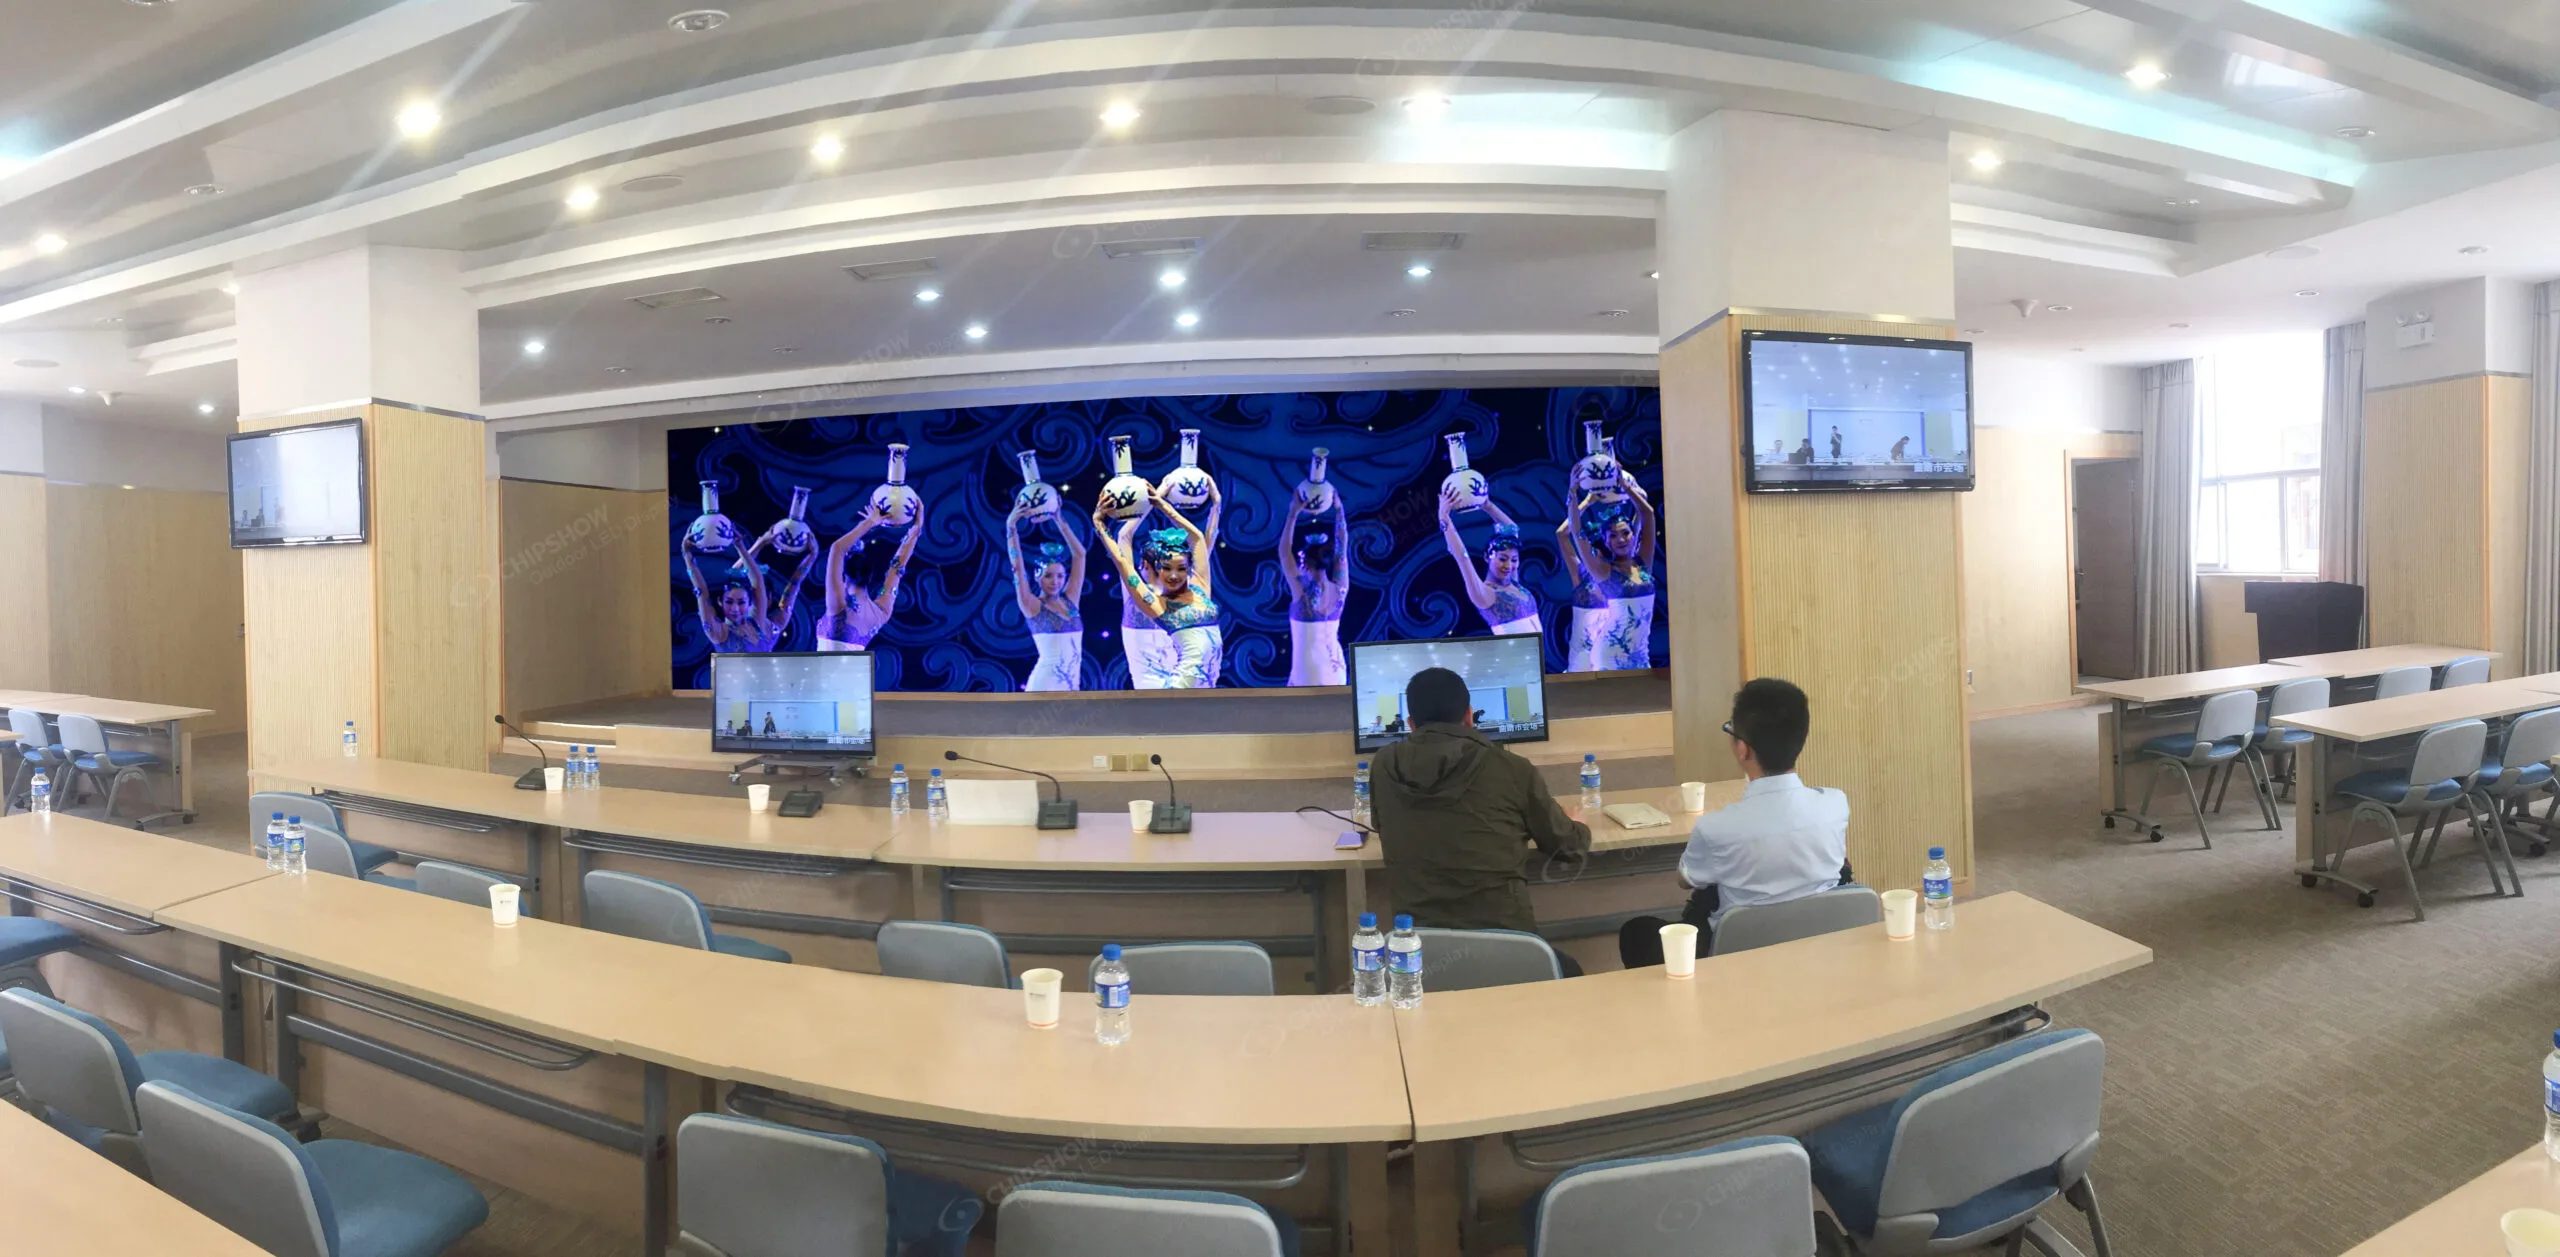
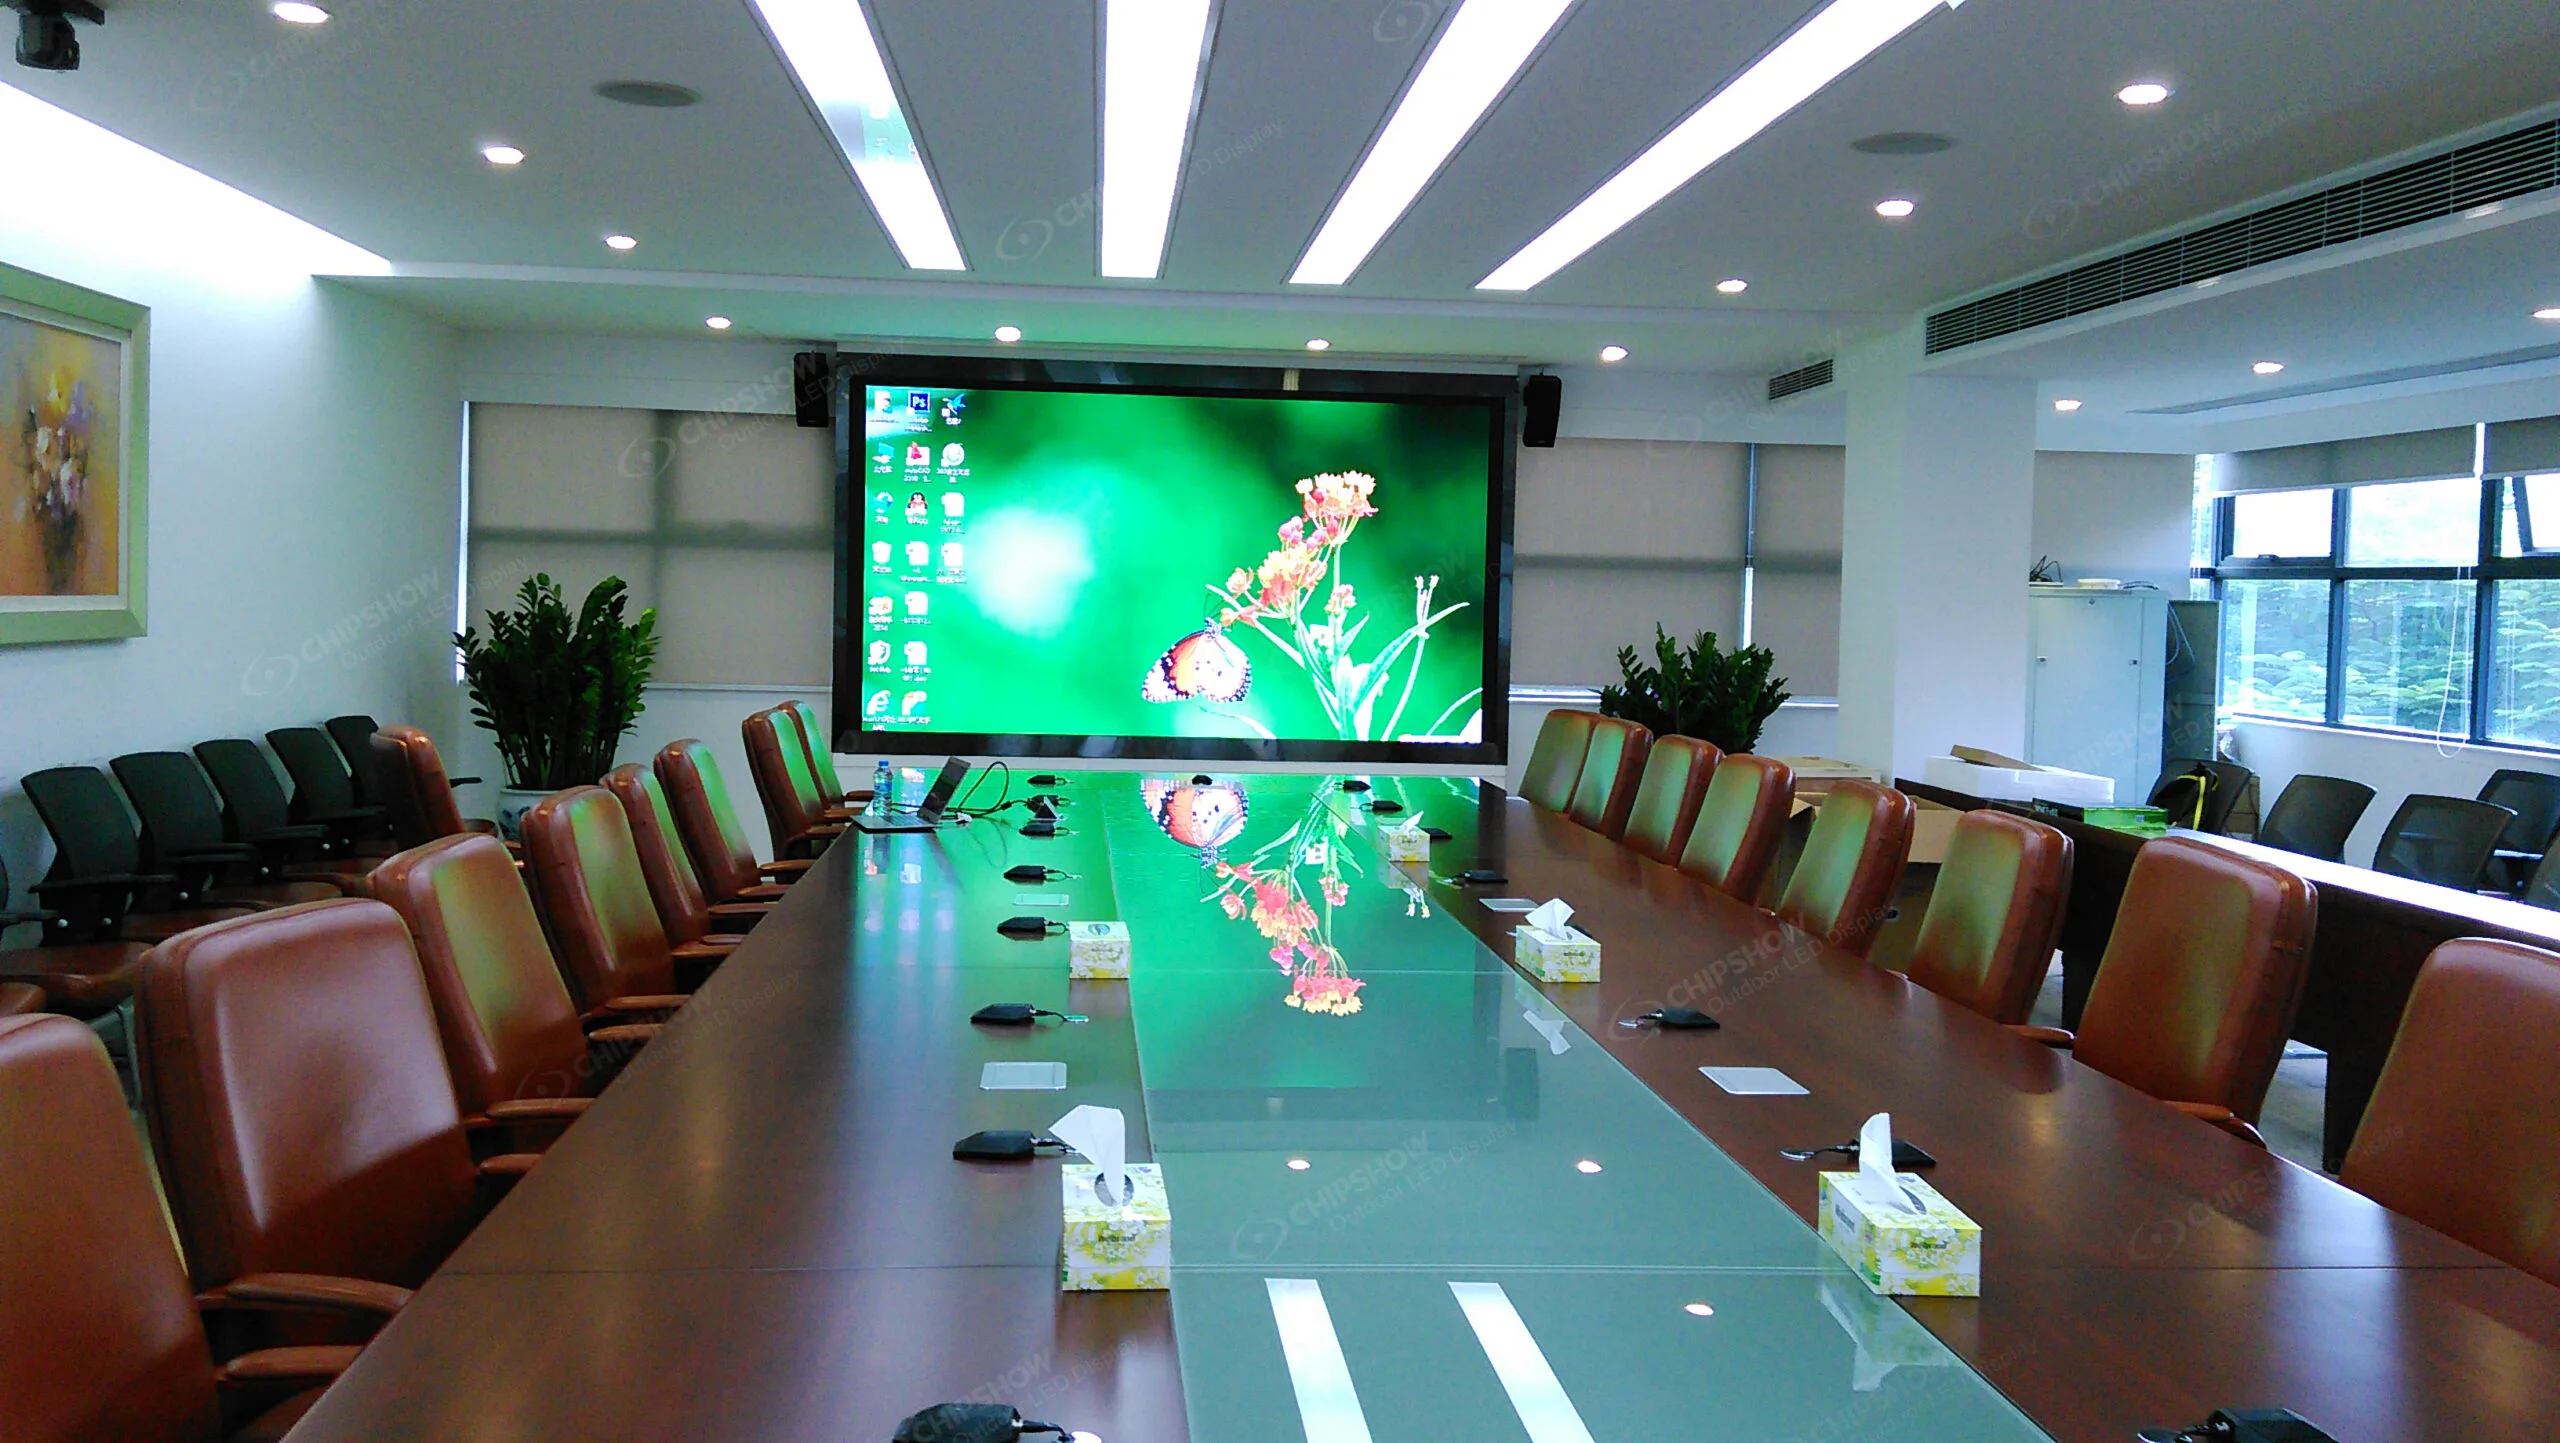
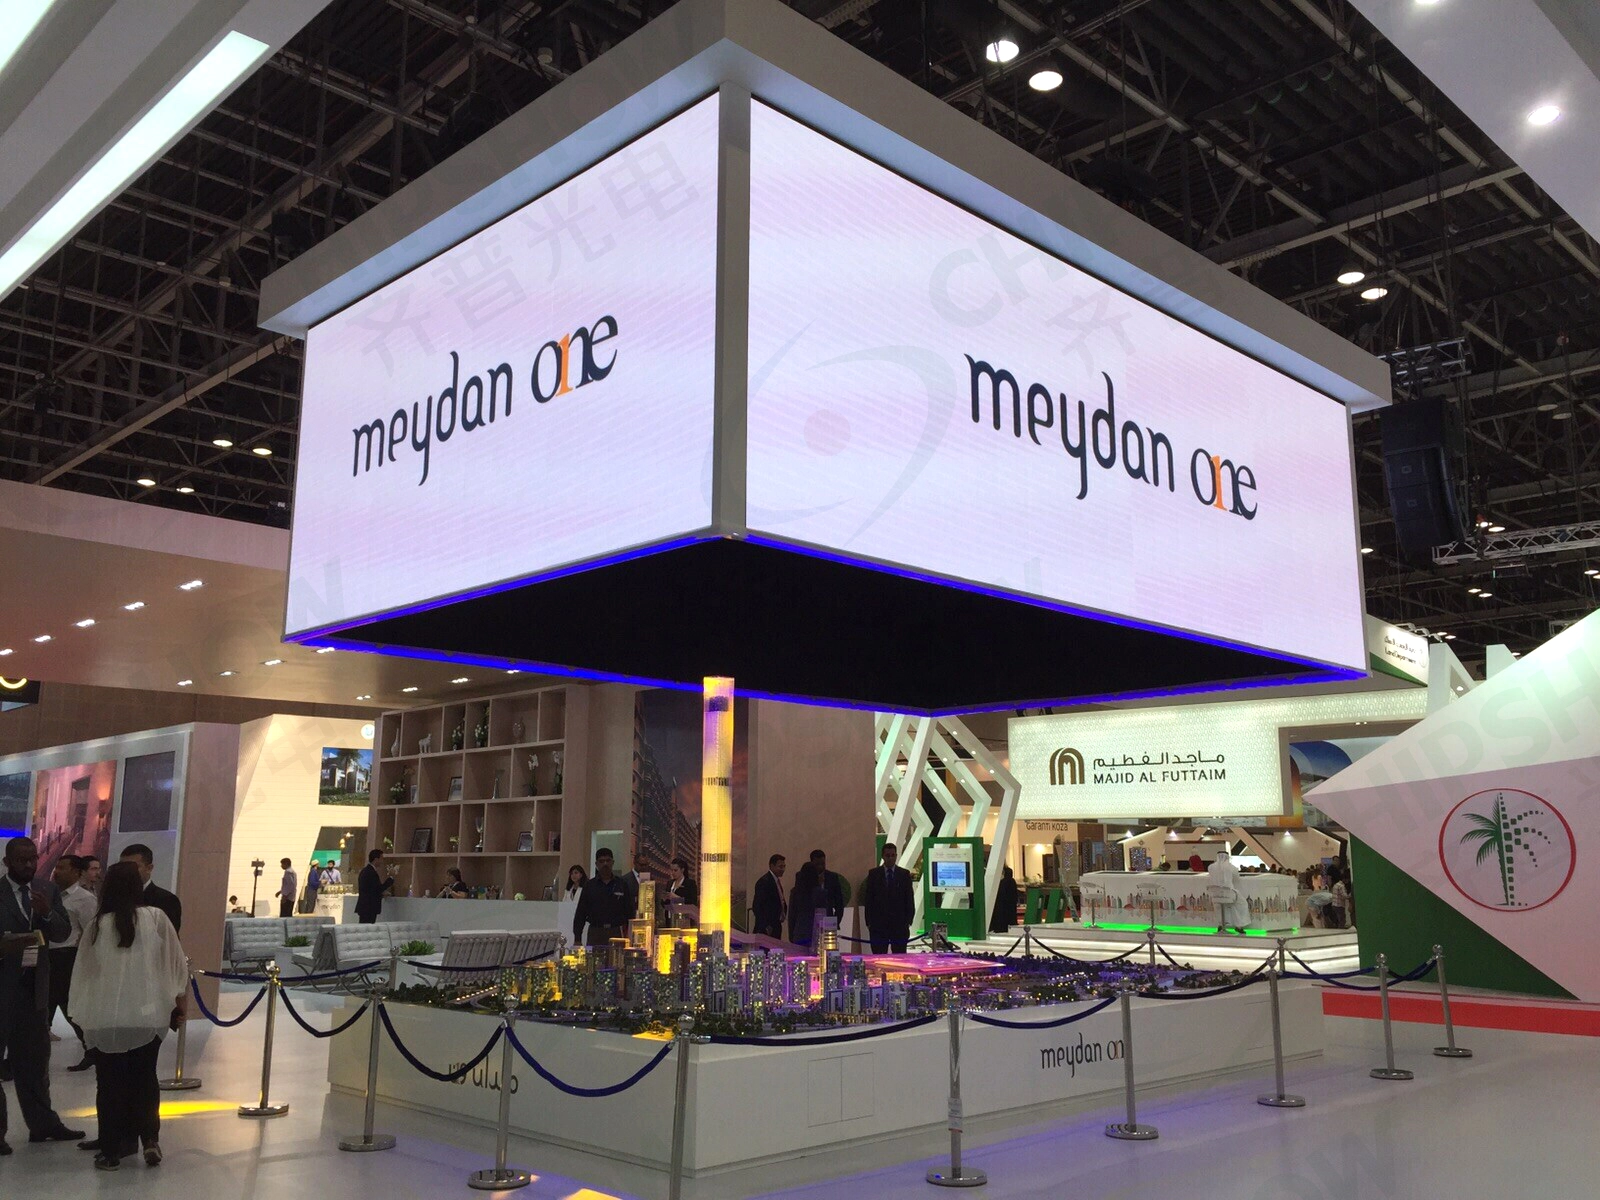
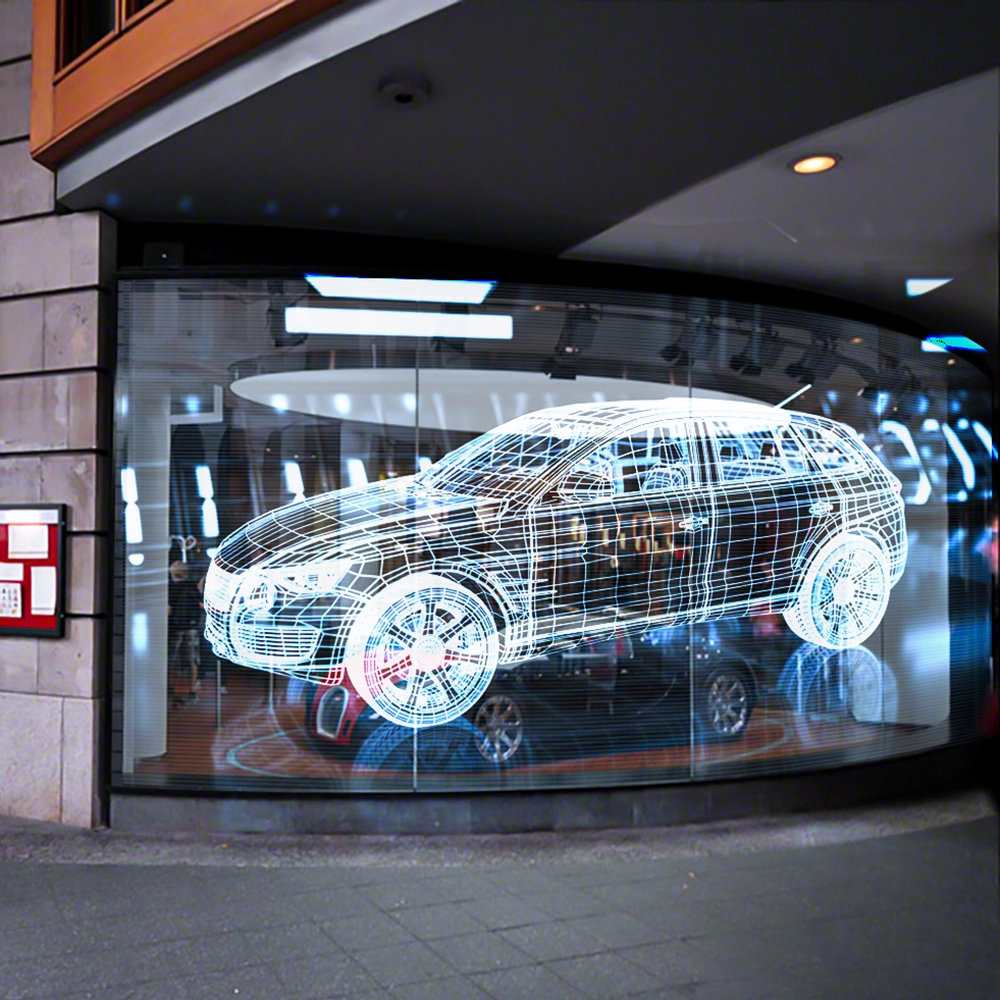
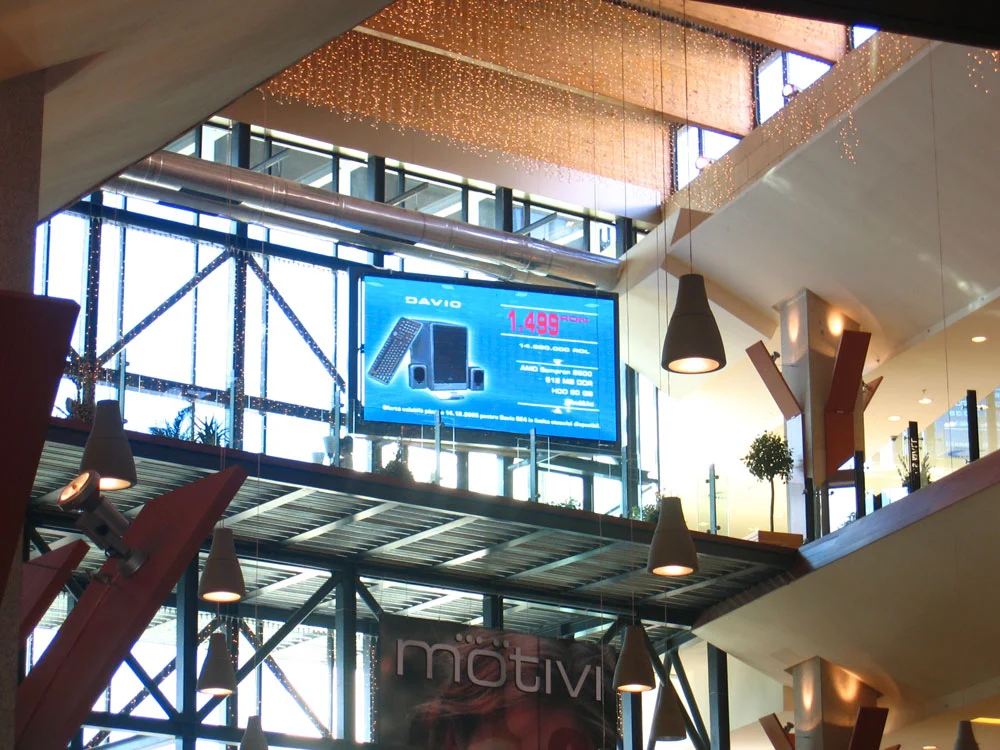
Installing an indoor LED display wall is a strategic investment for corporate lobbies, retail environments, conference rooms, and public spaces across Europe. With rising energy costs and strict EU sustainability targets under the European Green Deal, a professional installation ensures seamless visuals, energy efficiency, regulatory compliance, and minimal environmental impact.
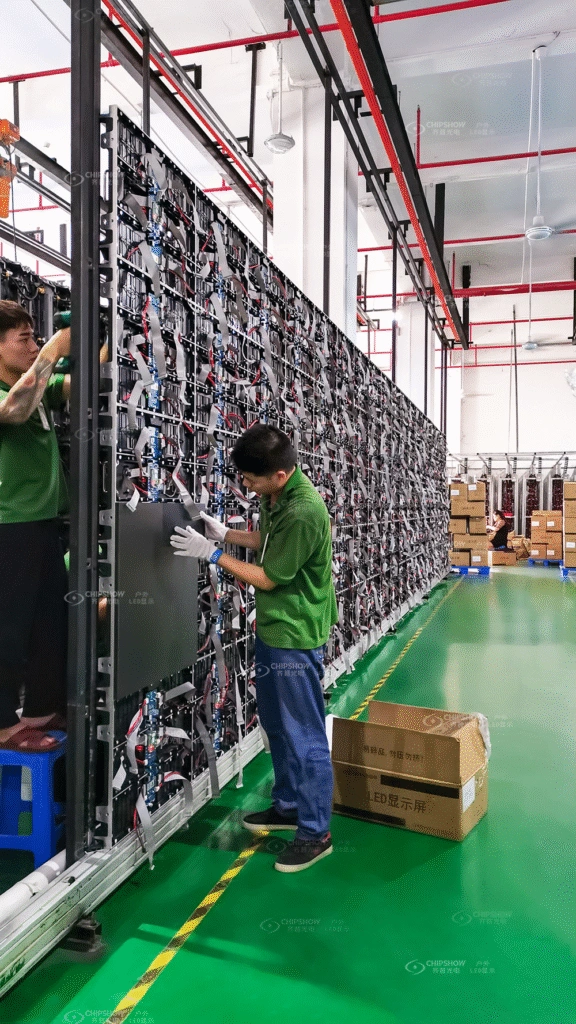
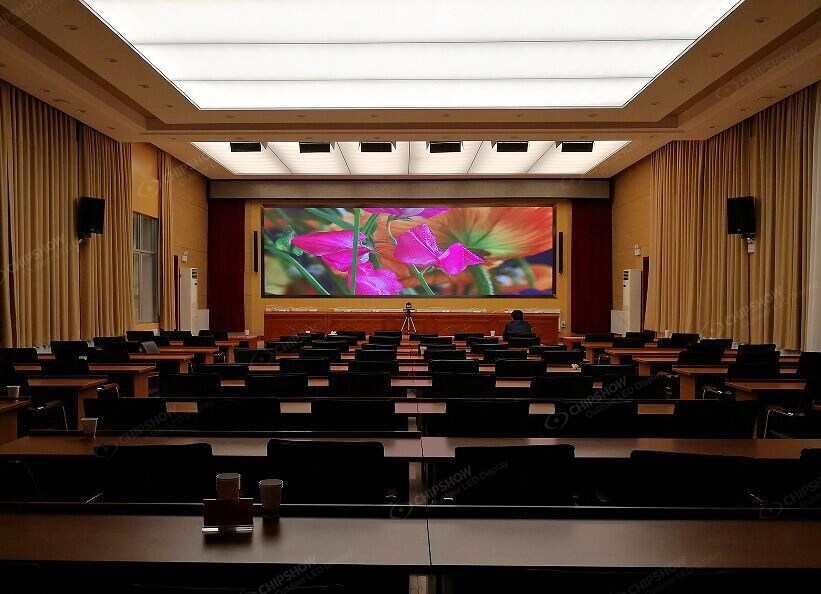
Install an Indoor LED Display

Chipshow supports European projects with CE-certified products, RoHS-compliant materials, and efficient logistics for faster delivery and local technical support — helping you meet Ecodesign and Energy Labelling requirements while keeping long-term operating costs low.

This guide covers the five essential stages of indoor LED video wall installation, tailored to European commercial realities including older buildings, limited rear space, and WEEE recycling considerations.

Step 1: Perform a Thorough Site Survey

A detailed site survey is mandatory for compliance and safety. European buildings often feature historic structures, drywall, or limited load-bearing capacity.

Key assessments:

  • Wall/structural load capacity (a 10 m² display + framework can weigh 300–500 kg — verify with structural engineer).
  • Viewing distance: Minimum distance in metres ≈ pixel pitch value (e.g., P2.5 for 2.5 m+ viewing).
  • Ambient lighting and power infrastructure: Plan for dedicated circuits compliant with EU electrical standards.
  • Ventilation and heat management: Ensure compatibility with existing HVAC for energy-efficient operation.
  • Compliance check: Confirm alignment with local building codes, CE marking, and fire safety regulations.
  • Document with photos, measurements, and electrical specs for your technical file.
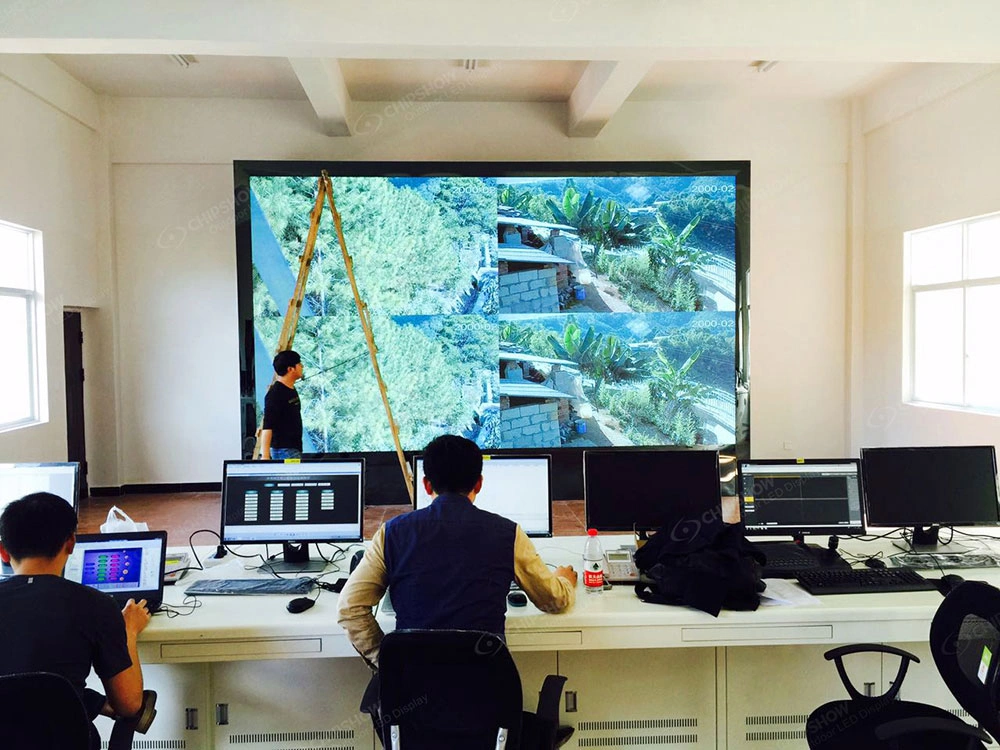
Indoor LED Display

Step 2: Create a Comprehensive Installation Plan

Align the plan with EU energy efficiency goals and your sustainability targets.

Pixel Pitch & Screen Size

Match to actual viewing distance. P1.86/P2.5 for typical retail/corporate use; finer pitches (COB) for control rooms.

Mounting Method
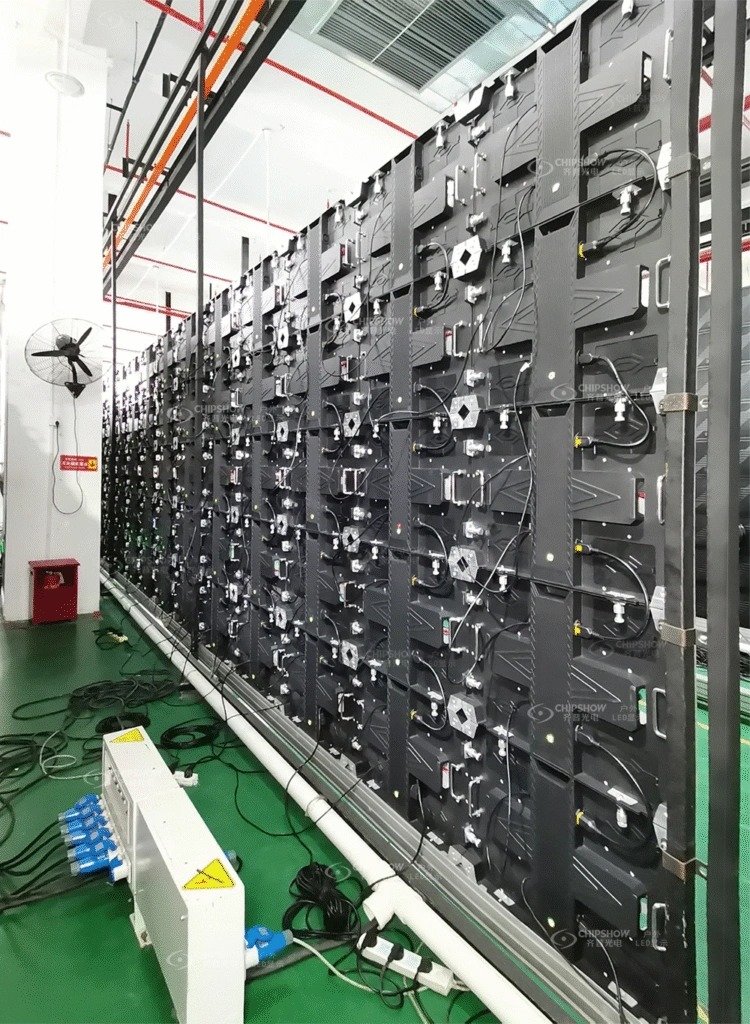
indoor LED display
  • Wall-mounted (most common in Europe due to space constraints) — pair with 100% front-service designs.
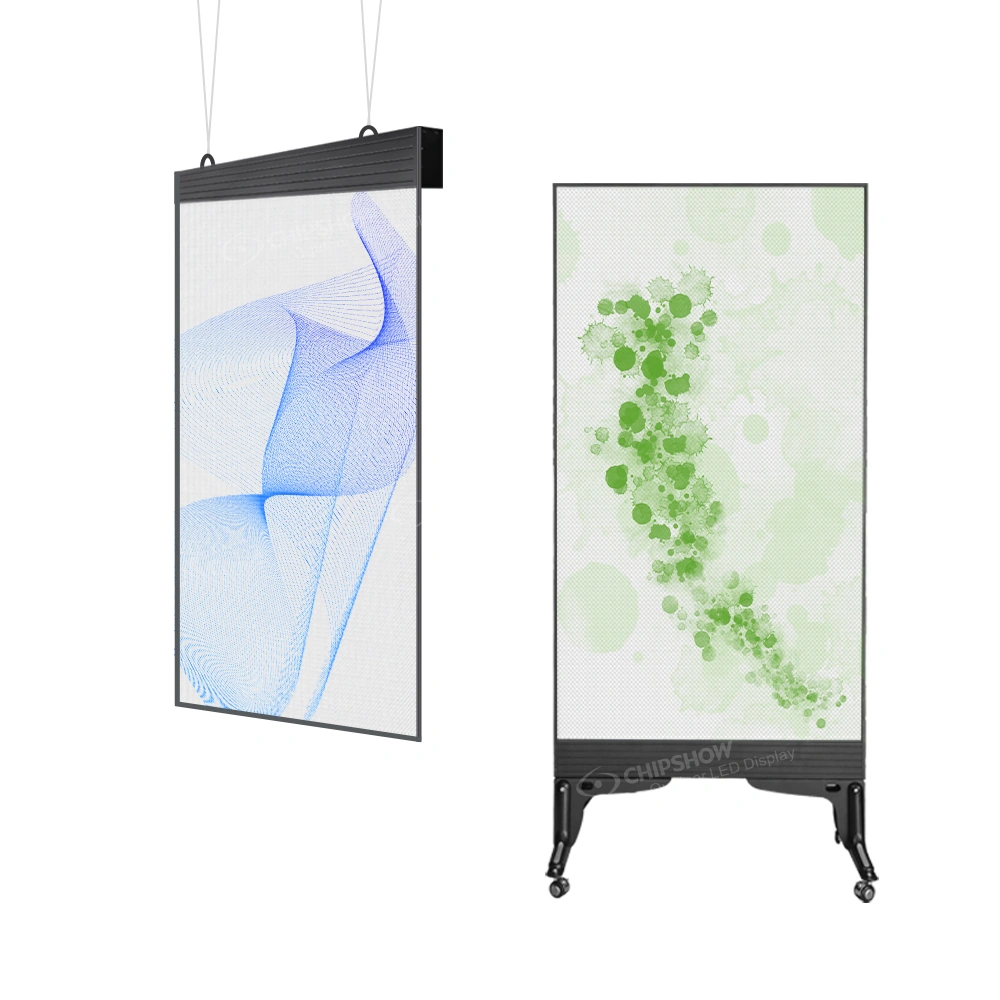
  • Floor-standing or ceiling-hung where appropriate.

Access Strategy

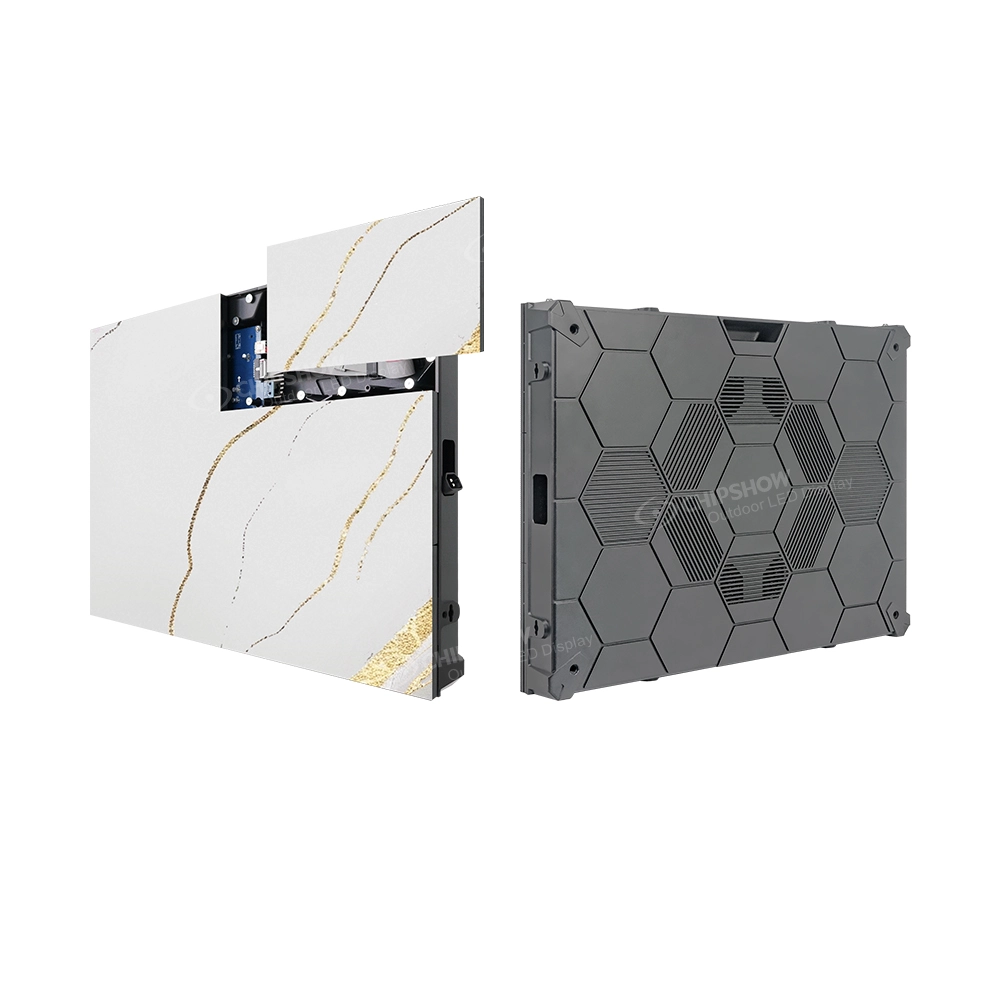
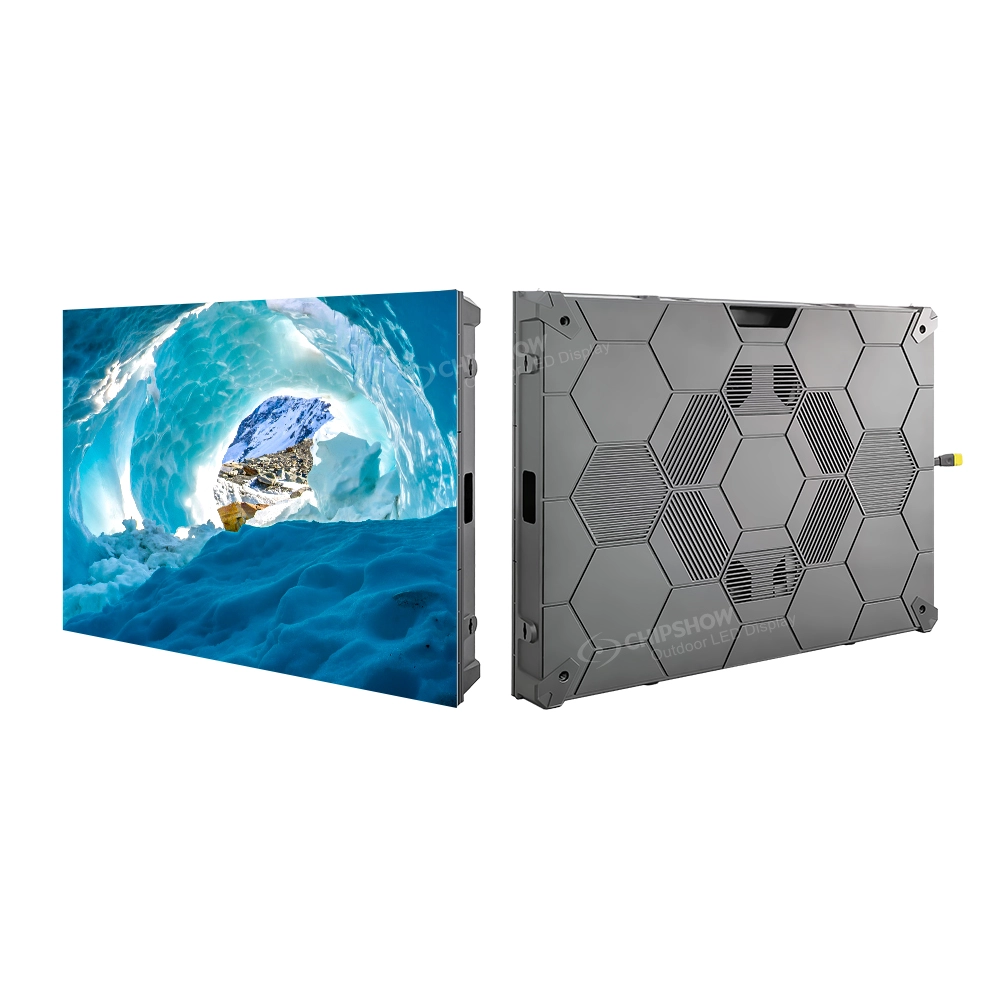
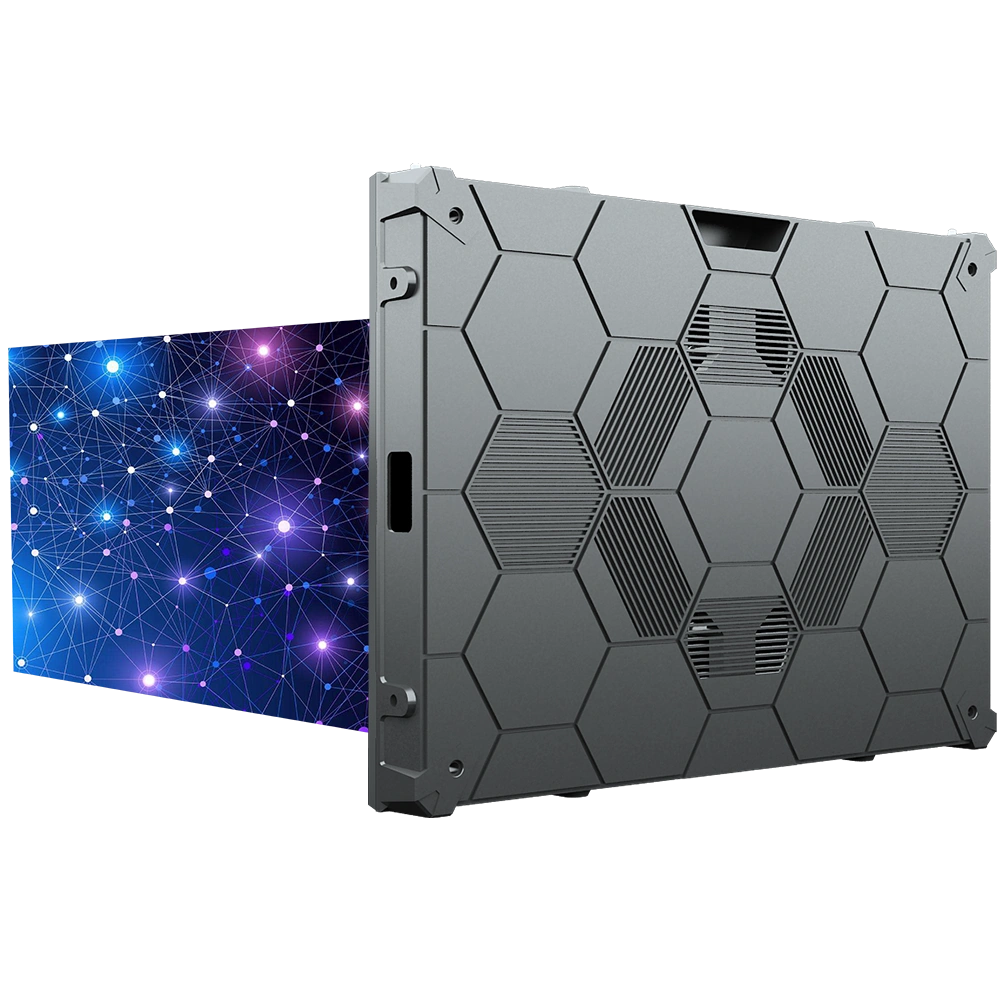
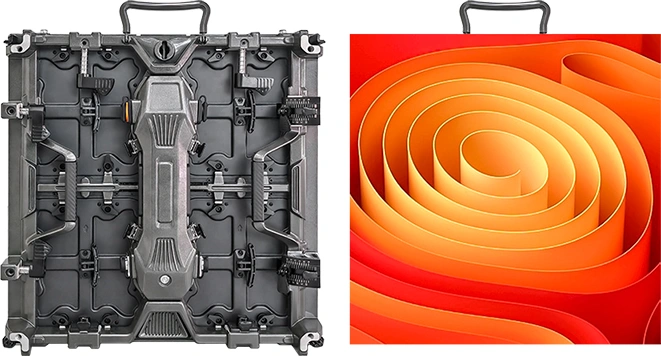
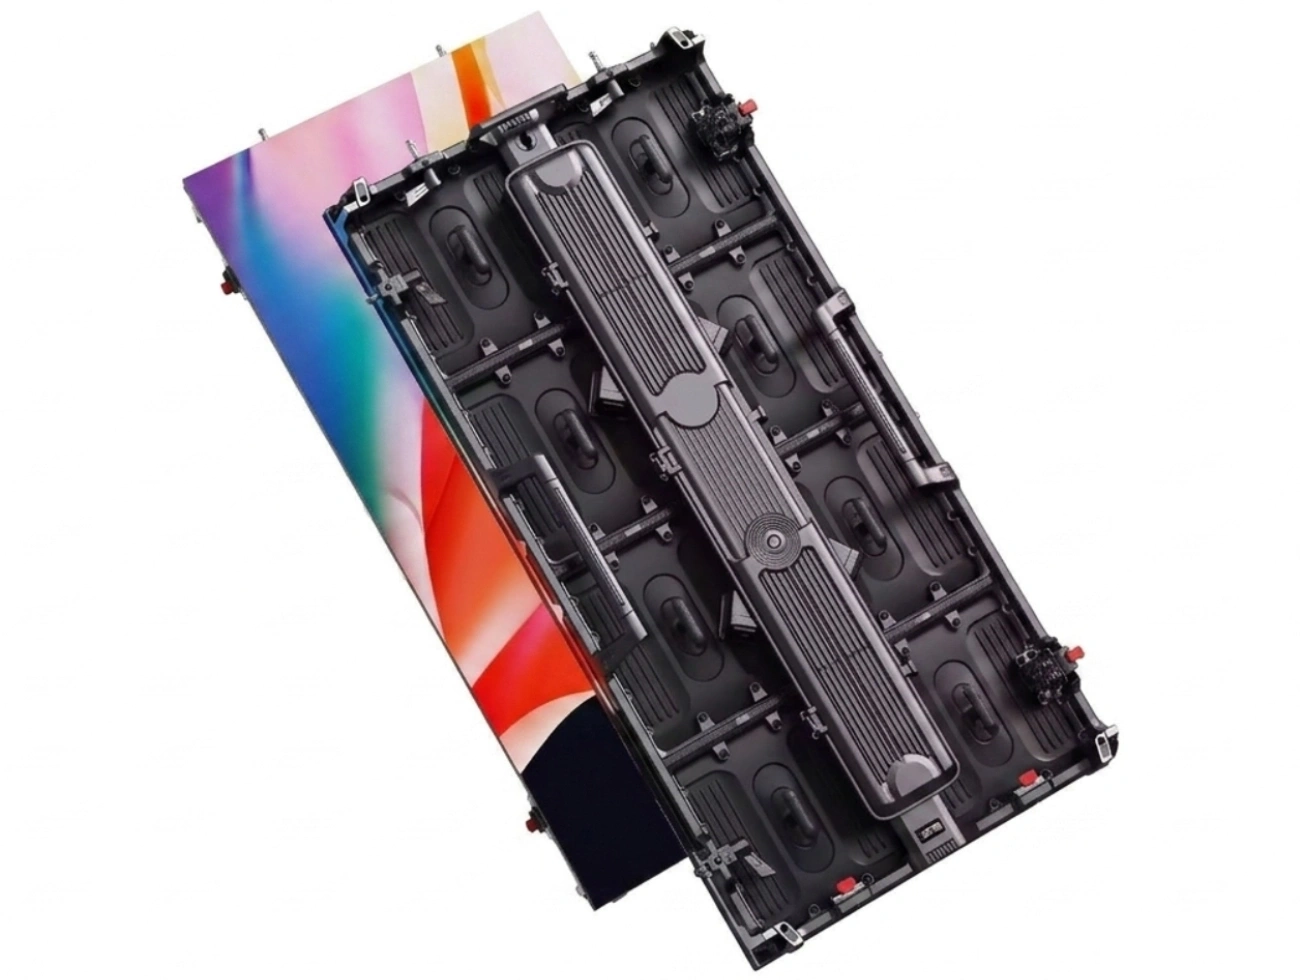
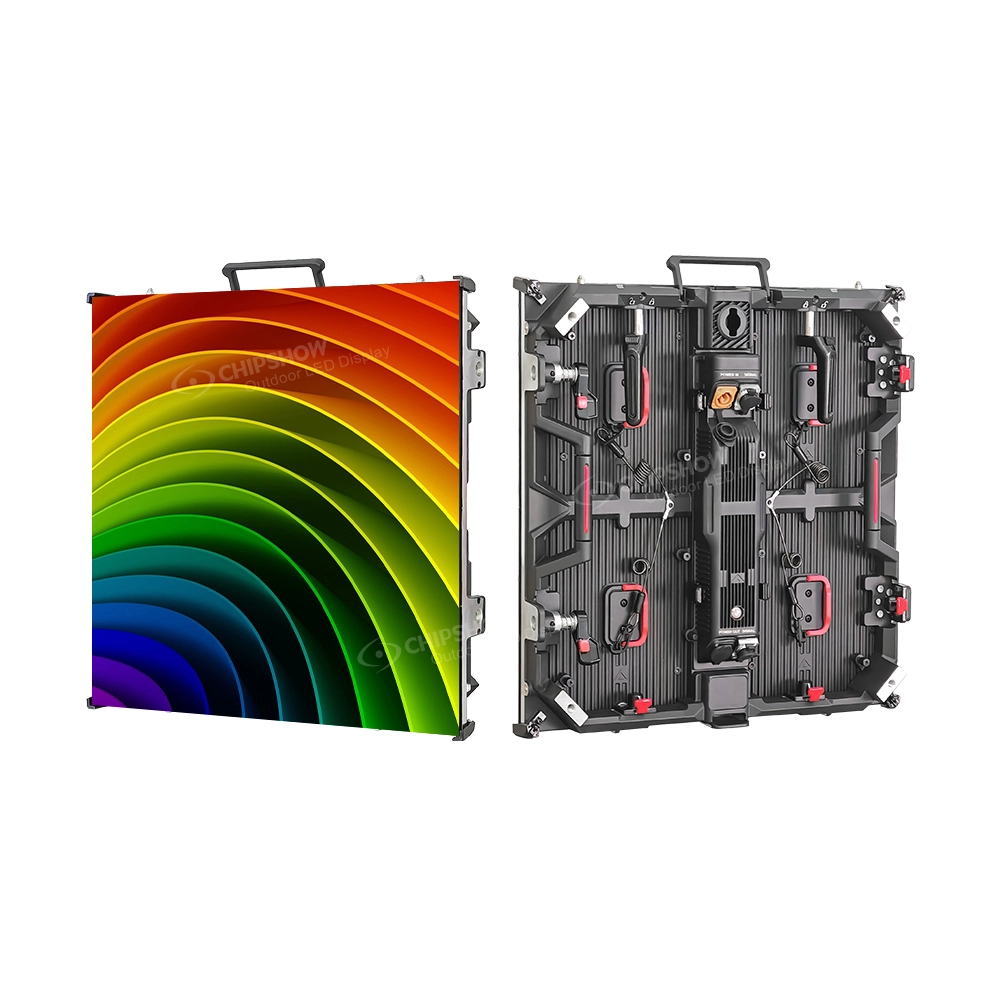
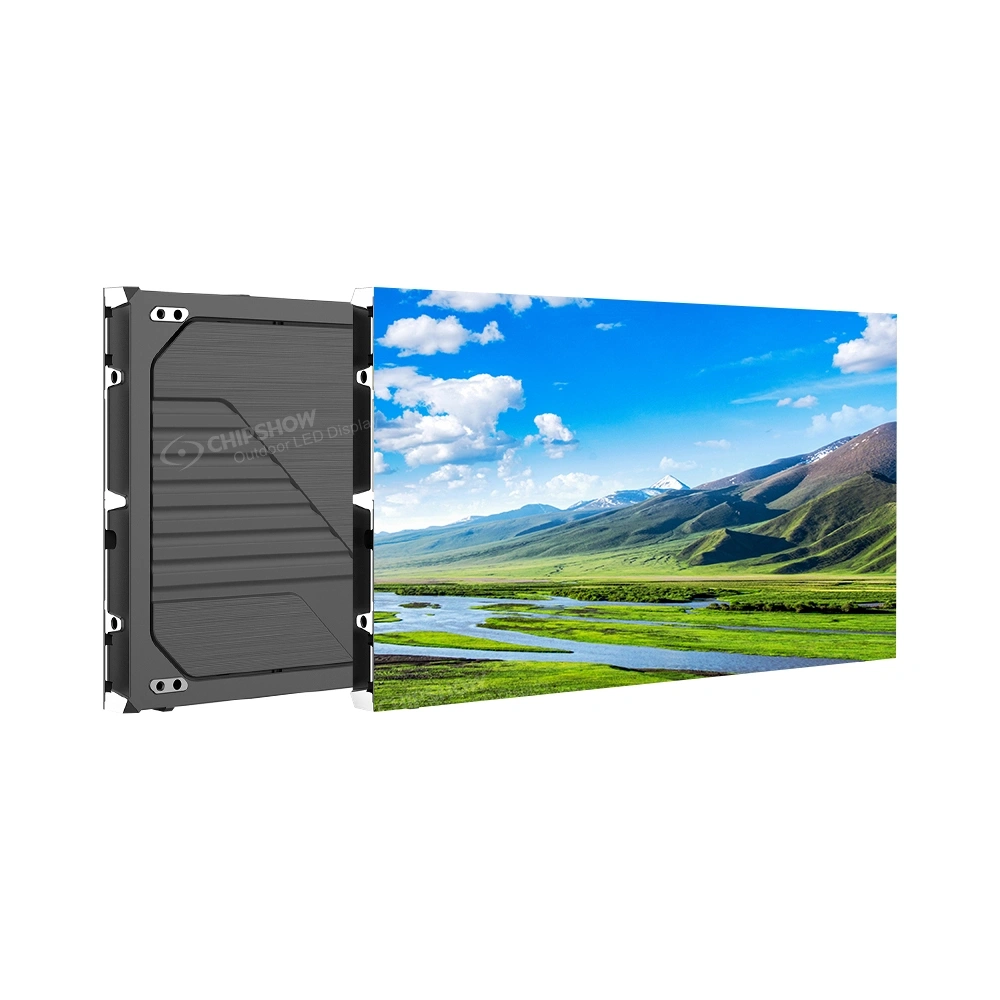
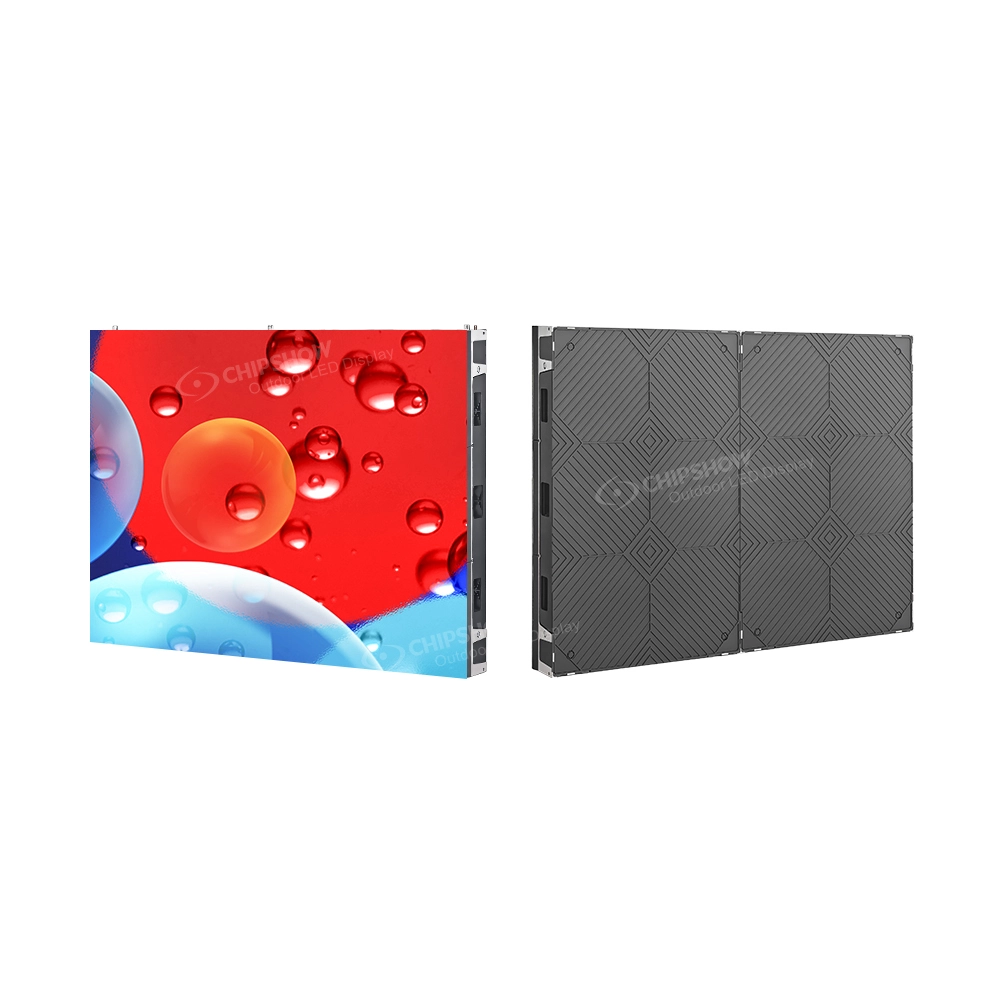
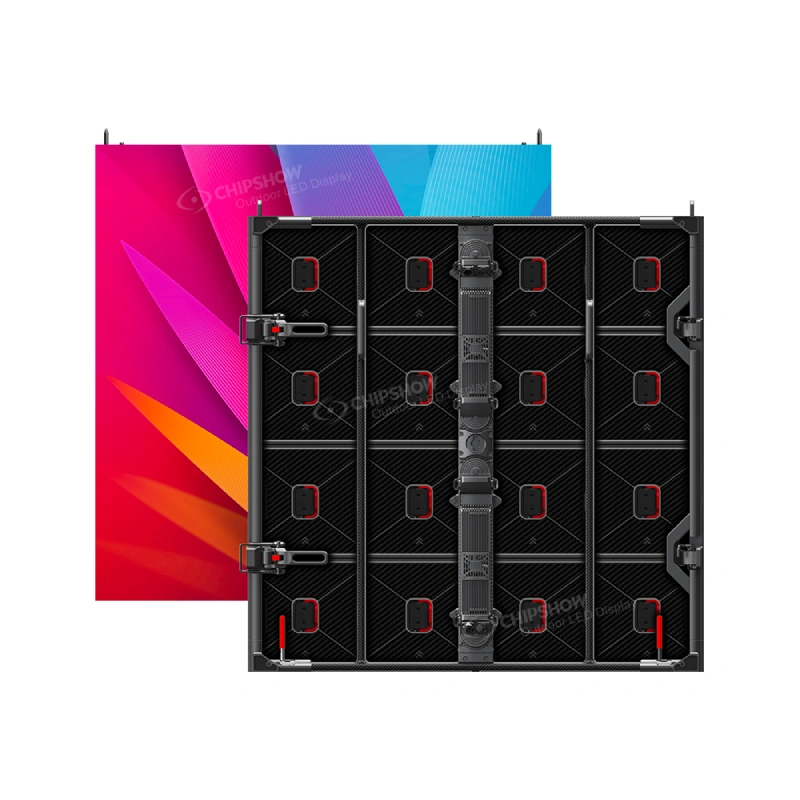
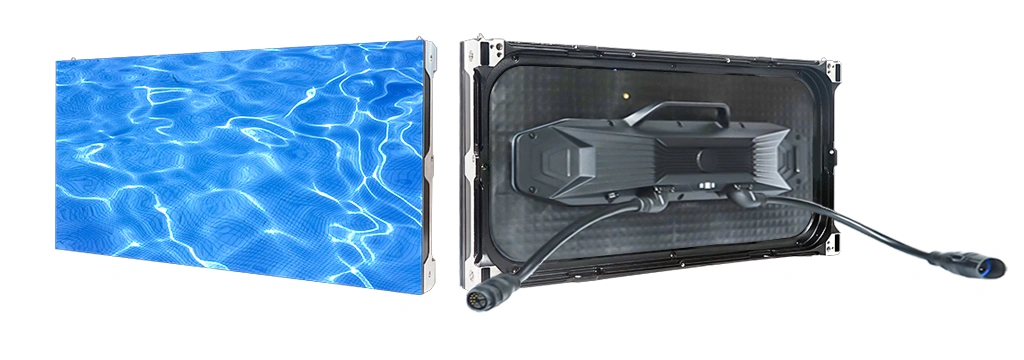
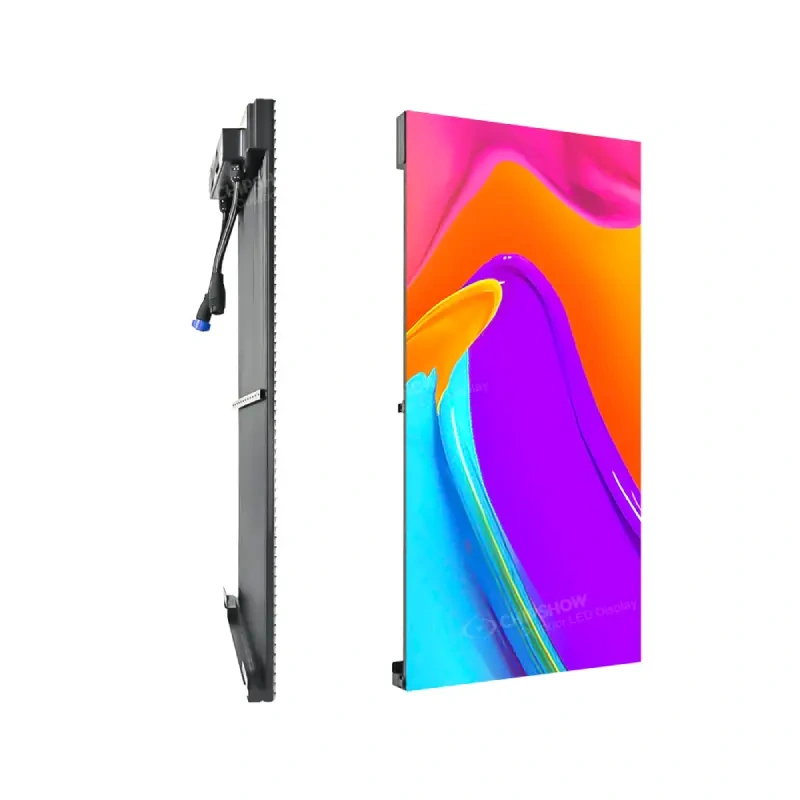
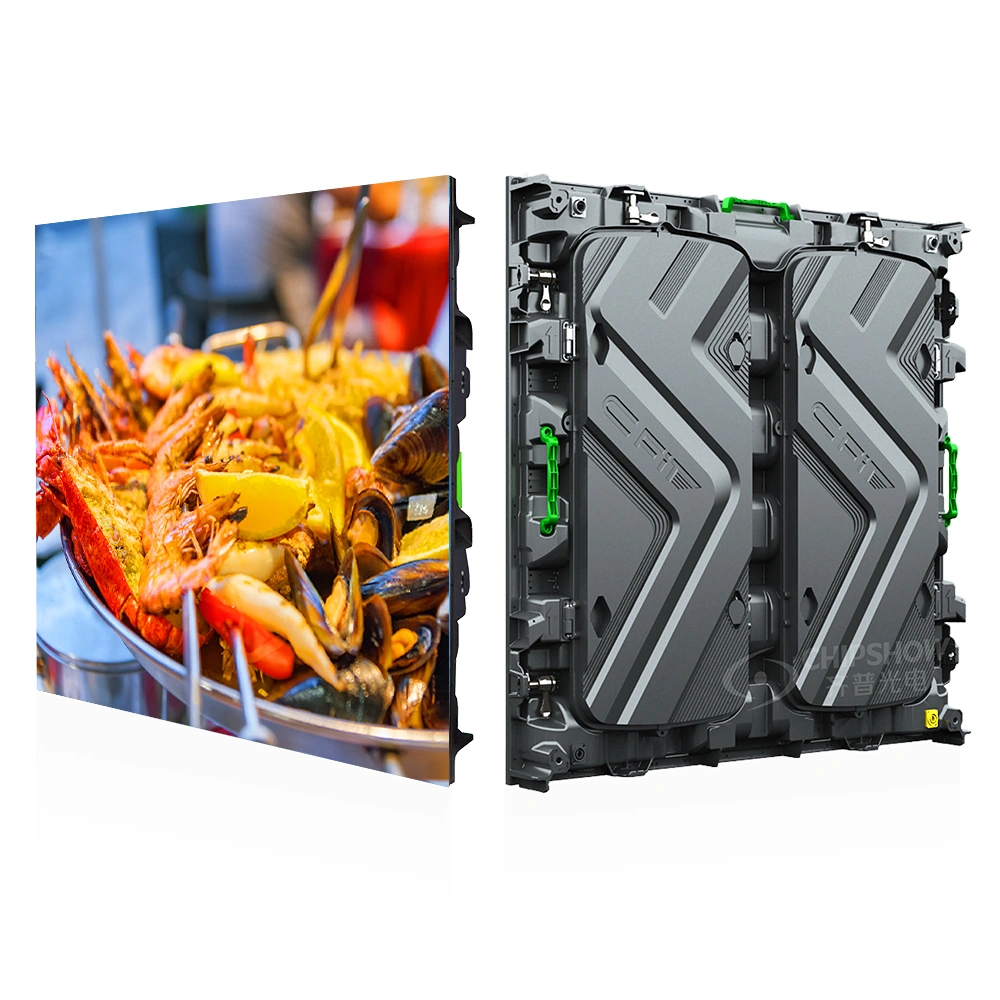
In space-limited European offices and retail, 100% front-access cabinets (like C-Max series) are essential — no need for 600–800 mm rear corridor, saving valuable floor space and supporting circular economy principles through easier module recycling.

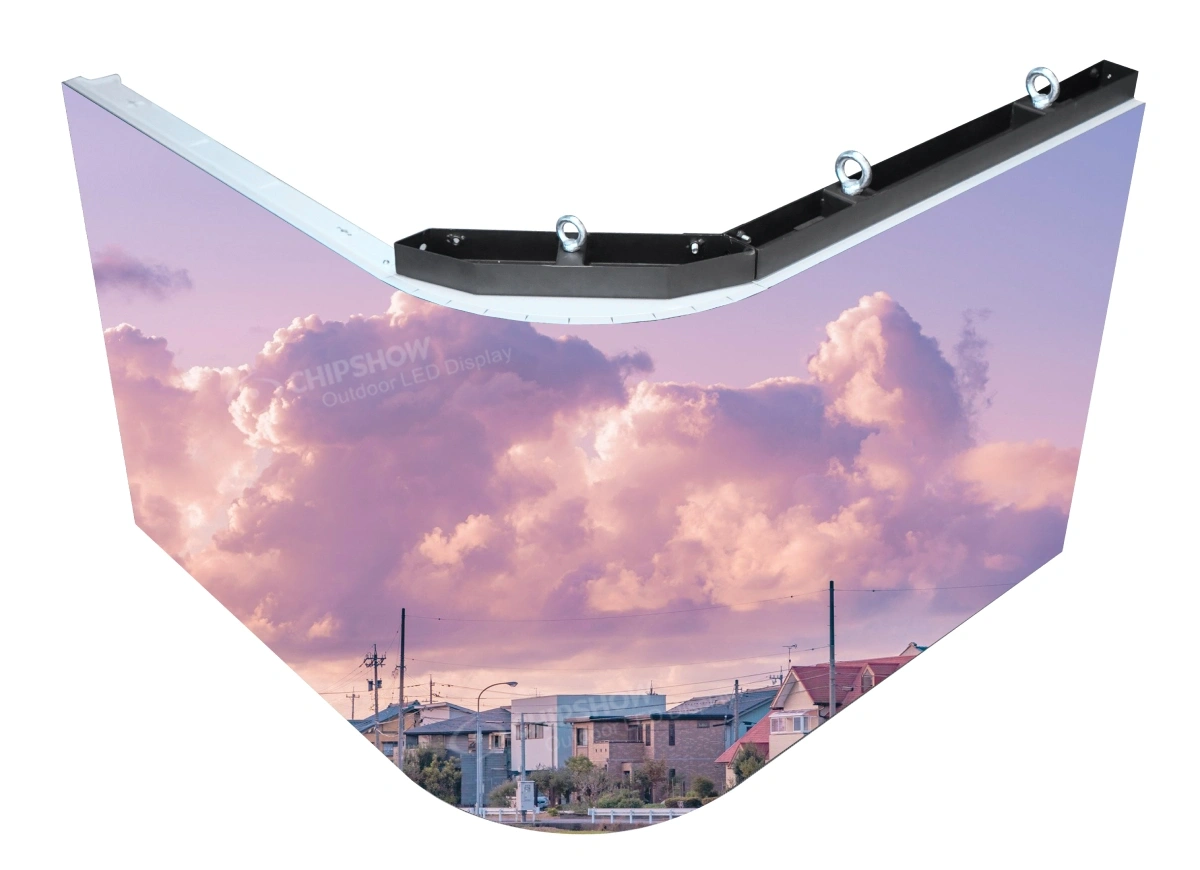
The C-Max platform features native 4:3 geometry (640 × 480 mm), ideal for seamless LCD video wall retrofits, combined with low-power design (optimized 500 nits) that helps meet Ecodesign requirements.

Step 3: Install the Support Framework

Use laser levels for perfect alignment. Reinforce older European walls with steel or plywood as needed. Front-service designs reduce structural demands.

Step 4: Mount the LED Cabinets

Start from bottom-left, ensure seam alignment with high-precision die-cast aluminum/magnesium cabinets. C-Max models offer fanless thermal design for silent, energy-efficient operation — critical for conference rooms and public buildings.

Local European support ensures quick access to spare modules, minimizing downtime and supporting WEEE obligations.

Step 5: Calibrate, Test, and Commission

Perform full brightness/color calibration for uniform image. Test at realistic low-brightness levels to verify high grayscale performance and energy efficiency. Plan periodic recalibration to maintain compliance over the product lifecycle.

Start Your Project with Confidence

Follow survey → plan → framework → cabinets → calibration. Choosing EU-compliant platforms like C-Max (energy-optimized, RoHS/CE ready, front-service) delivers professional results while supporting your net-zero and sustainability goals.

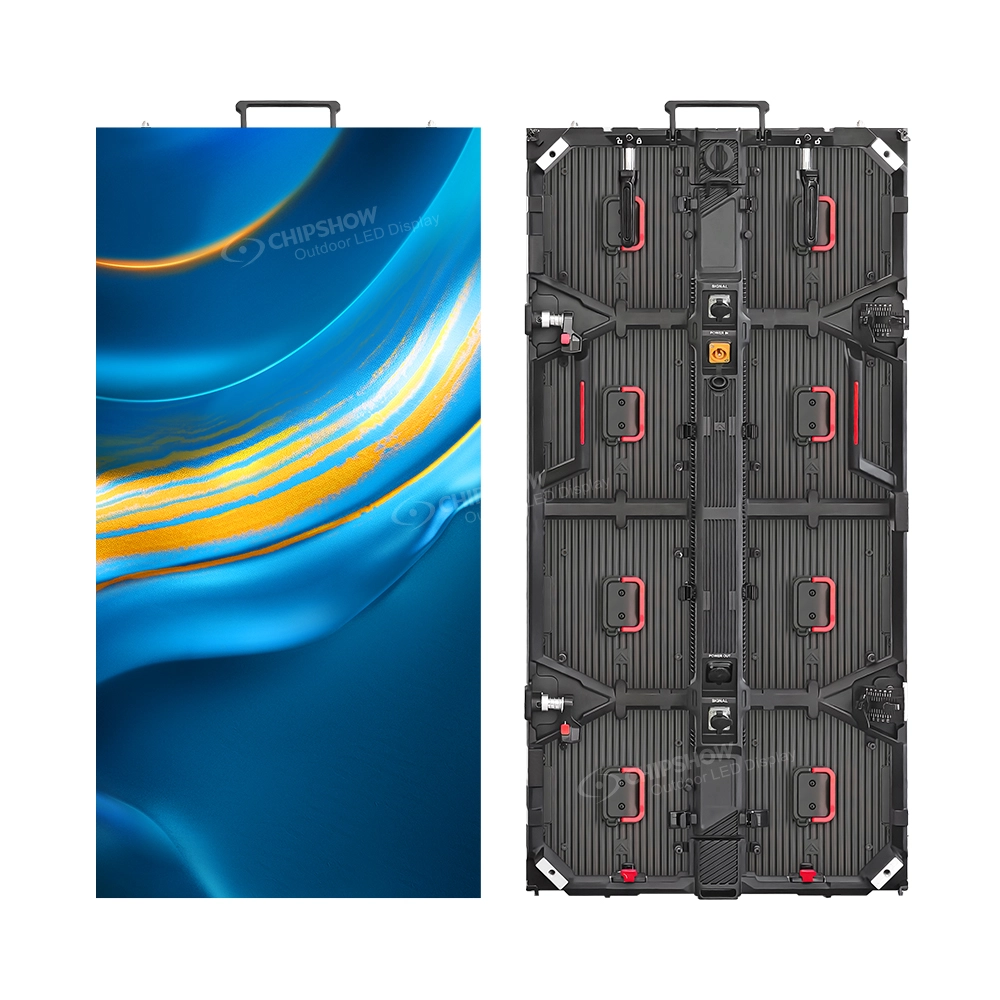
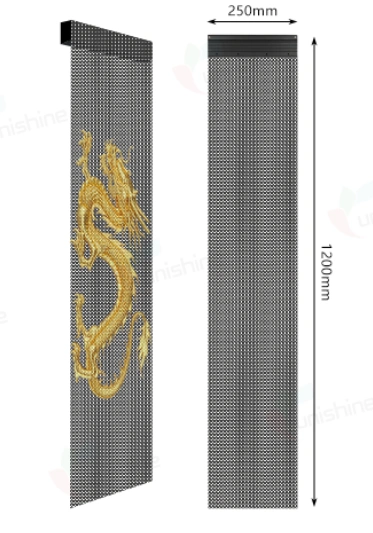
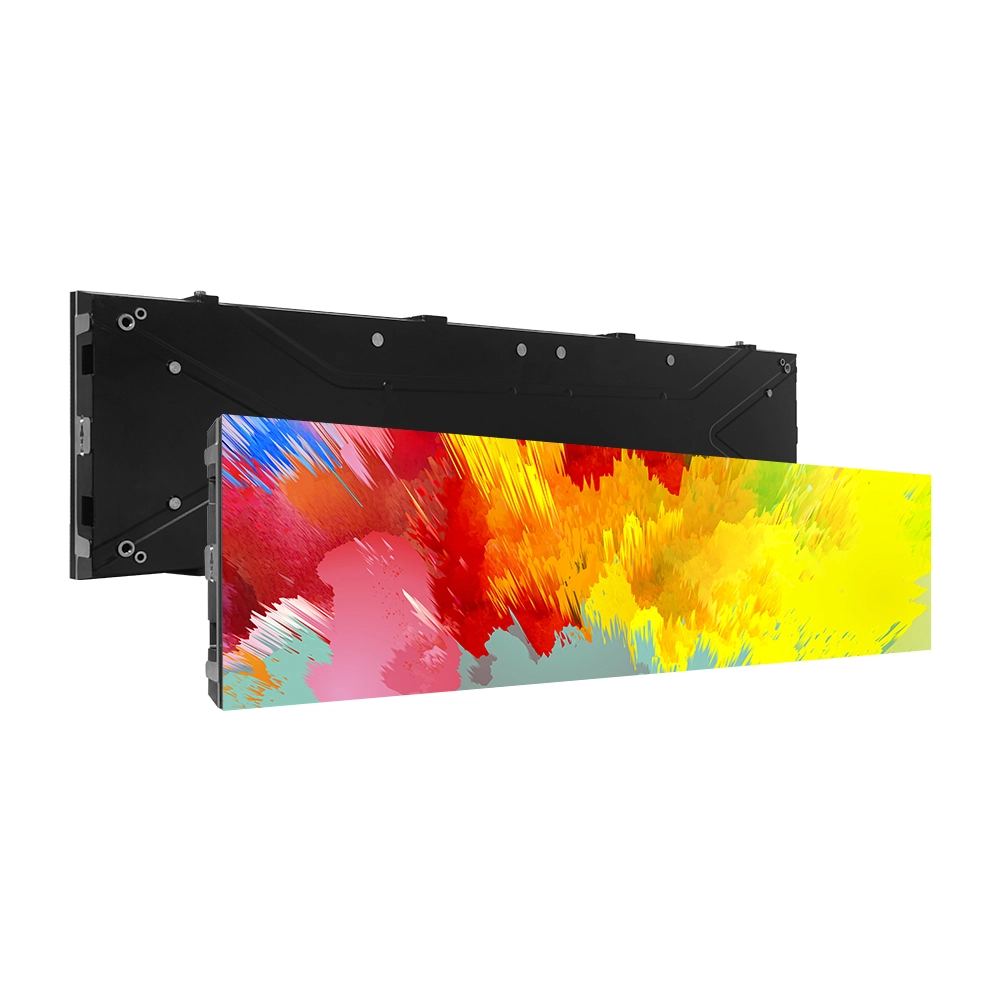
Contact the Chipshow Europe team for a site survey and tailored recommendation — whether you need the budget-friendly C-Max-Eco, versatile C-Max SMD, premium C-Max COB, or creative C-Max-C ribbon displays.
FAQ

Small conference-room projects usually take 1–2 days; larger retail or lobby installations require 3–7 days. Thorough site surveys and pre-planned CE-compliant cabling help avoid delays and costly change orders. With Chipshow’s EU supply chain, cabinets and spare parts are often available with short lead times, reducing project downtime.
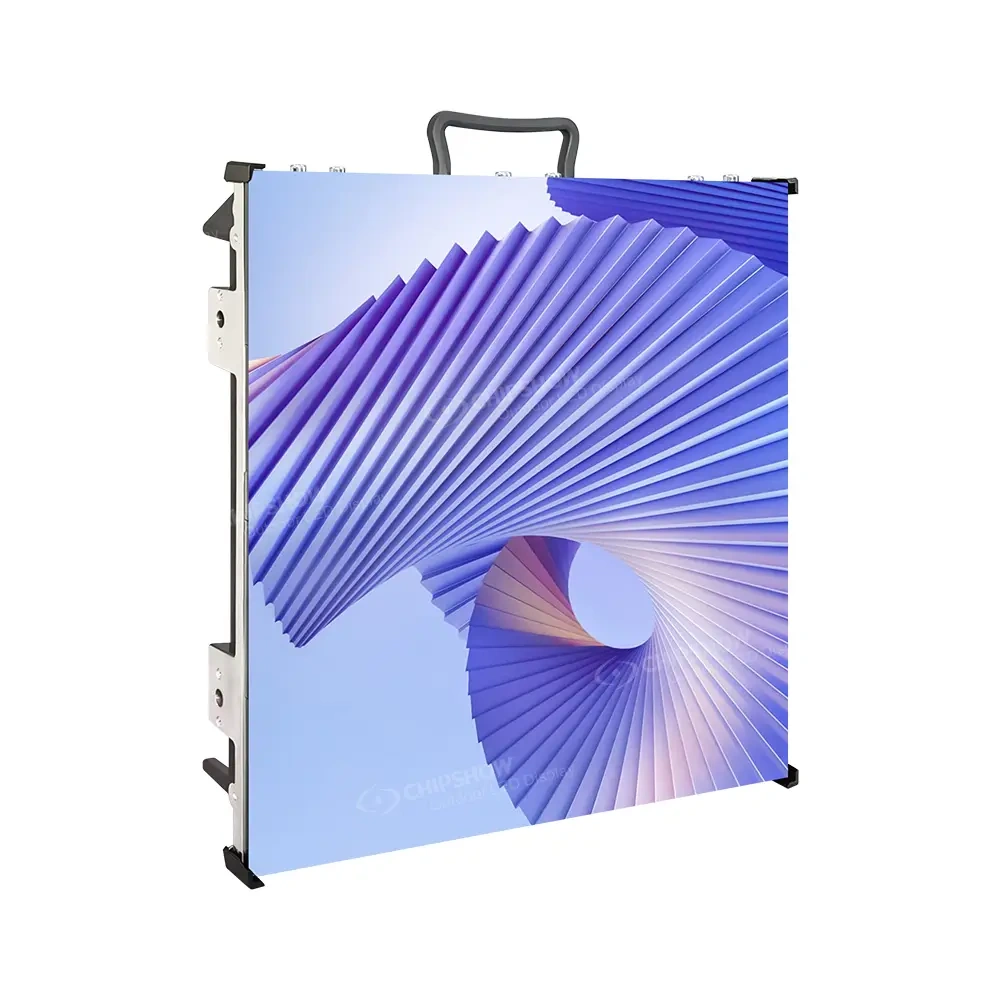
Table of Contents
    This field is required.

    Solutions

    Match real venues with brand-ready experiences

    Outdoor DOOH

    Outdoor DOOH & Billboards


    Designed for:
    - Reach pedestrians and nearby traffic with legible advertising in compact urban locations.
    - Balance required brightness with energy use and the surrounding architecture.
    Features: Pixel-Pitch Selection · Architectural Integration · Brightness & Energy Balance
    Apply to: Urban DOOH · Property Advertising Screens · Building Façades

    Indoor DOOH

    Indoor DOOH


    Designed for:
    - Show advertising, information and branded content clearly across indoor commercial and public spaces.
    - Preserve colour and contrast at close range and across wide interior sightlines.
    Features: Fine Pixel Pitch · Colour Consistency · Wide Viewing Angles
    Apply to: Shopping Centre Atriums · Transport Hubs · Control Rooms

    Stage & Events

    Stage & Event Rental


    Designed for:
    - Configure outdoor screens around small and mid-sized stages, venues and audience layouts.
    - Speed up changeovers across different venues, stage layouts and event requirements.
    Features: IP65 Protection · Flexible Splicing · Efficient Handling
    Apply to: Outdoor Festivals · Regional Concerts · Brand Activations

    Sports & Stadium

    Sports & Stadium


    Designed for:
    - Give spectators clear views of scores, replays and sponsor content throughout the venue.
    - Accommodate wide seating angles, outdoor exposure and routine service requirements.
    Features: Wide Viewing Angles · Outdoor Stability · Maintenance Access
    Apply to: Stadium Perimeters · Scoreboards & Video Screens · Outdoor Fan Zones

    House of Worship

    House of Worship


    Designed for:
    - Provide clear views of lyrics, service content and live video across varied seating positions.
    - Blend quiet LED displays into existing interiors without competing with their architectural character.
    Features: High Contrast · Quiet Operation · Architectural Integration
    Apply to: Historic Churches · Modern Sanctuaries · Multi-Faith Centres

    Conference & Education

    Conference & Education


    Designed for:
    - Improve close-range viewing of presentations, shared data and remote participants.
    - Limit visual glare and operating noise in meeting and teaching spaces.
    Features: Fine Pixel Pitch · Low-Glare Options · Quiet Operation
    Apply to: Boardrooms · Lecture Theatres · Training Rooms

    Retail & Shopping Mall

    High Street Window


    Designed for:
    - Capture attention from the pavement while preserving merchandise visibility inside.
    - Combine daylight visibility, transparency and a clean fit around existing shopfronts.
    Features: Daylight Visibility · High Transparency · Shopfront Integration
    Apply to: High-Street Shopfronts · Shopping Centre Entrances · Department Store Windows

    Traffic & VMS

    Retail & shopping mall

    Retail LED for EU shopping centres, flagship stores and luxury boutiques. Slim depth suits existing retail architecture; EMC Class B for mixed-use spaces.


    Tender Compliant? We hold full CPR certification (No. 2531-CPR-CSC10059). Contact us for project-specific engineering and compliance docs.

    Recommend Products

    Purpose-built platforms for iconic moments