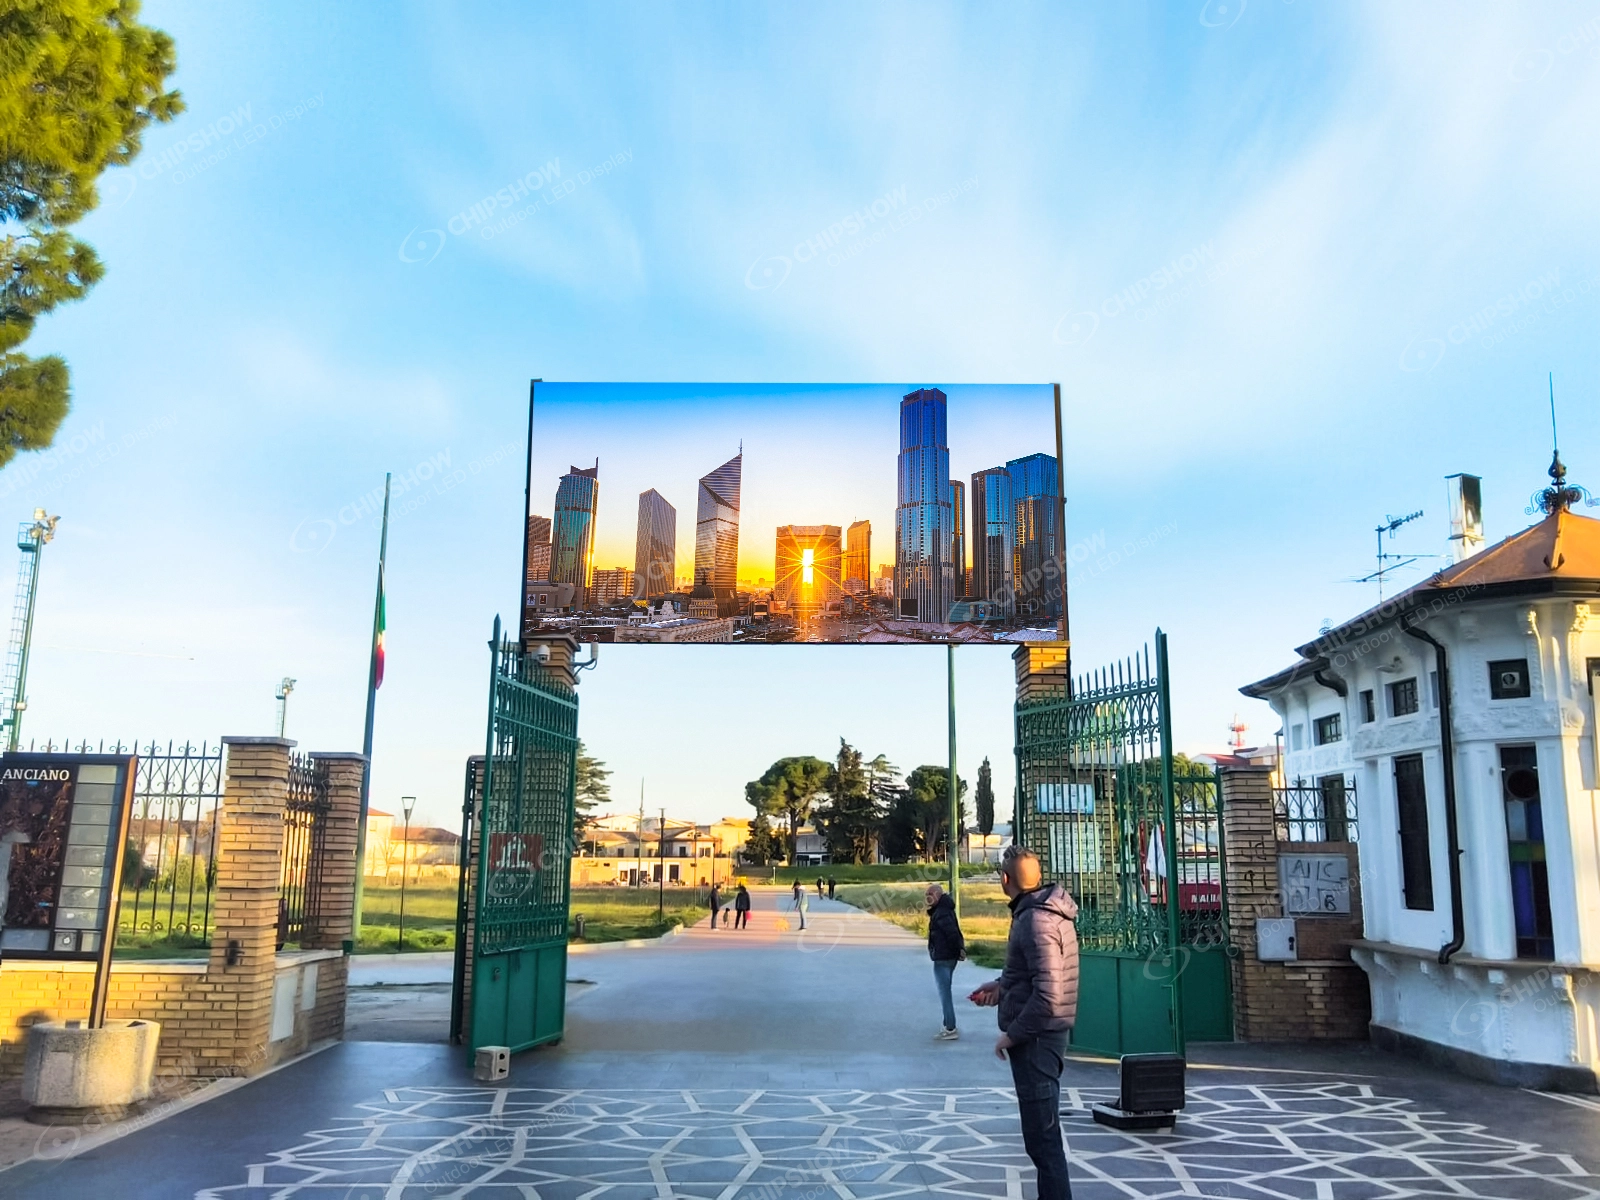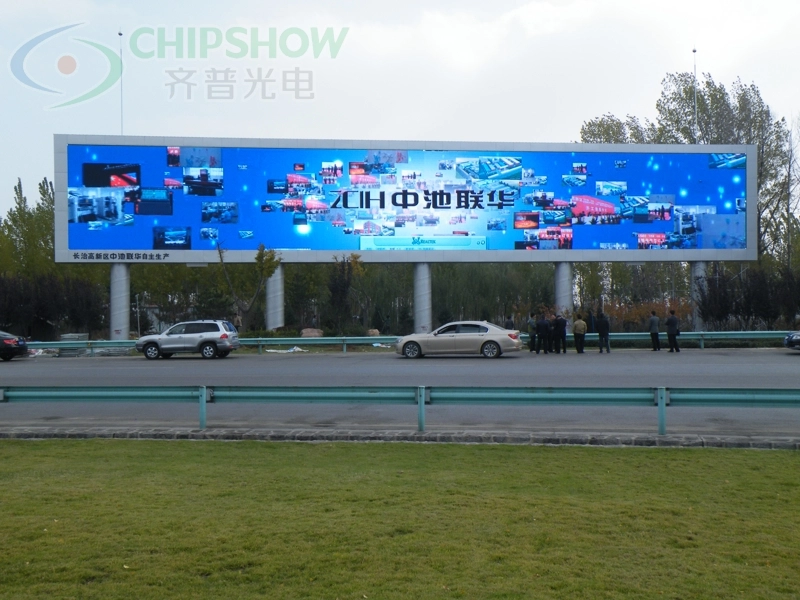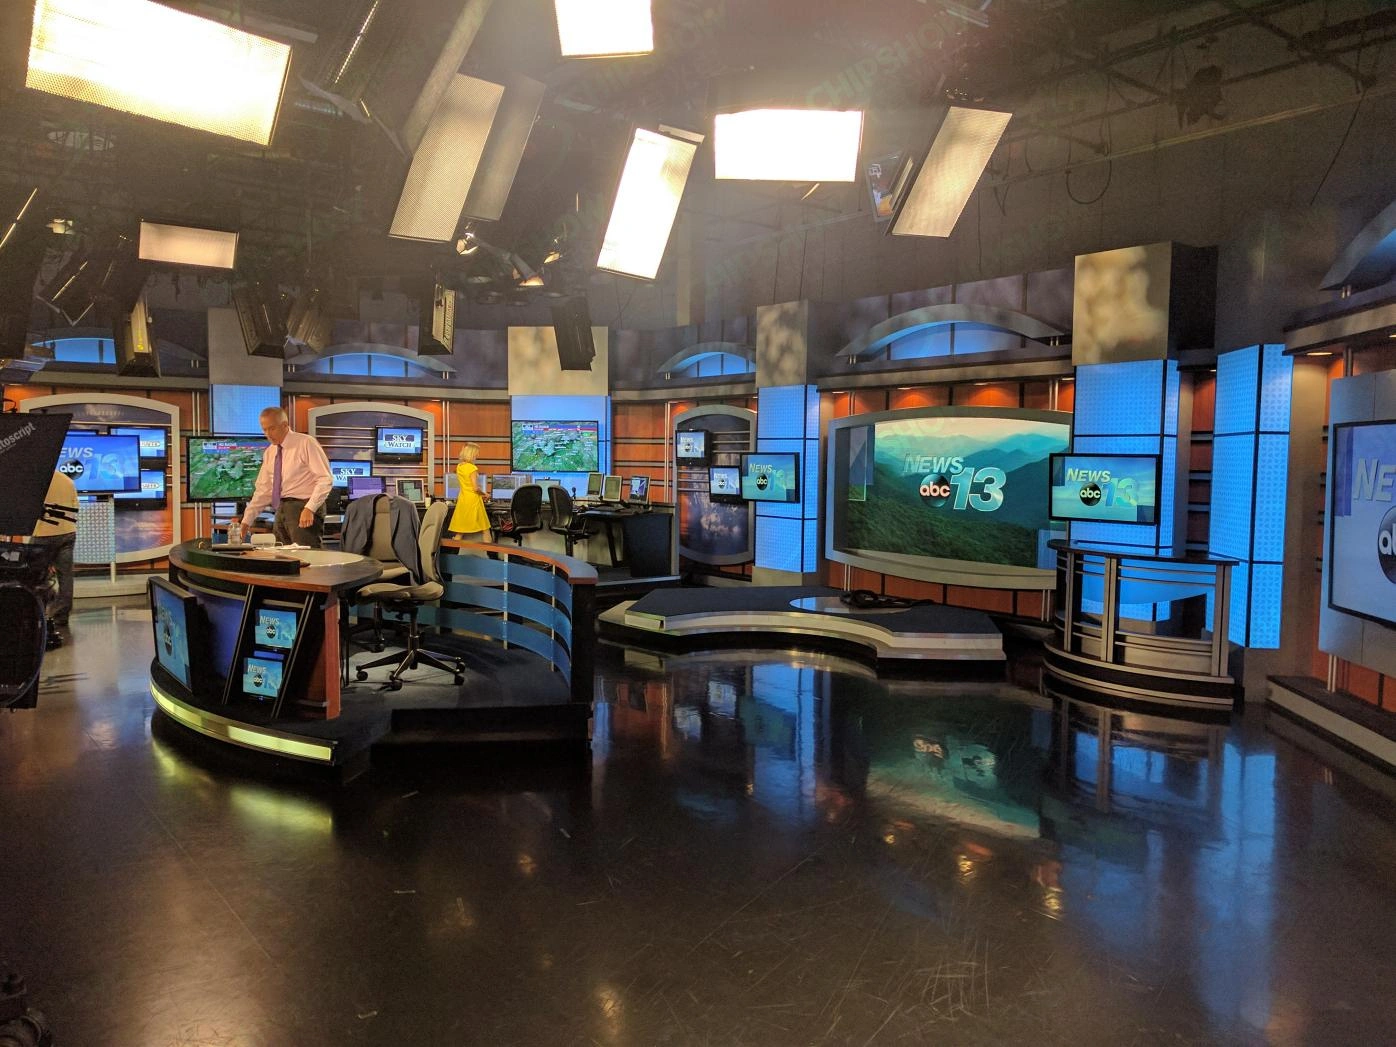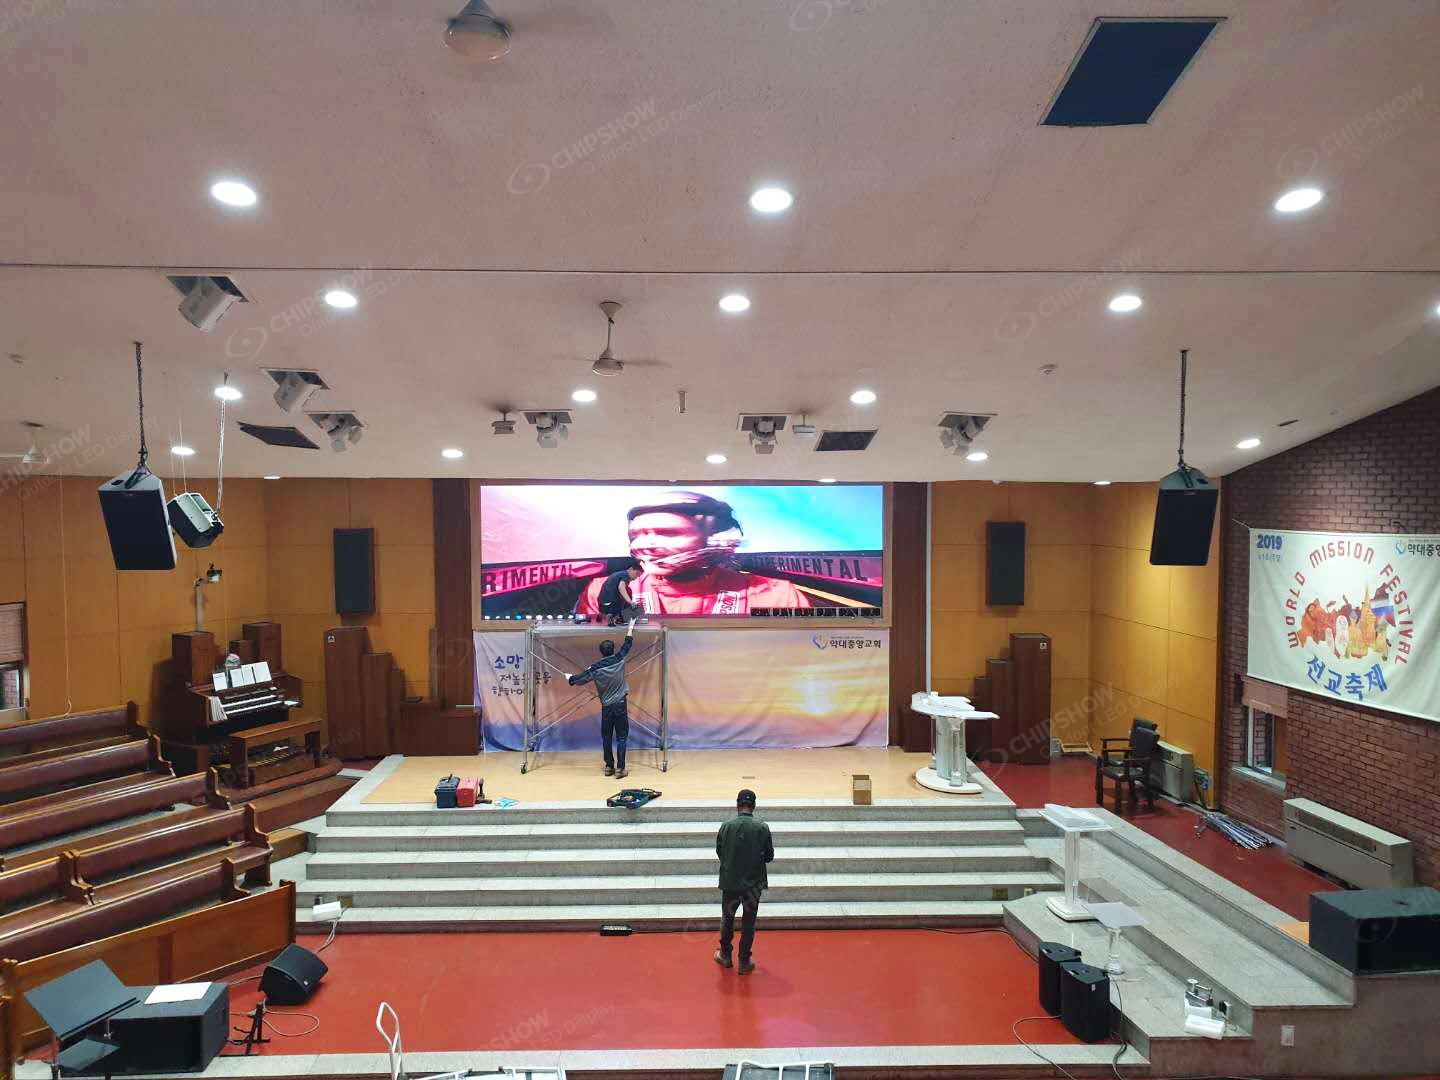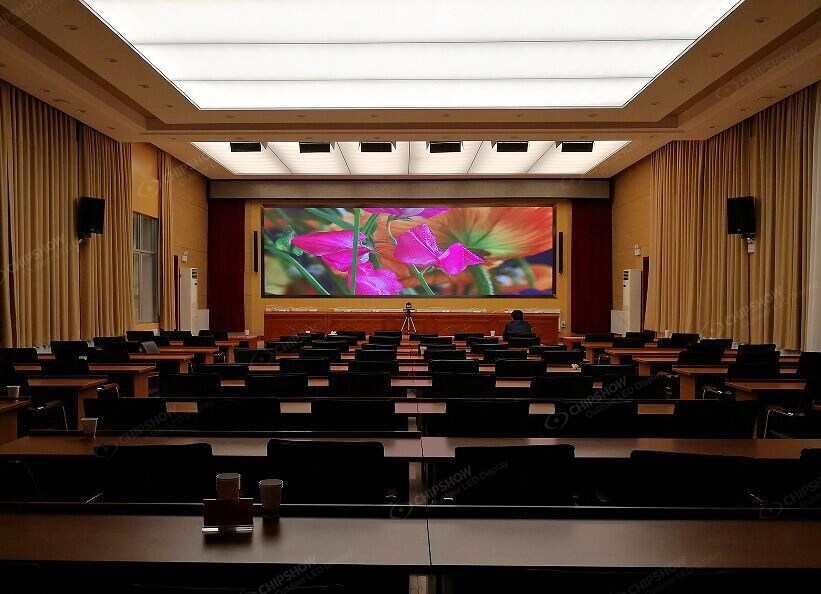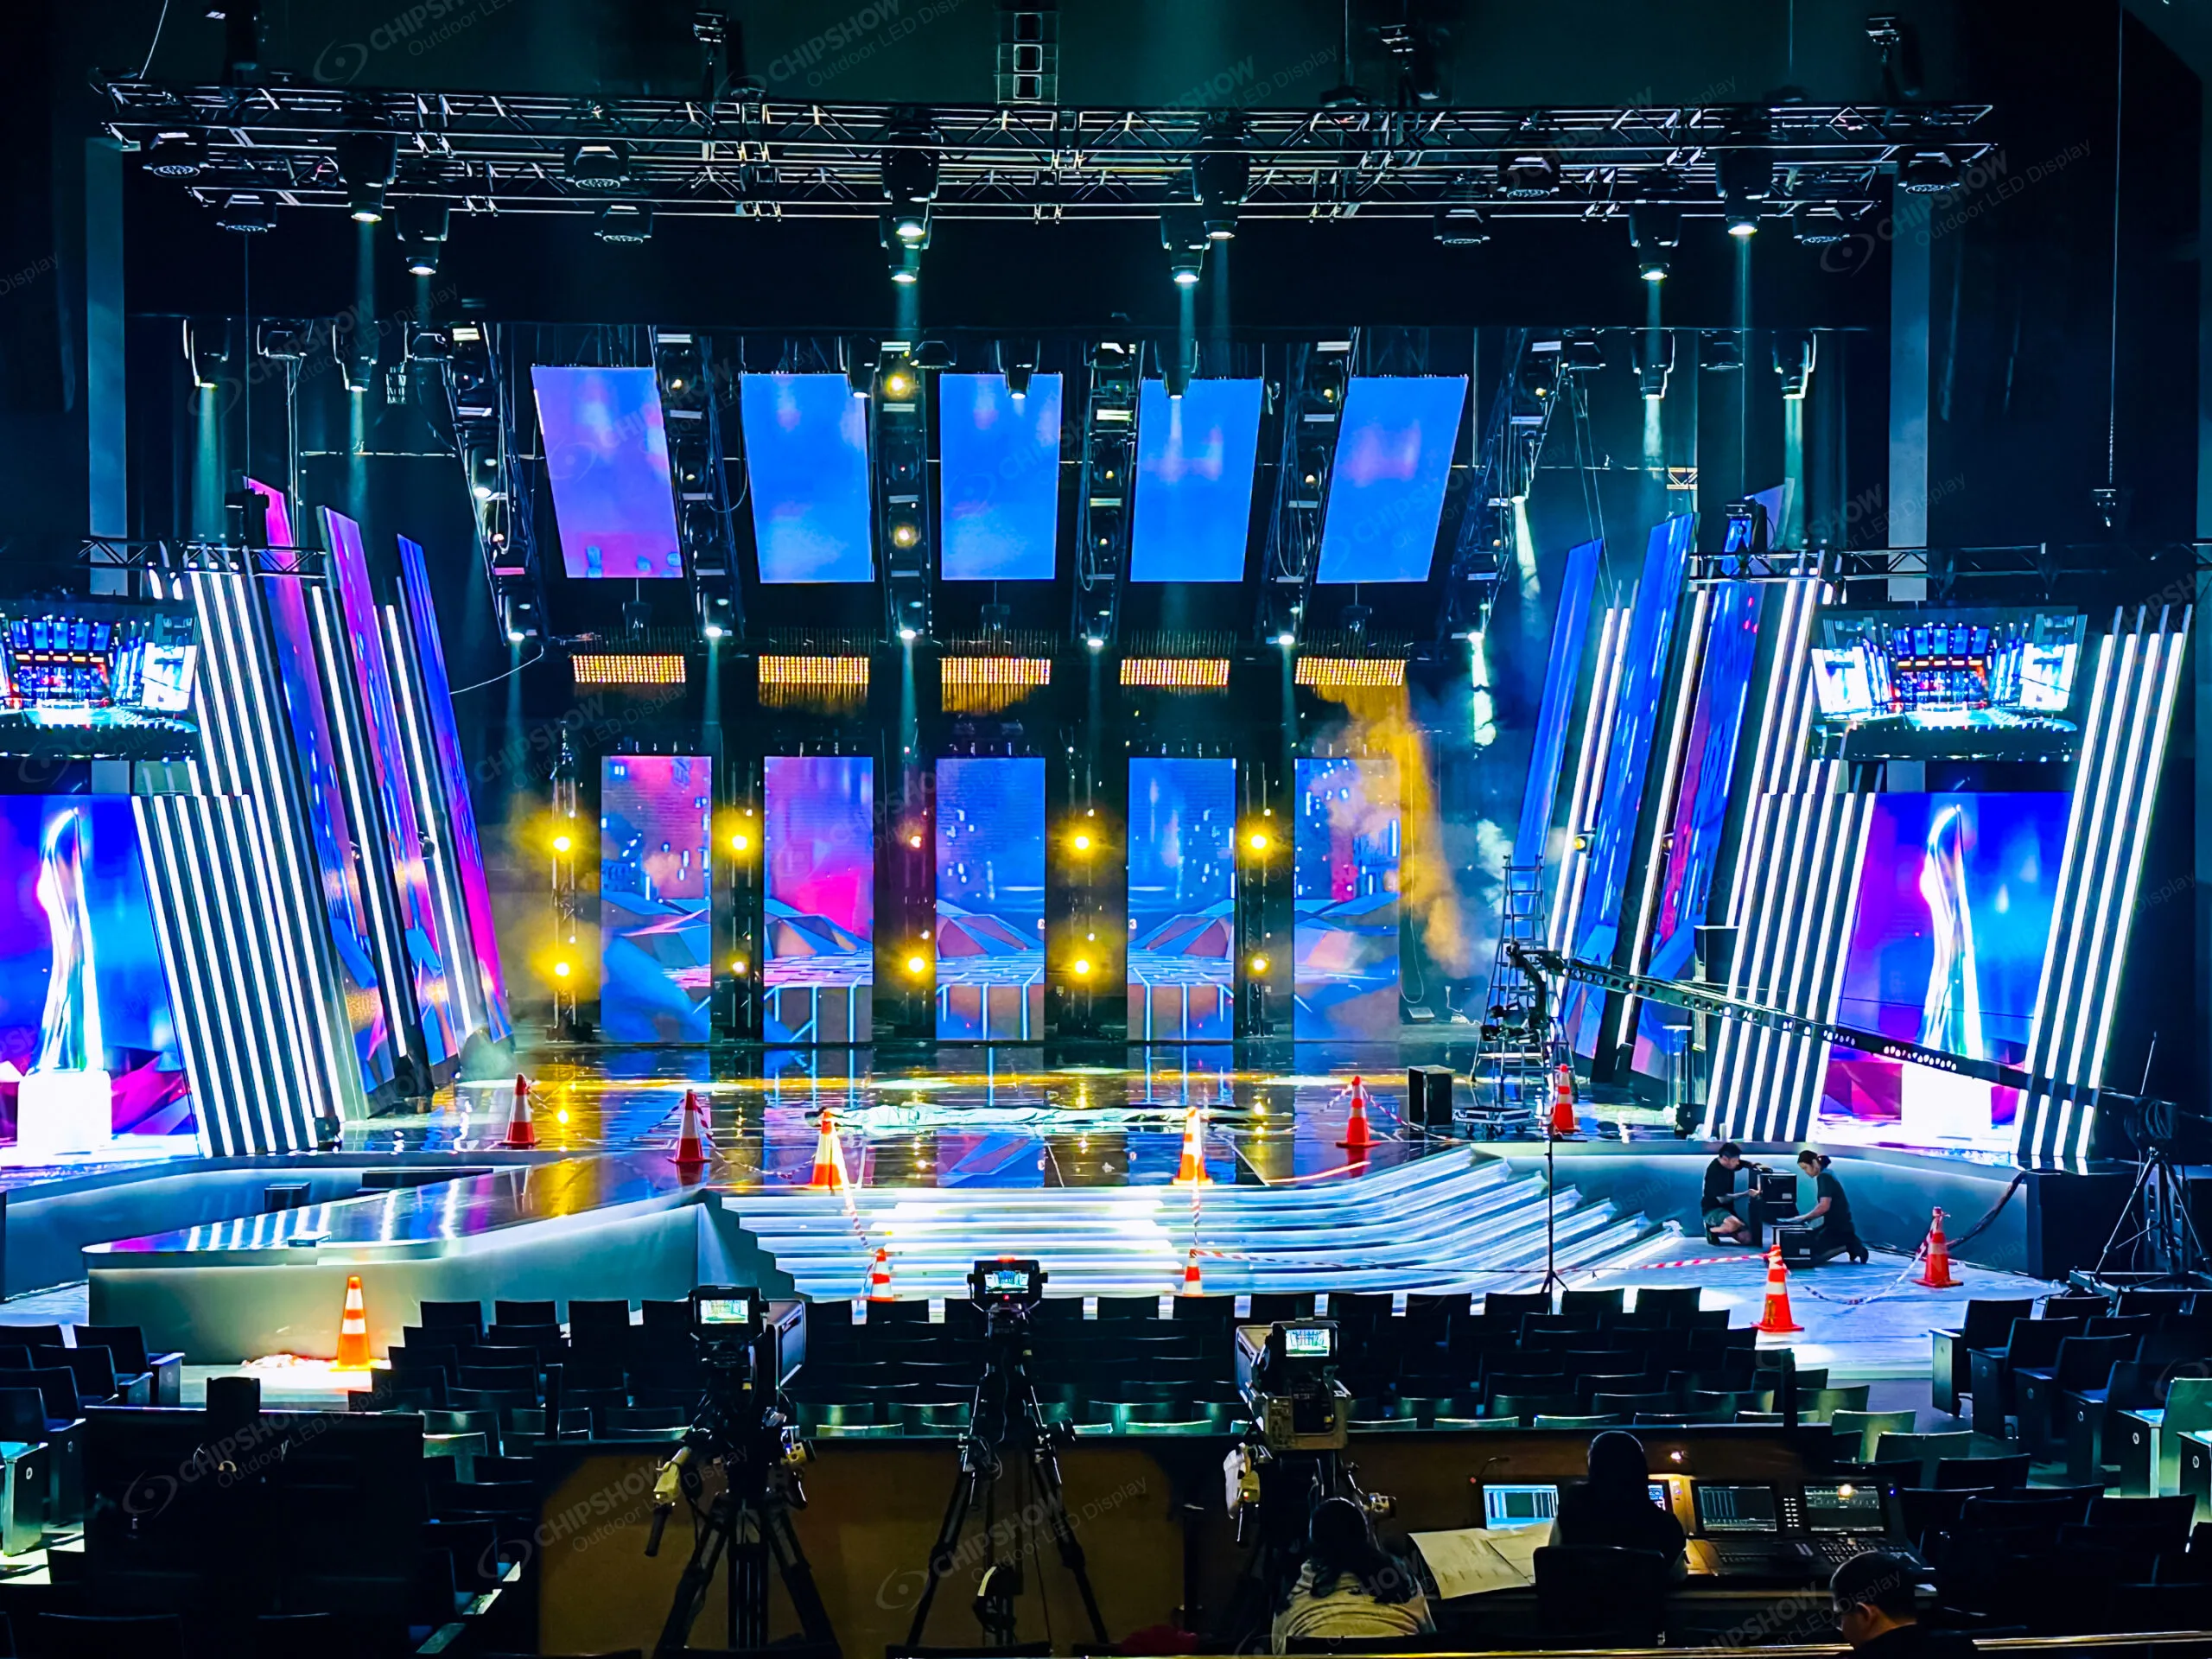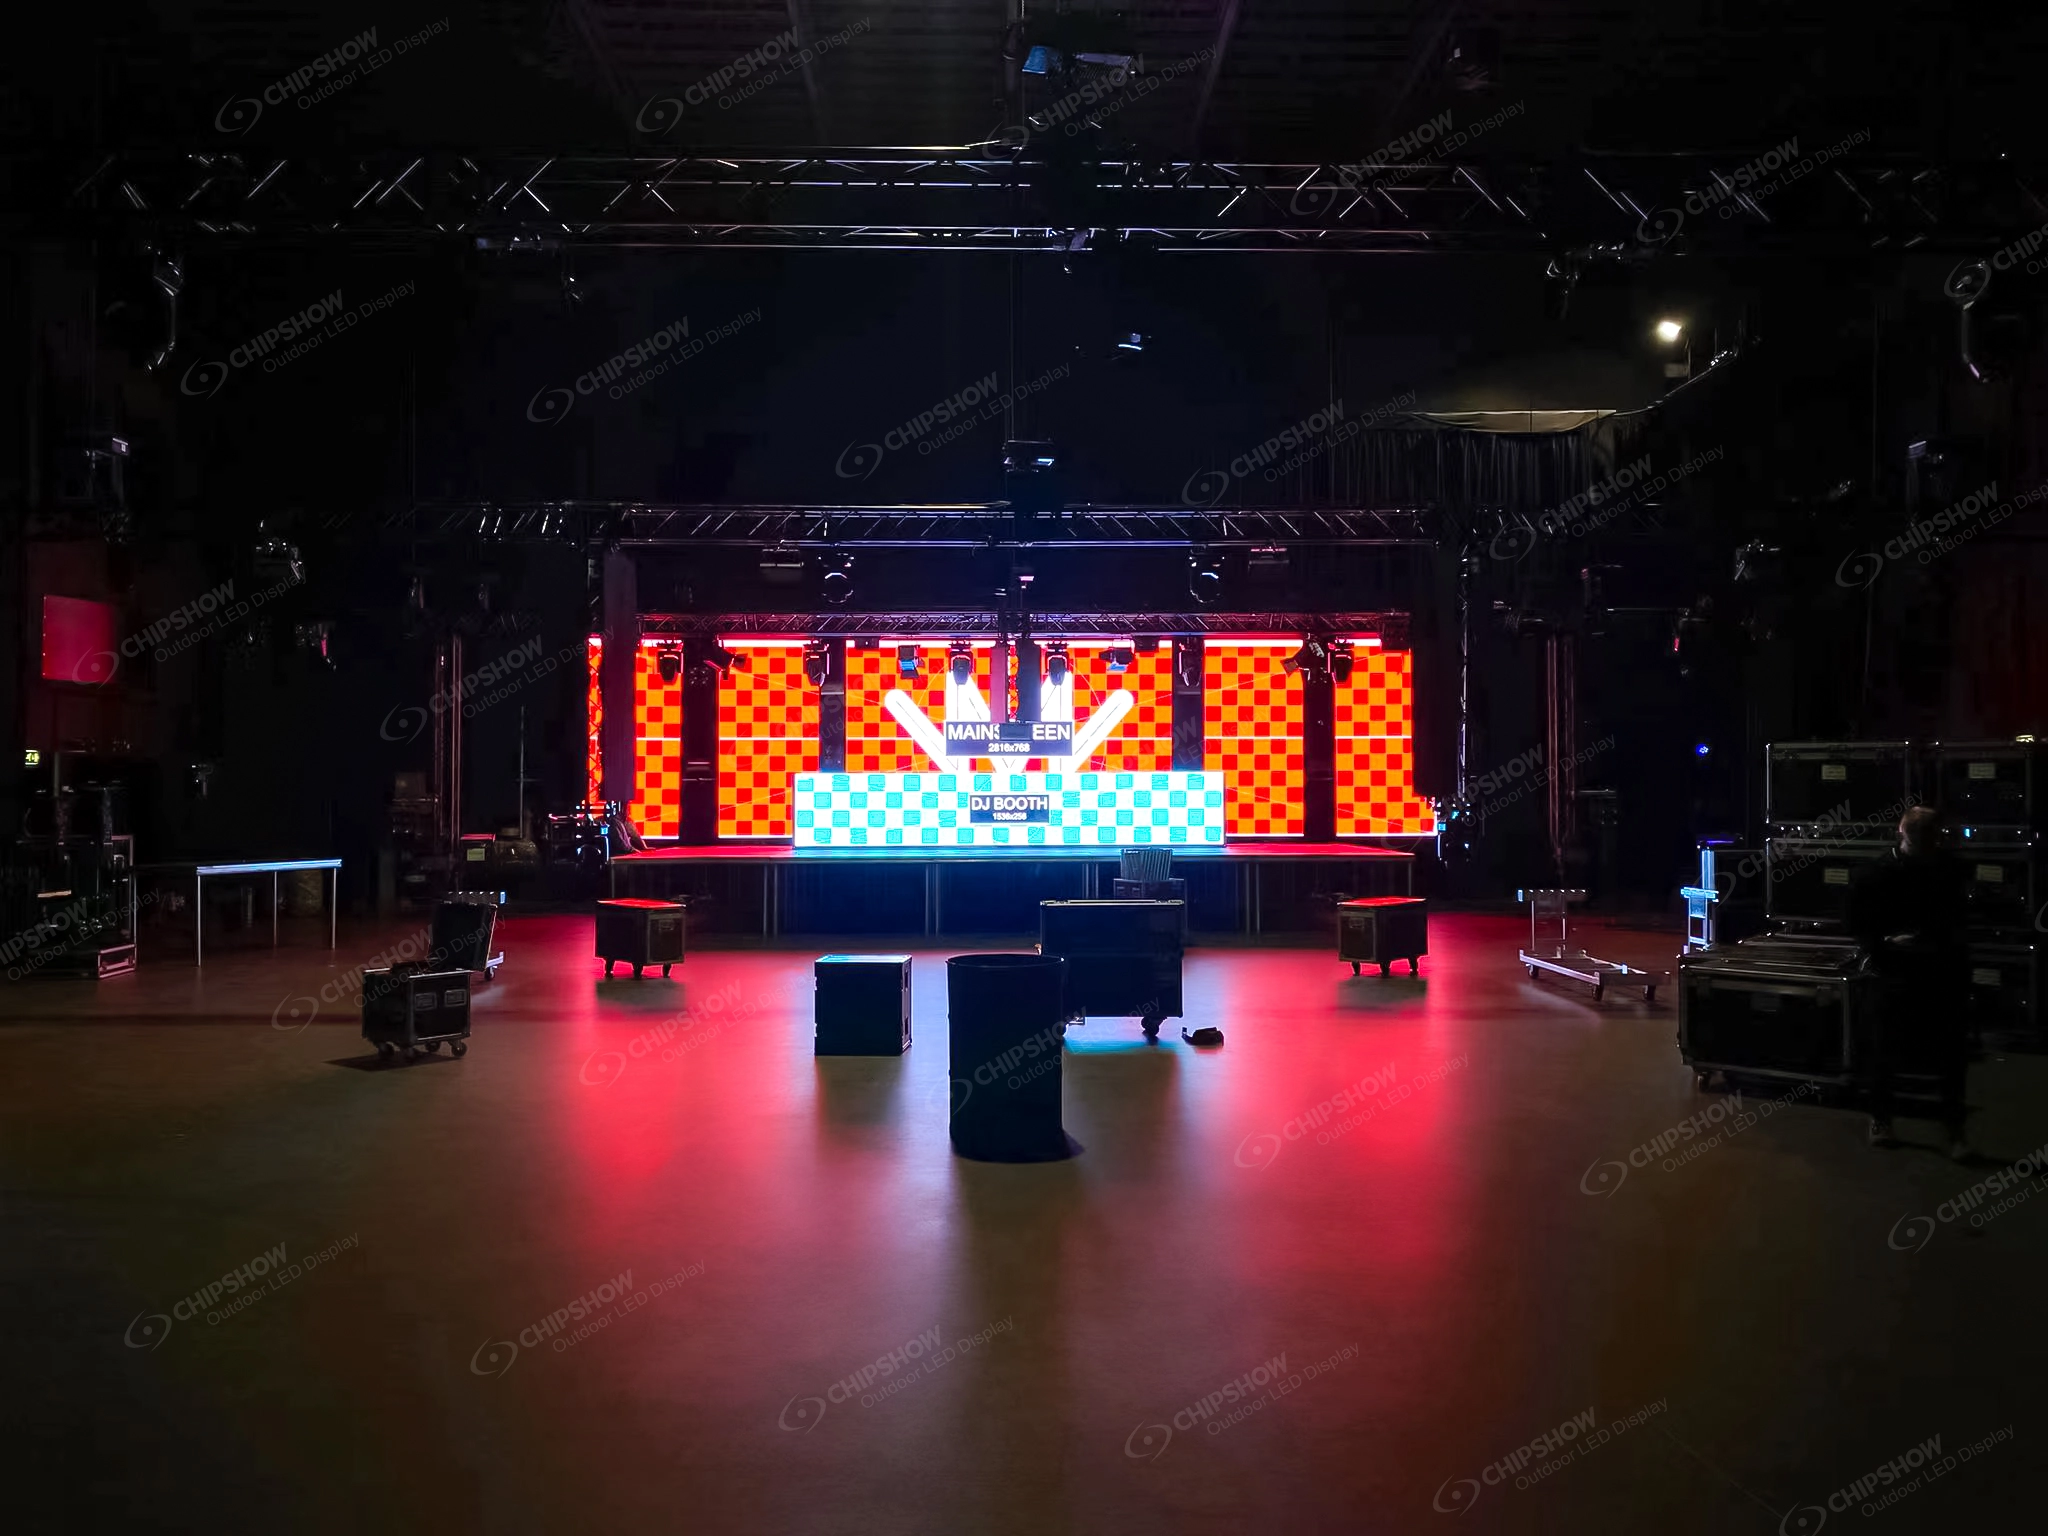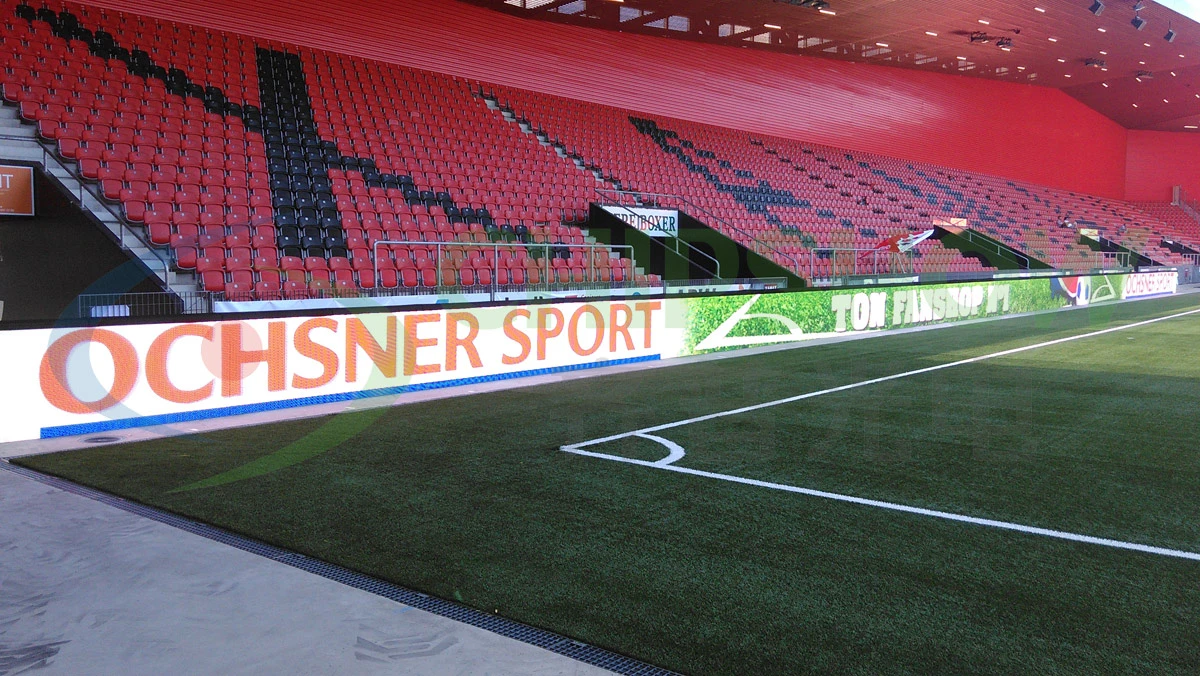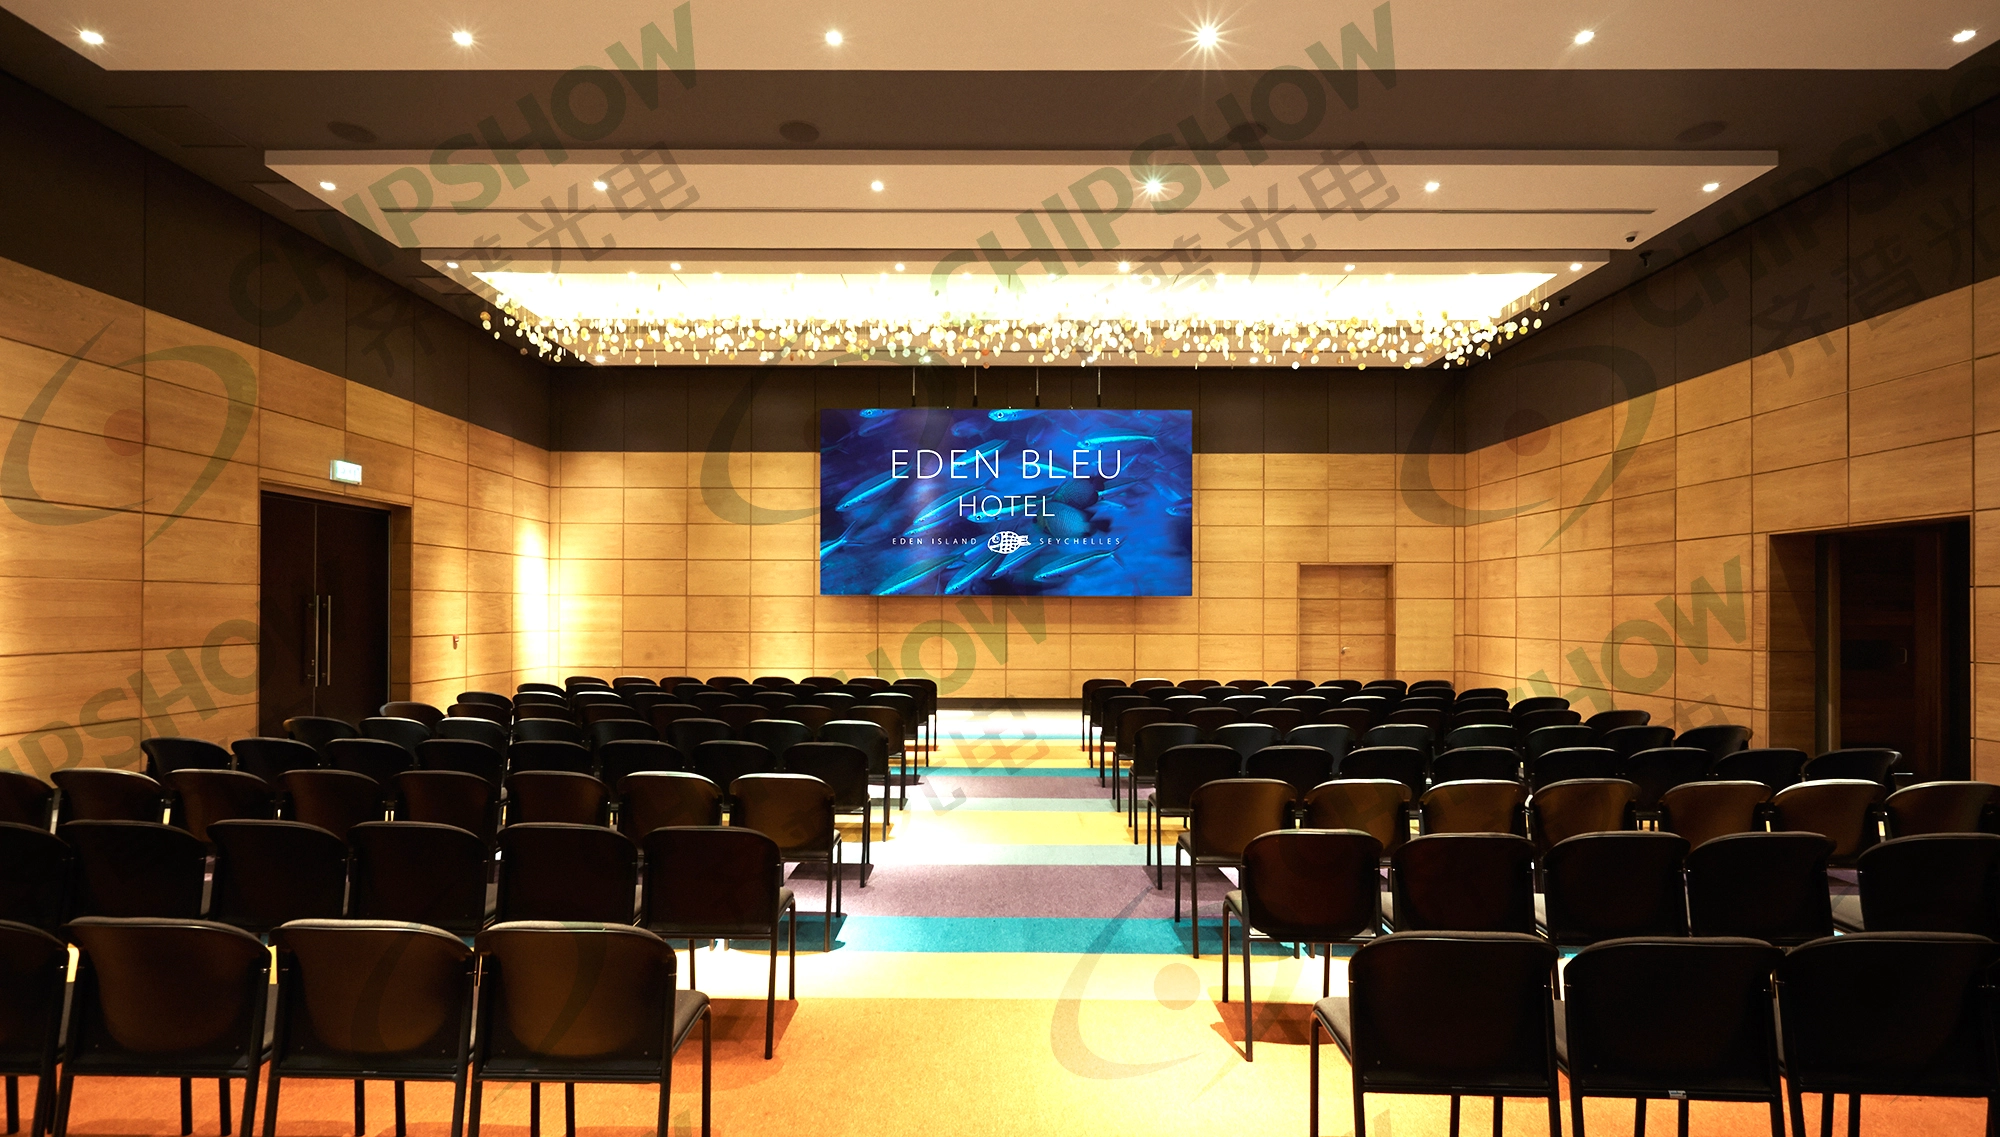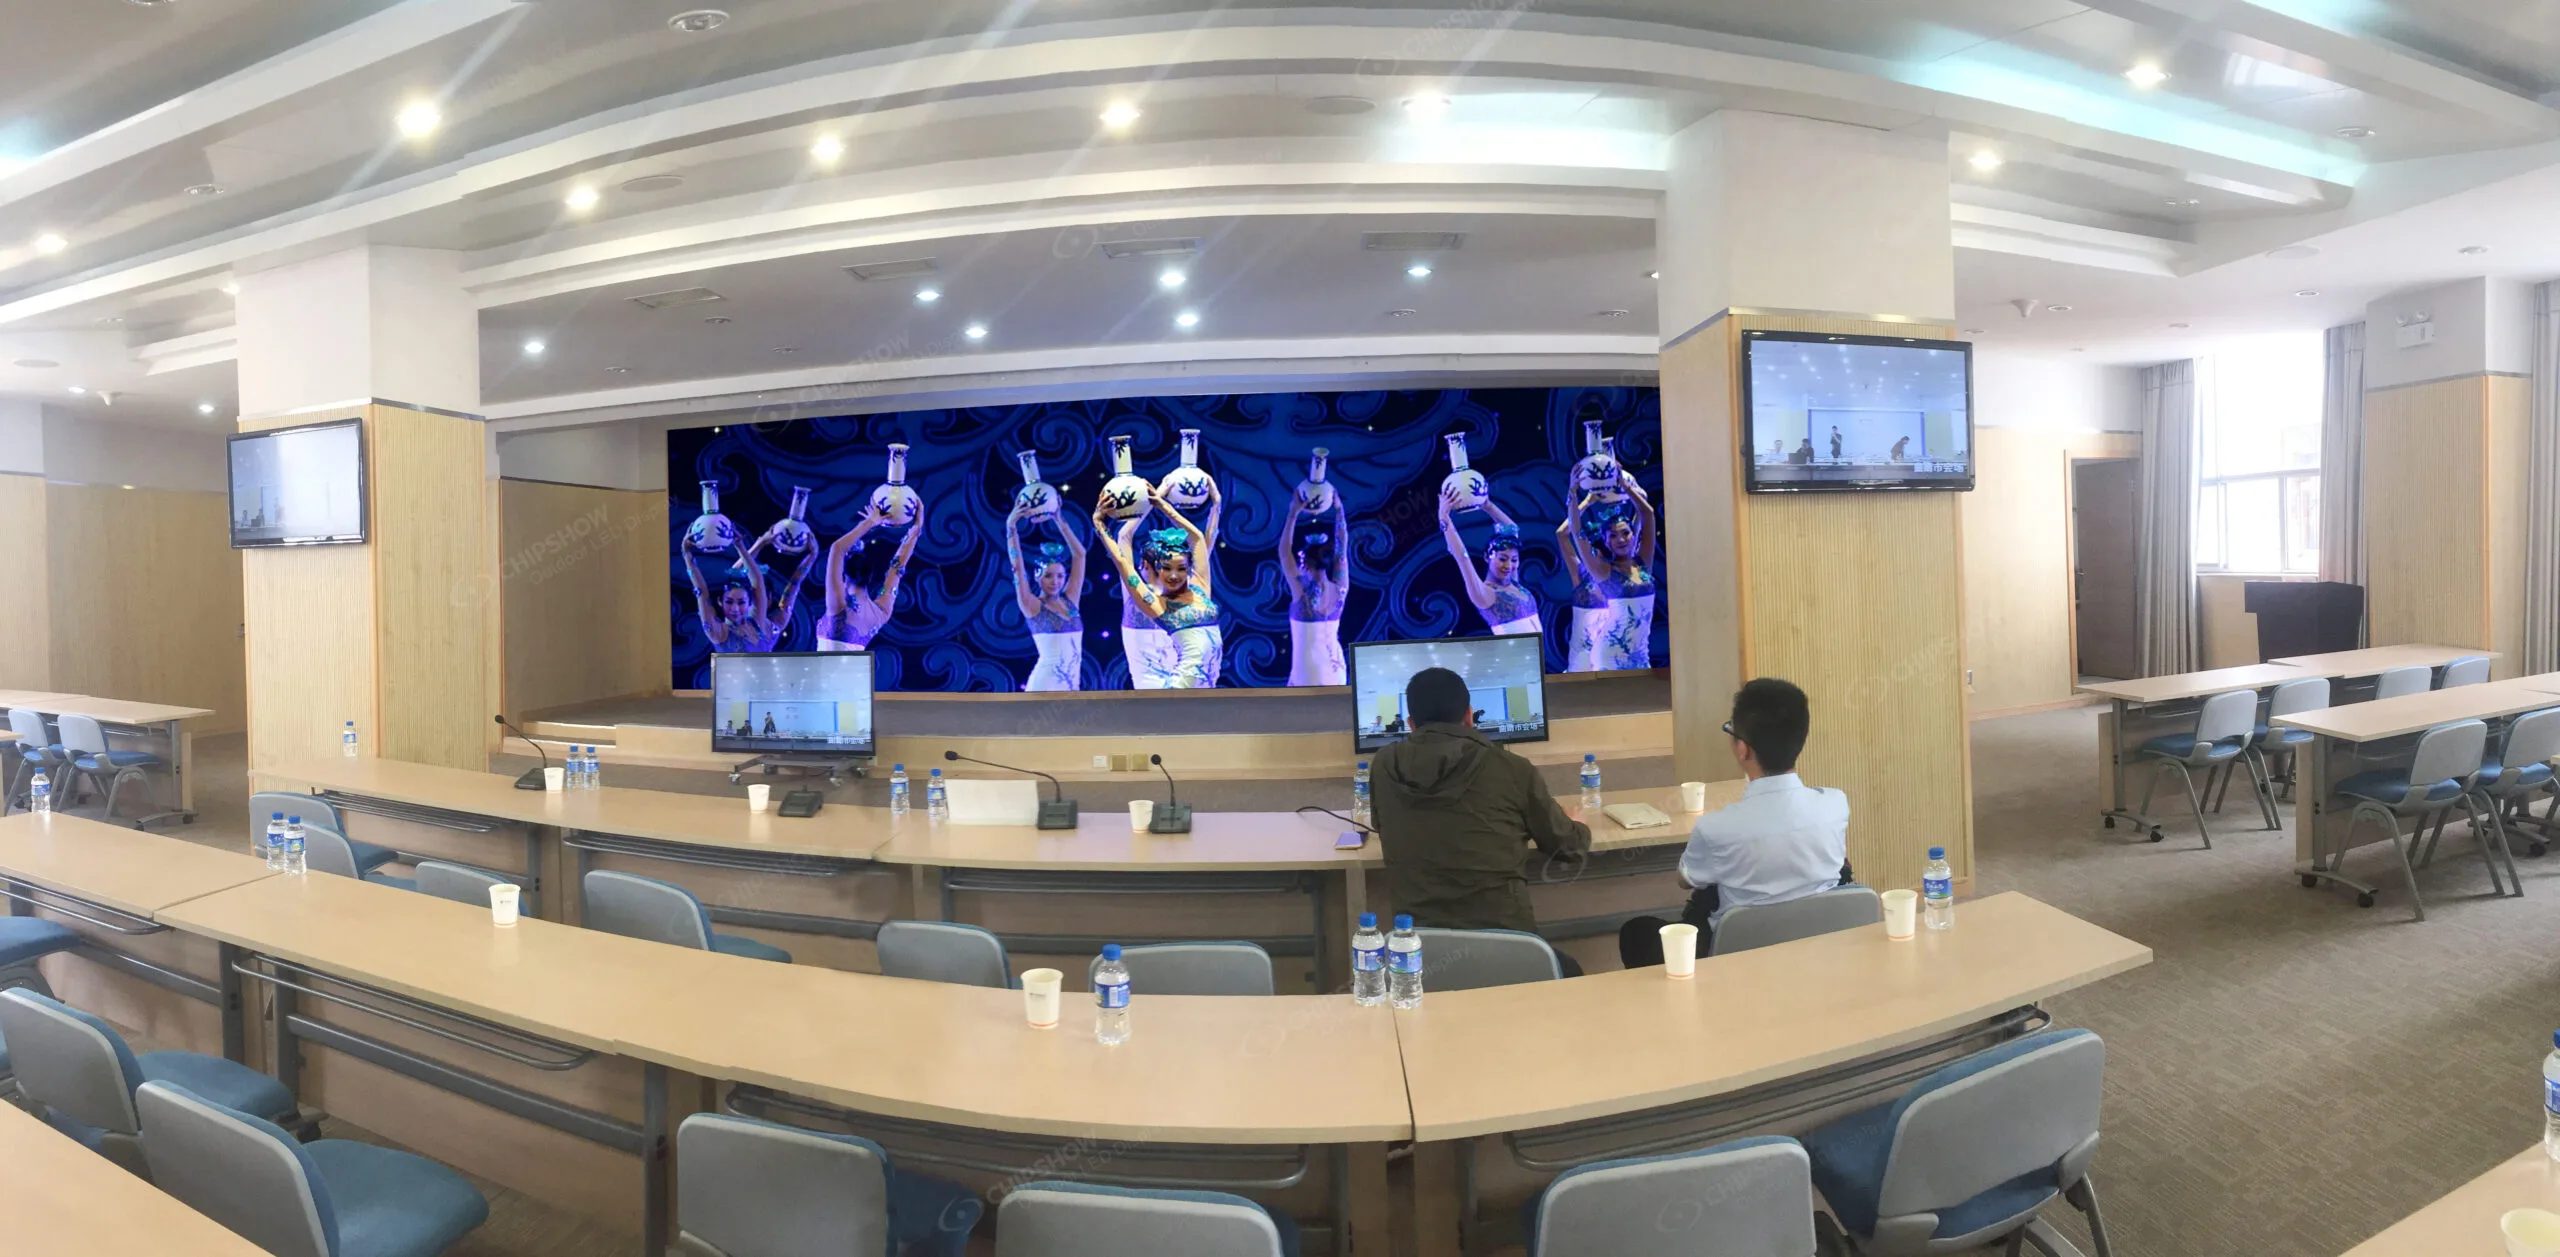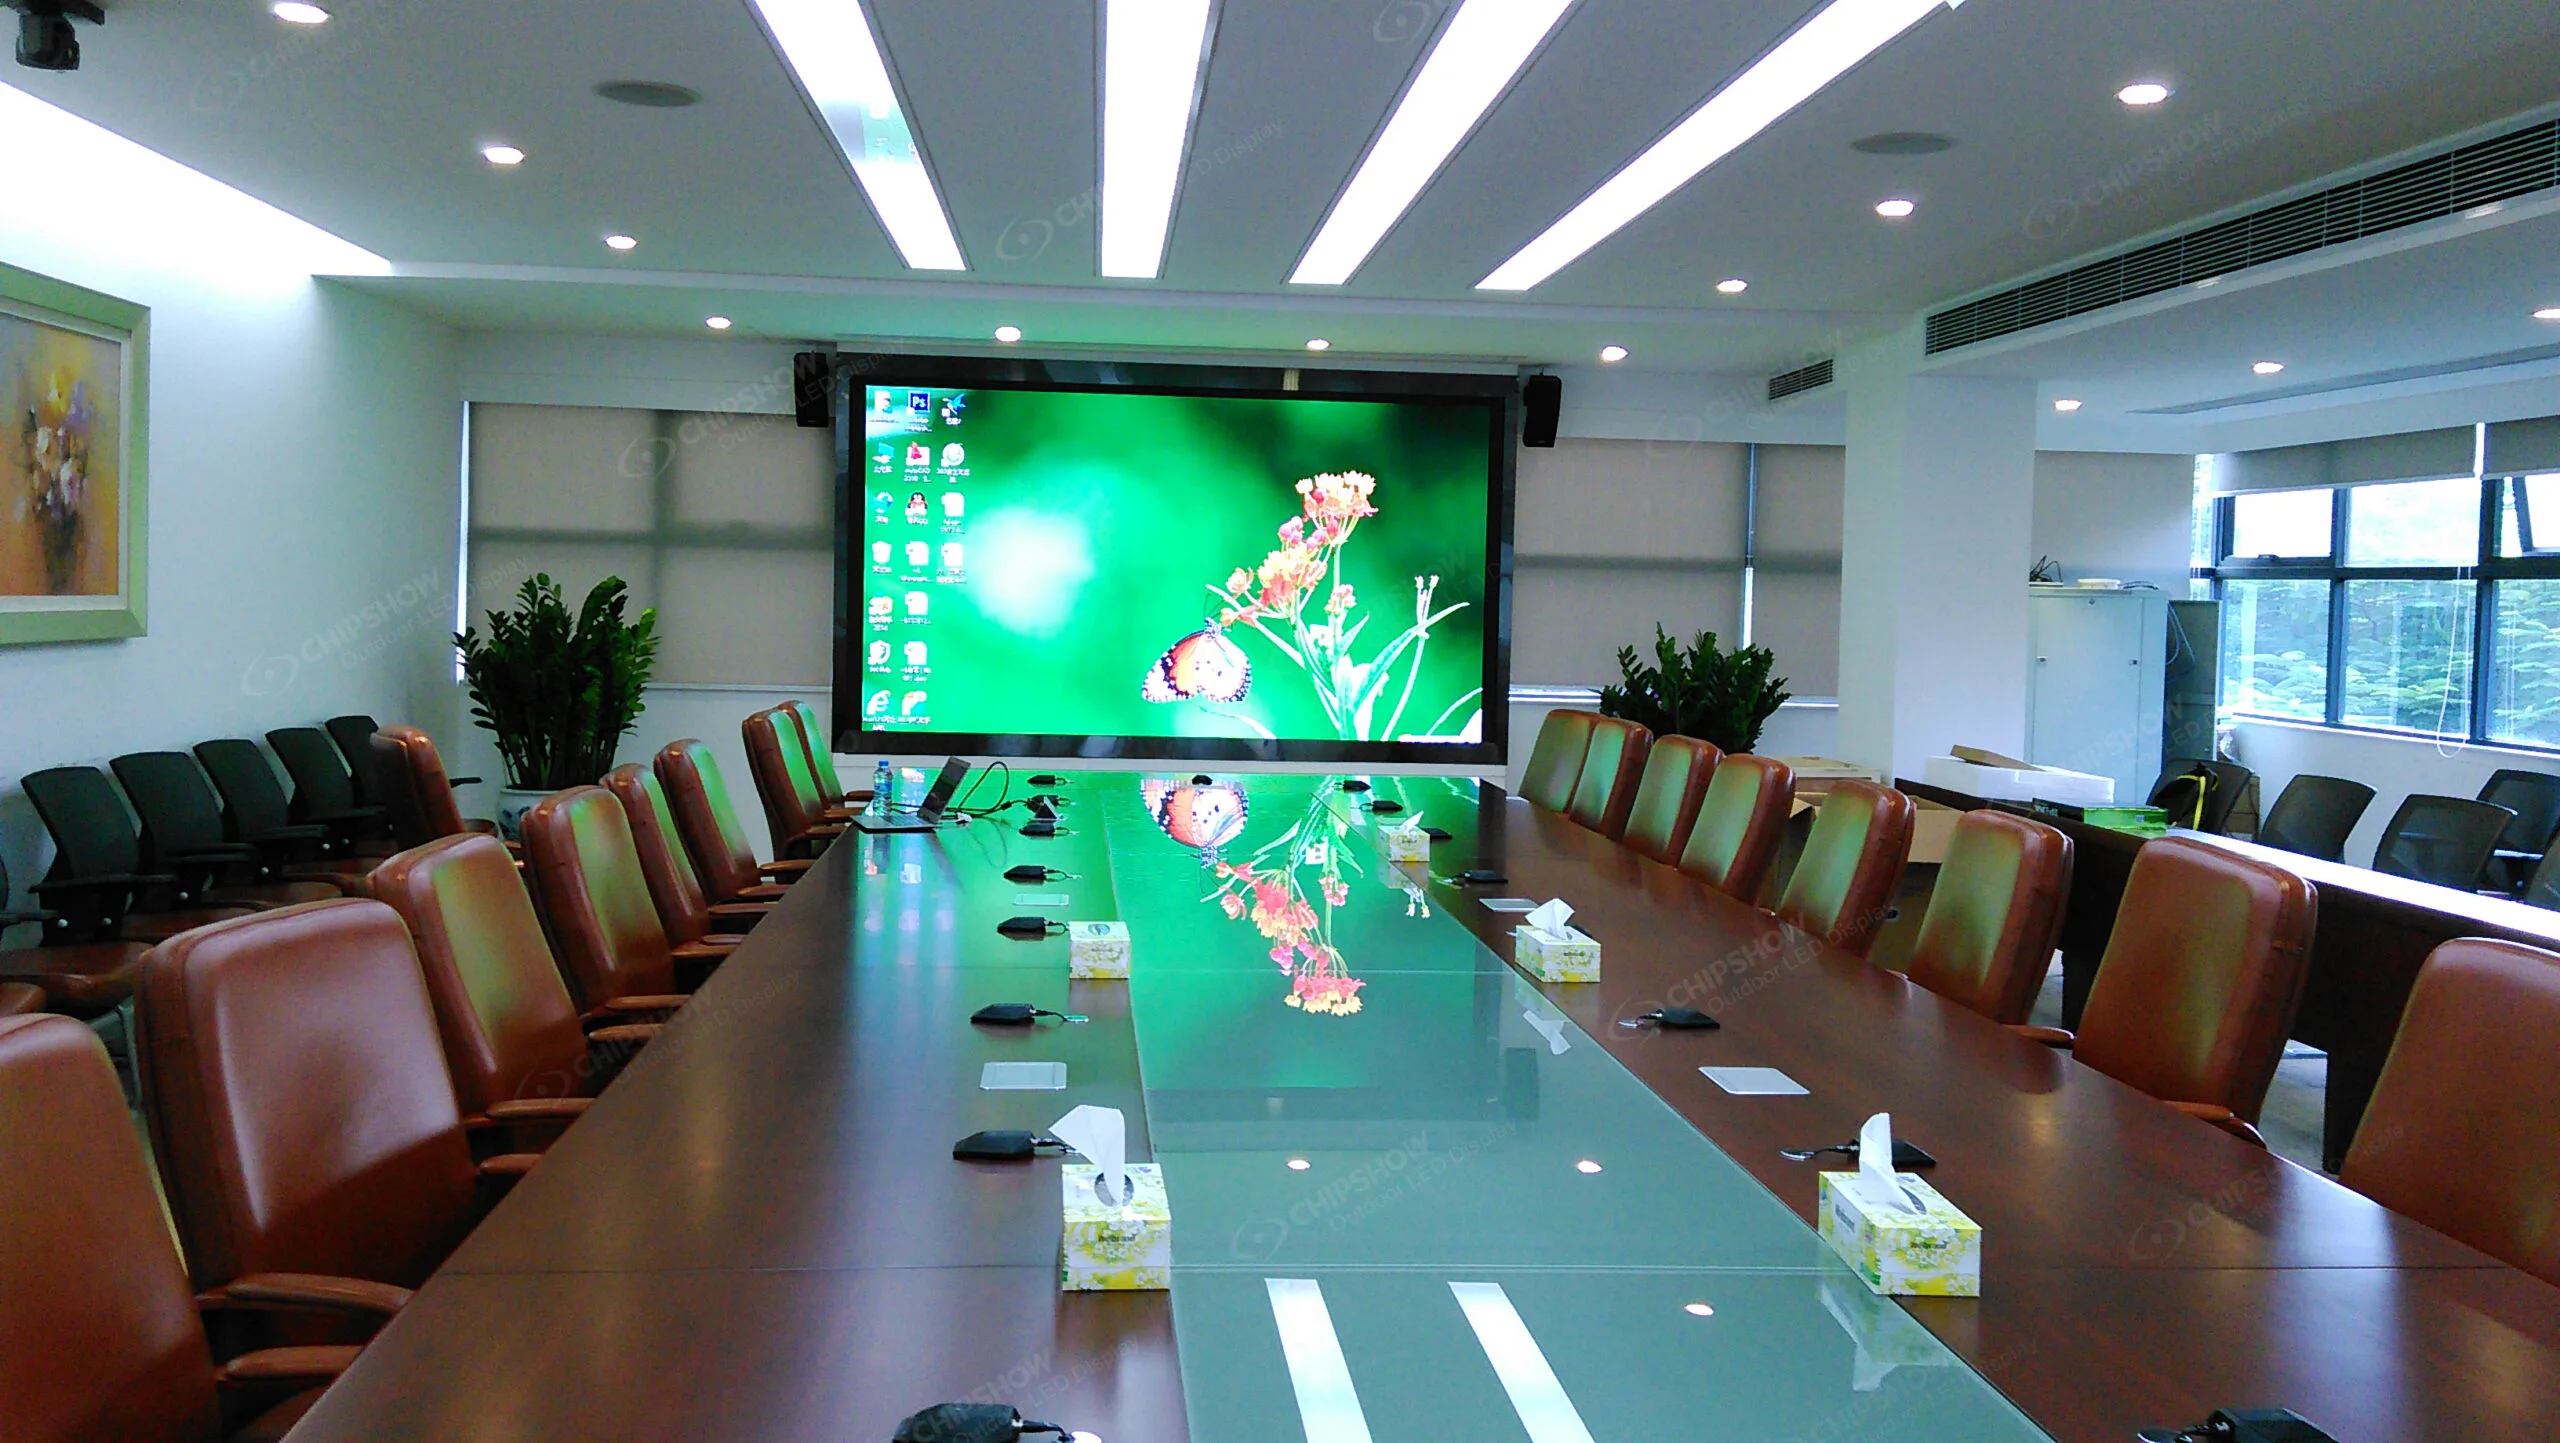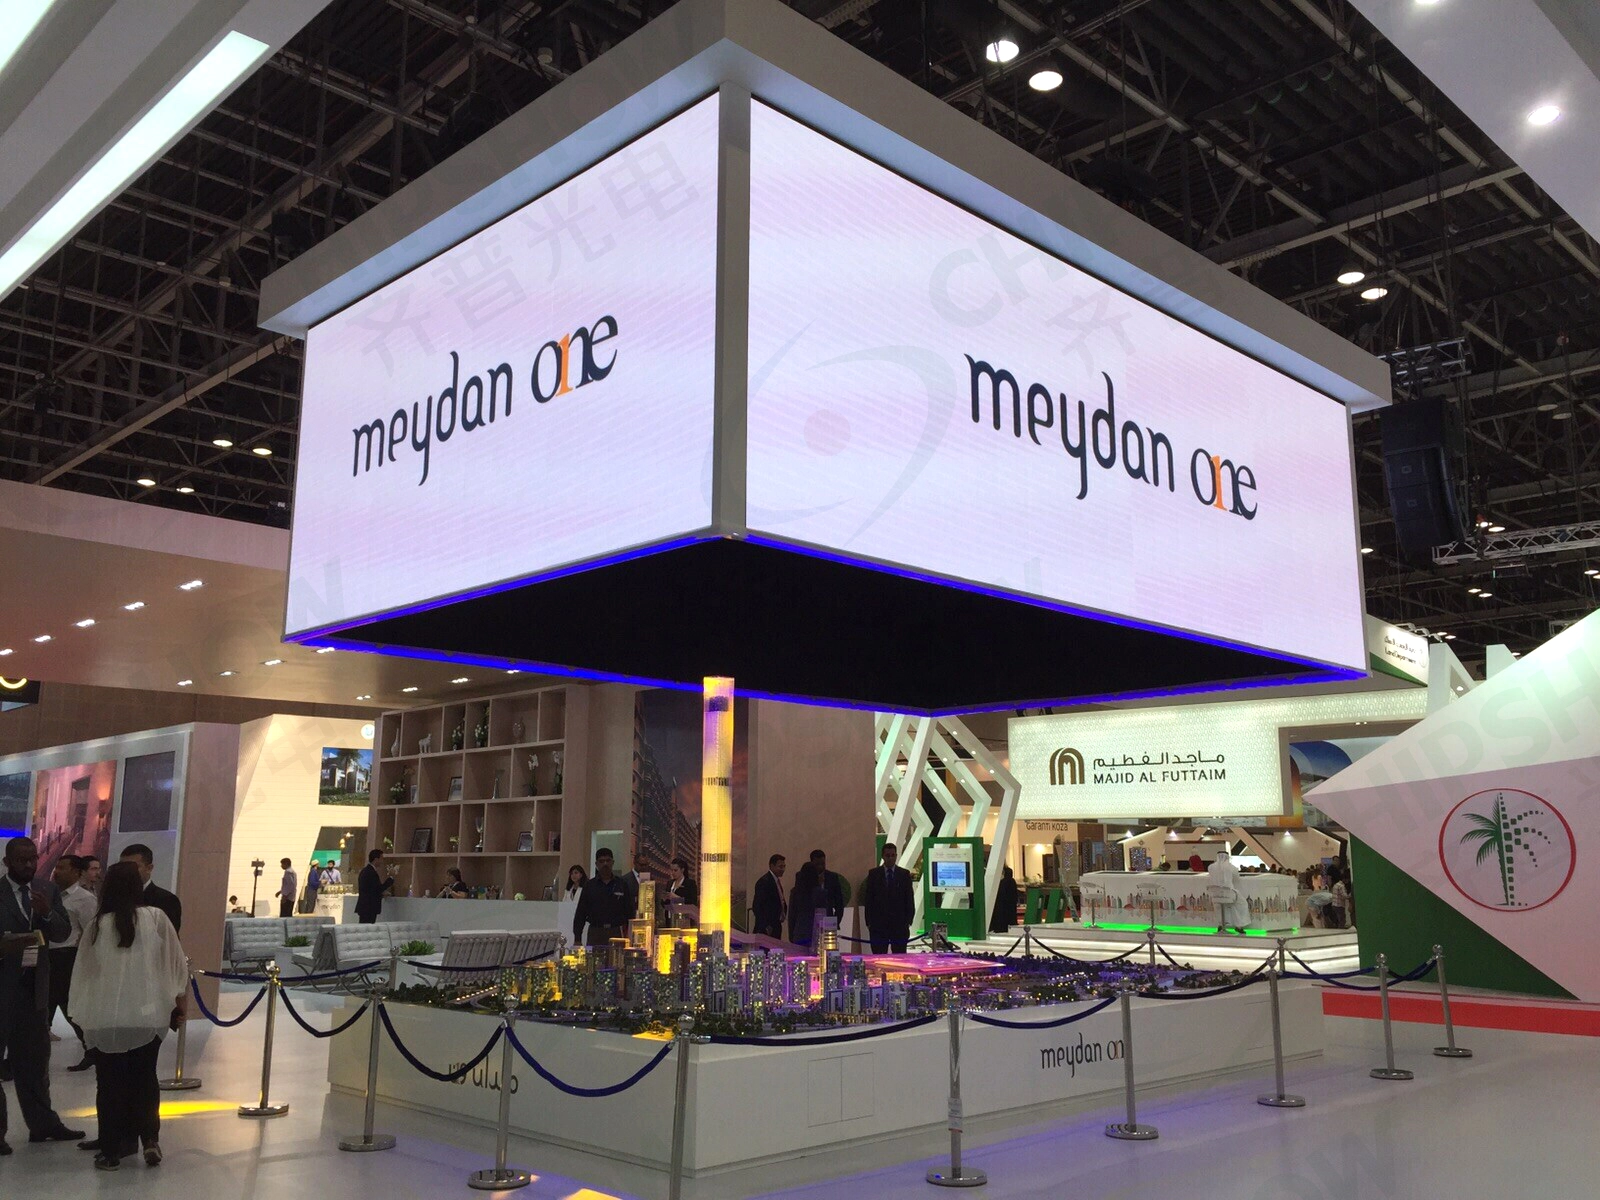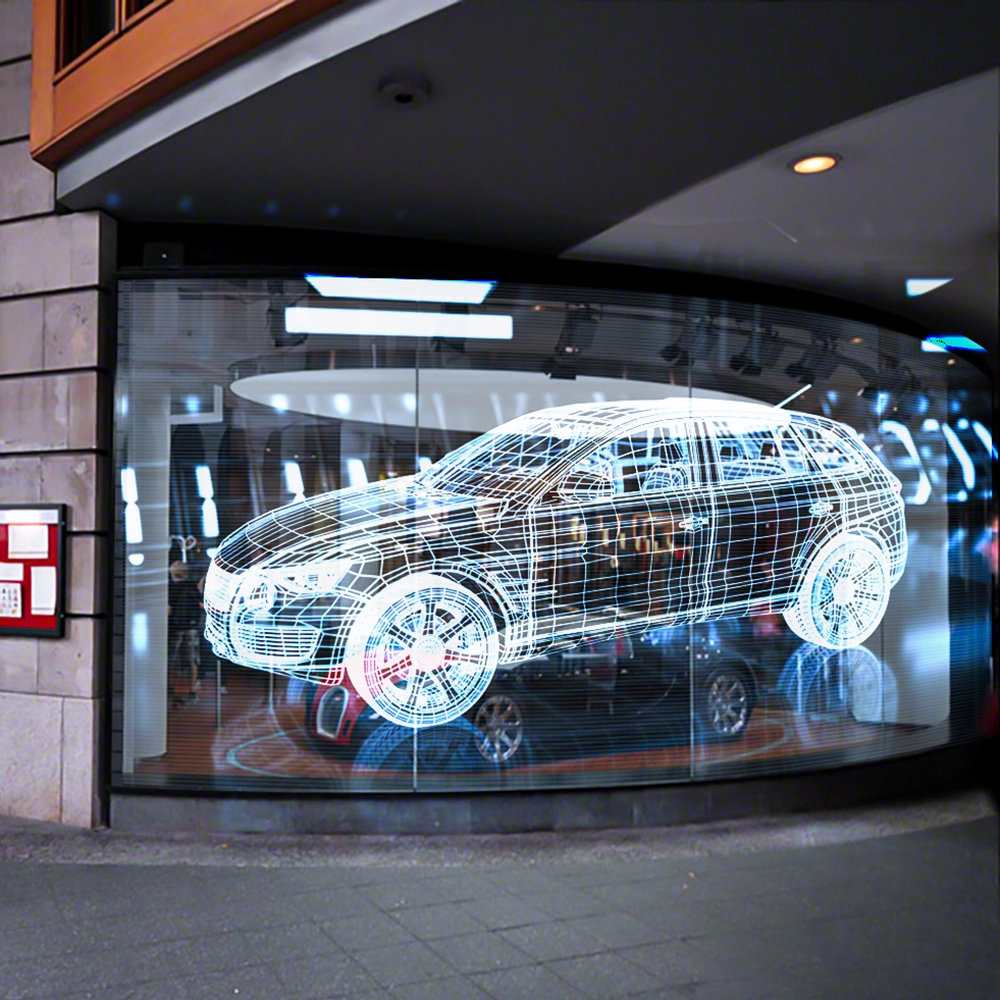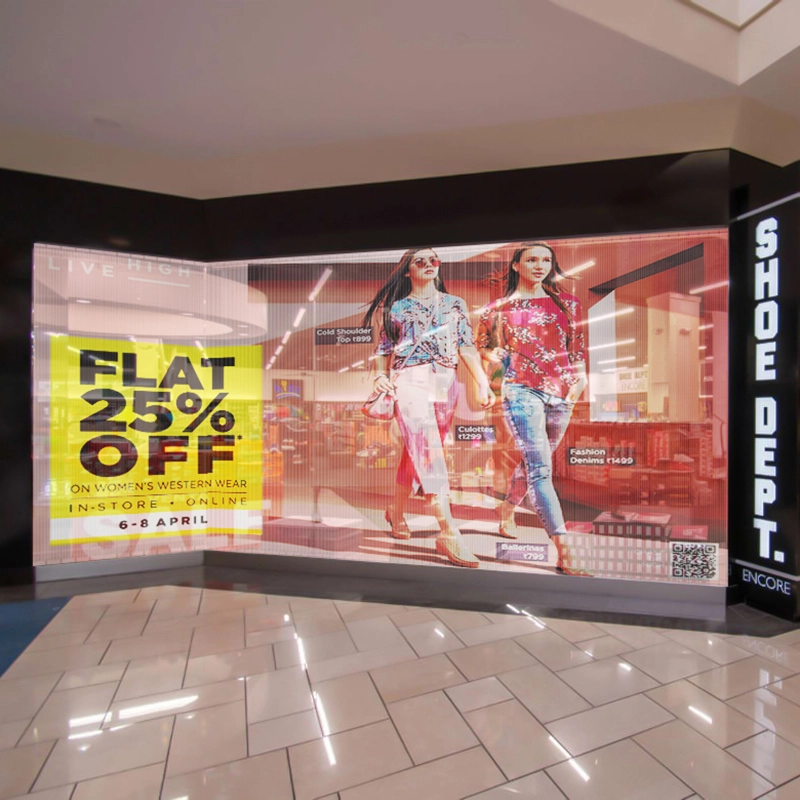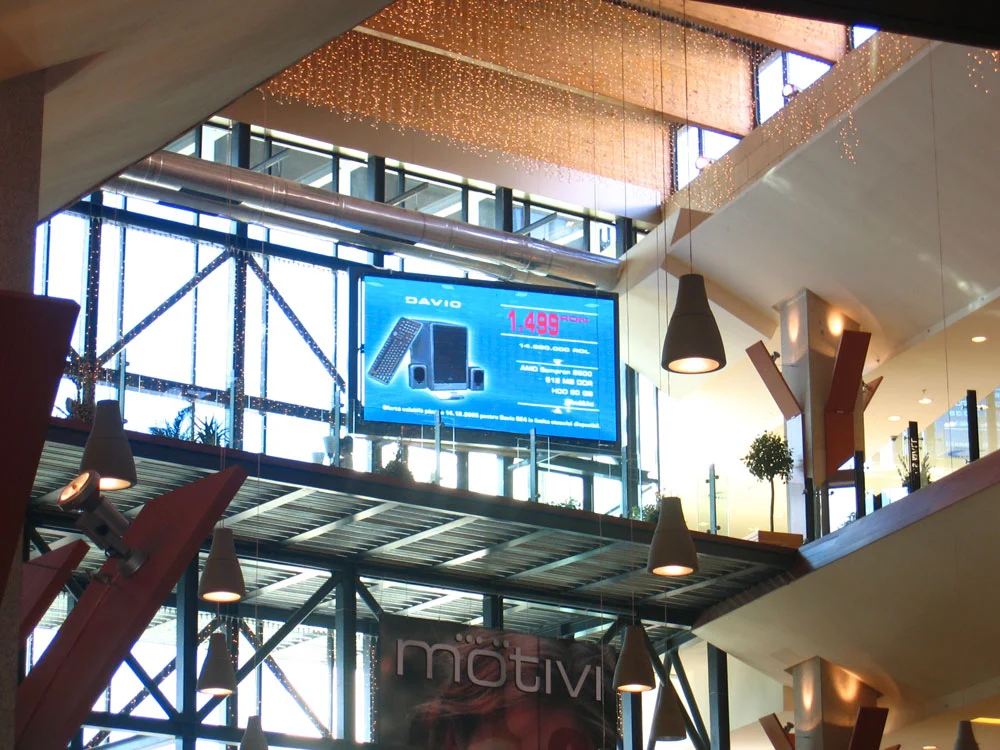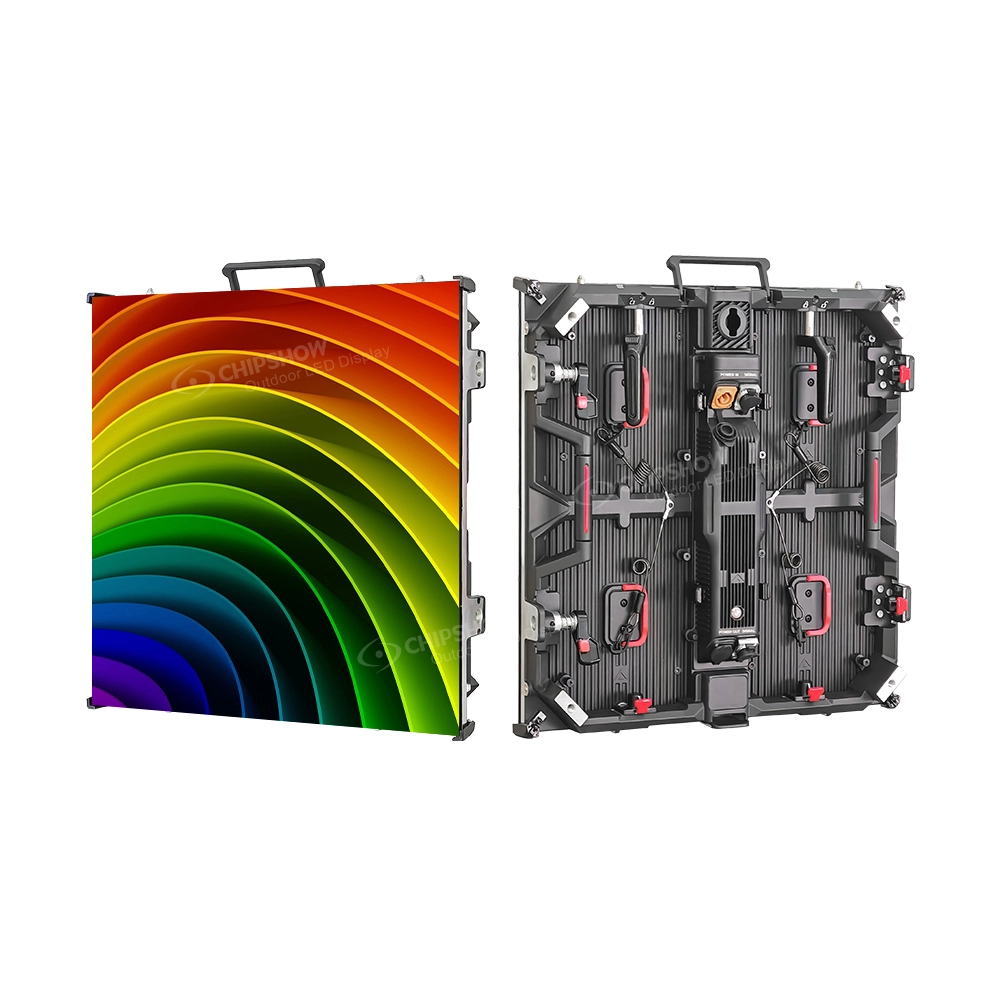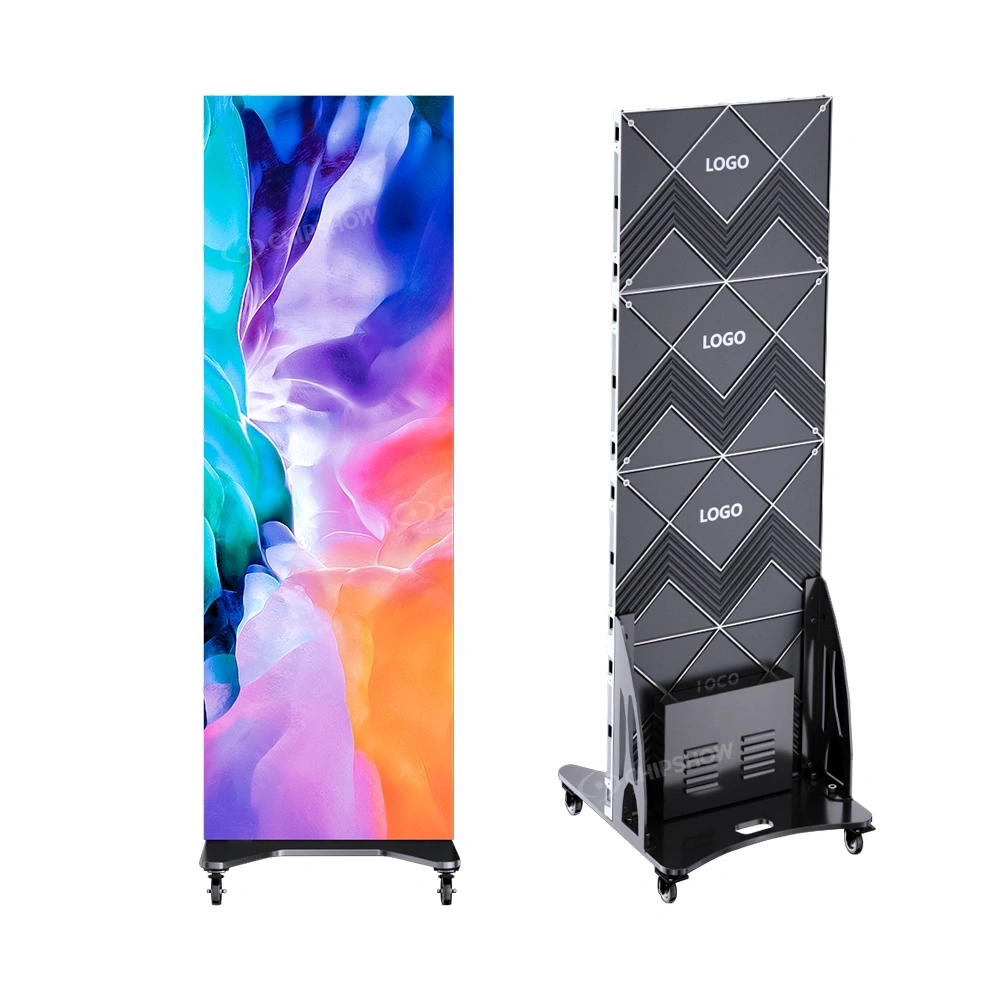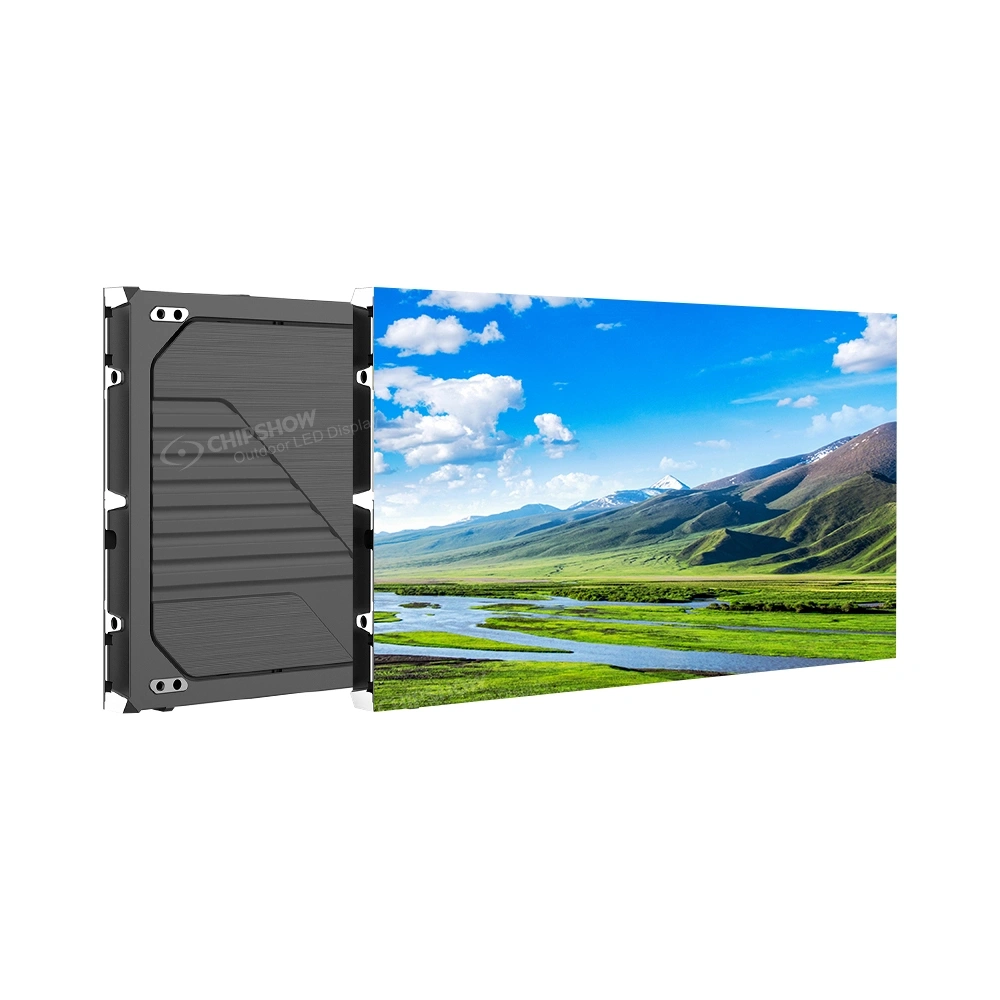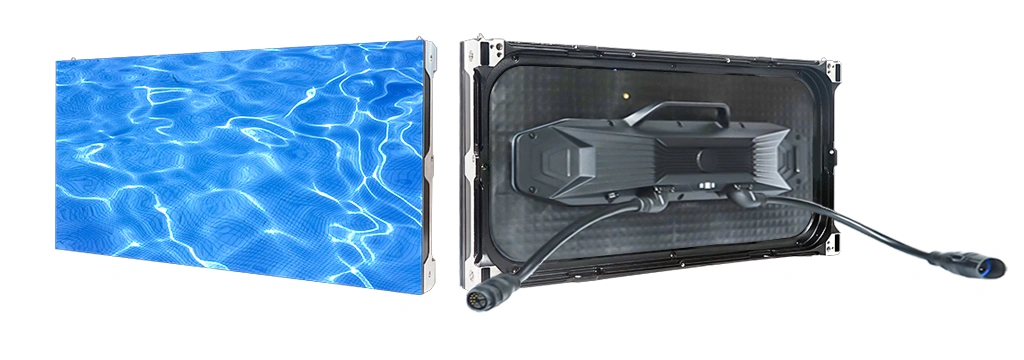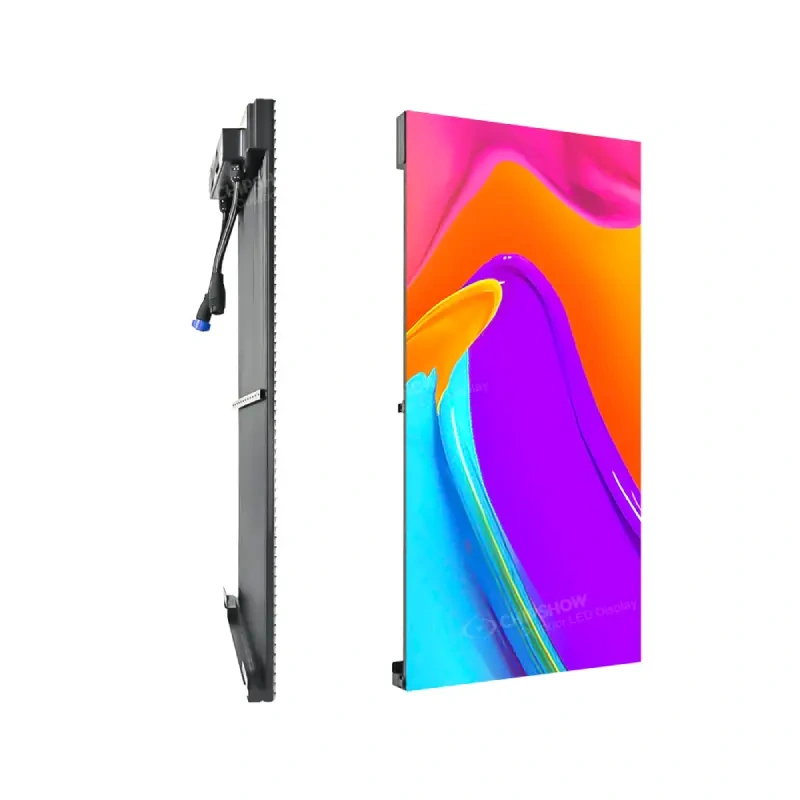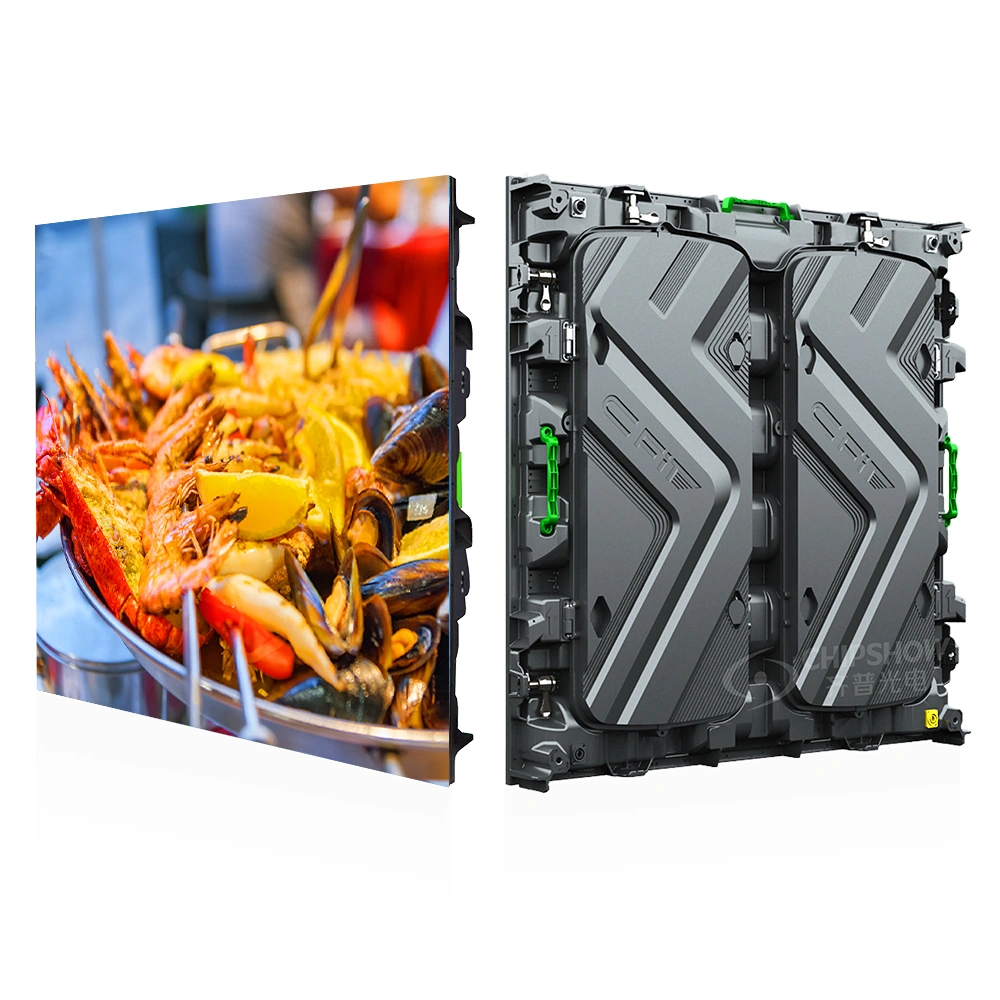
An indoor LED display wall for a lobby, retail space or conference room needs a matched layout, support structure, power arrangement and service plan. Use these five stages to agree the design inputs and handover evidence before installation.
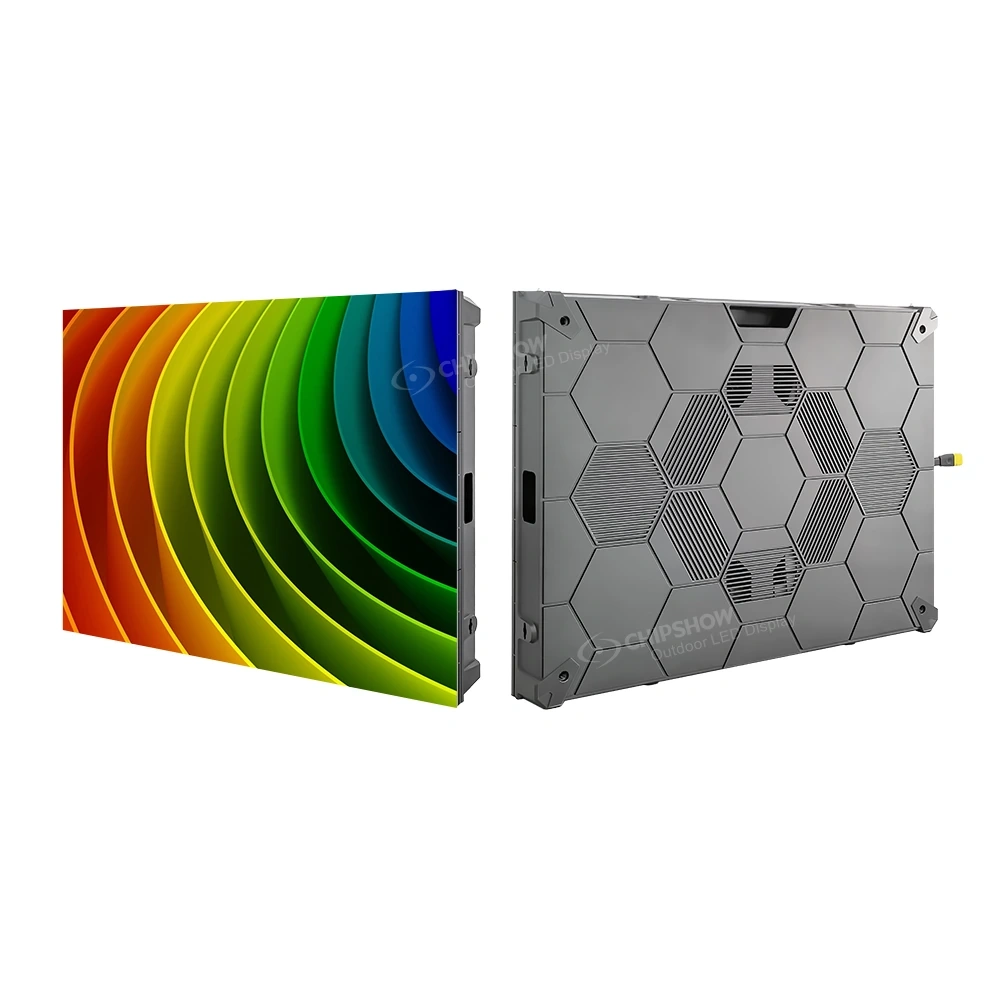
Request the documentation for the selected configuration, including the applicable EU Declaration of Conformity and RoHS information. Confirm delivery options, warehouse stock, spare parts and support arrangements in the quotation.
This guide covers the five essential stages of indoor LED video wall installation, tailored to European commercial realities including older buildings, limited rear space, and WEEE recycling considerations.
Five-stage planning checklist
| Stage | Agree or check | Keep for handover |
|---|---|---|
| Survey | Record the mounting substrate, available space, sightlines, lighting and supply information. | Survey record and reviewed support loads |
| Plan | Select the model, cabinet layout, resolution, power arrangements and service access. | Agreed layout and itemised quotation |
| Framework | Use the approved support and fixing design for the actual substrate. | Support drawings and alignment checks |
| Cabinets | Follow the specified mounting sequence, access and connection plan. | Installation checks and component identification |
| Commission | Record image tests, operating settings, power conditions and service information. | Commissioning log and handover pack |
Step 1: Perform a Thorough Site Survey
Use the site survey to document the mounting substrate, load capacity, available space and service access. Review the applicable building and installation requirements with the project team before fixing the screen layout.
Key assessments:
- Wall and support loads: record cabinet quantities and weights, the frame and installation accessories. Obtain the reviewed total loads and fixing design for the actual mounting substrate.
- Viewing distance: record the nearest and farthest viewing positions, sightlines and intended text size. Use these to shortlist pixel pitches and check a sample with the actual content.
- Ambient lighting and power infrastructure: document the power requirements of the selected system and coordinate supply arrangements with a qualified electrician under the applicable local electrical rules.
- Ventilation and heat management: Ensure compatibility with existing HVAC for energy-efficient operation.
- Documentation check: review the product’s applicable conformity documents and the project’s local building, electrical and fire requirements as separate items.
- Document with photos, measurements, and electrical specs for your technical file.
Step 2: Create a Comprehensive Installation Plan
Align the plan with EU energy efficiency goals and your sustainability targets.
Pixel Pitch & Screen Size
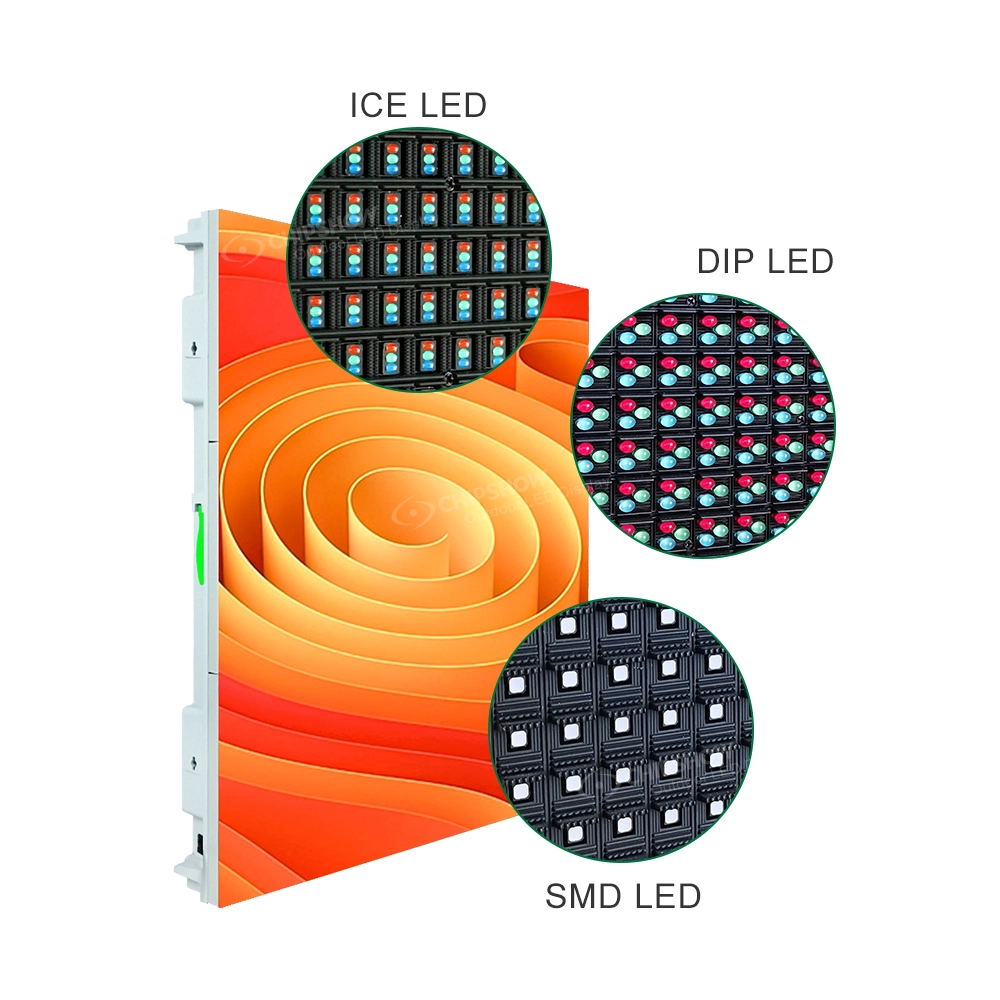
Compare the selected pixel pitch with the actual screen dimensions, viewing distance and smallest text or graphic to be shown. Check a sample; a room label alone does not select SMD or COB.
Mounting Method
- Wall-mounted (common where floor space is limited) — check whether the selected cabinets allow front maintenance, which matters where rear access is restricted.
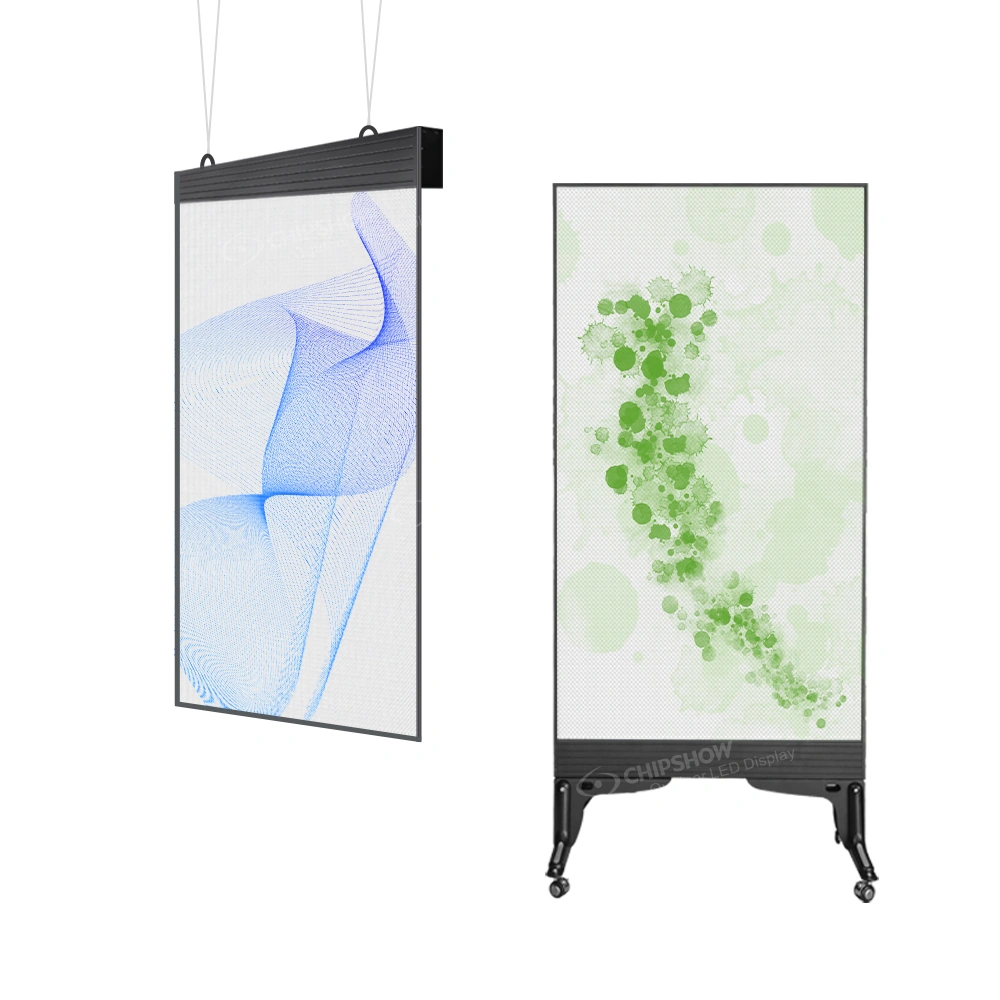
- Floor-standing or ceiling-hung where appropriate.
Access Strategy
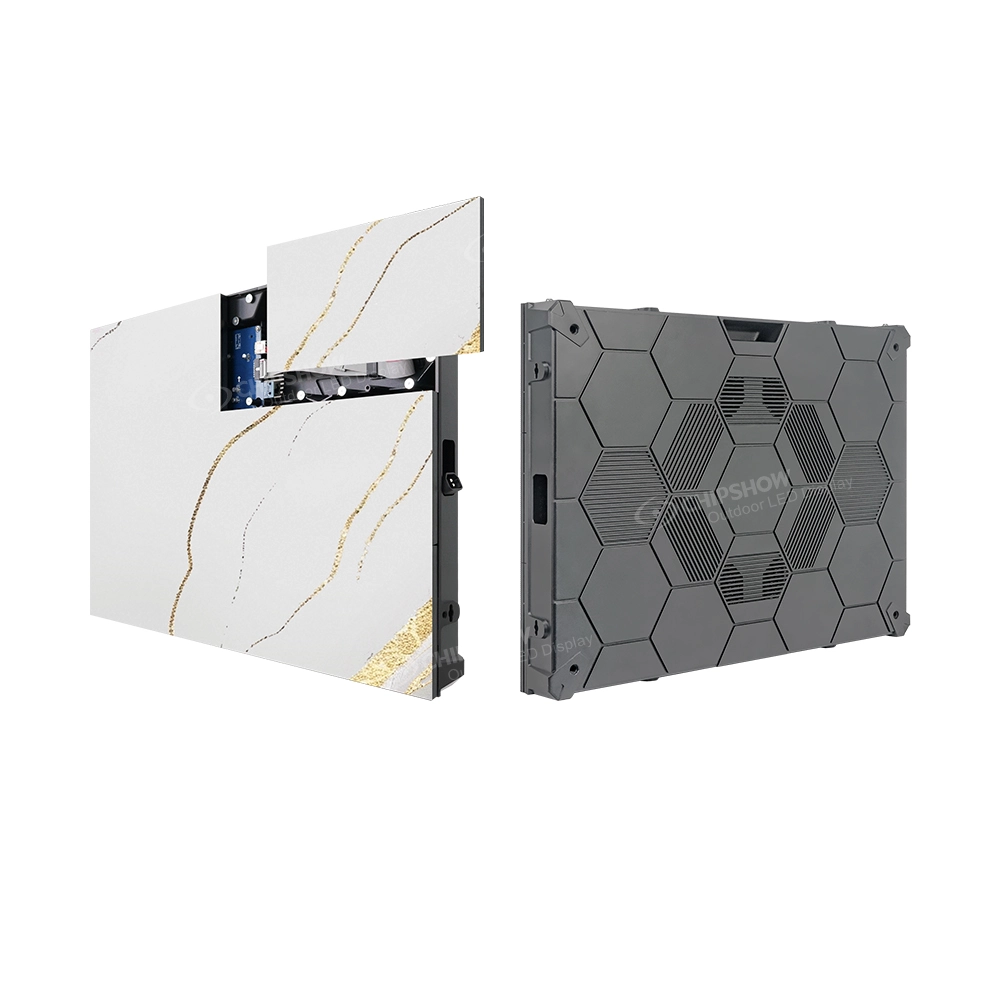
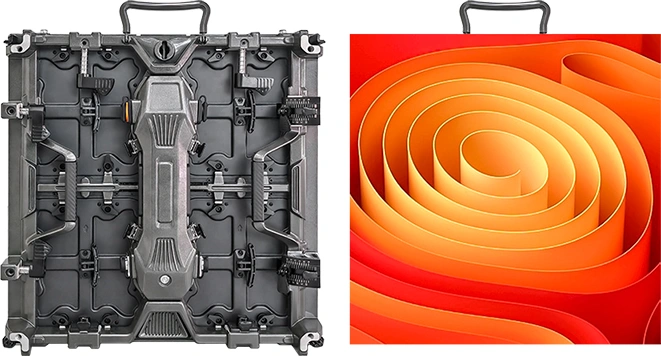
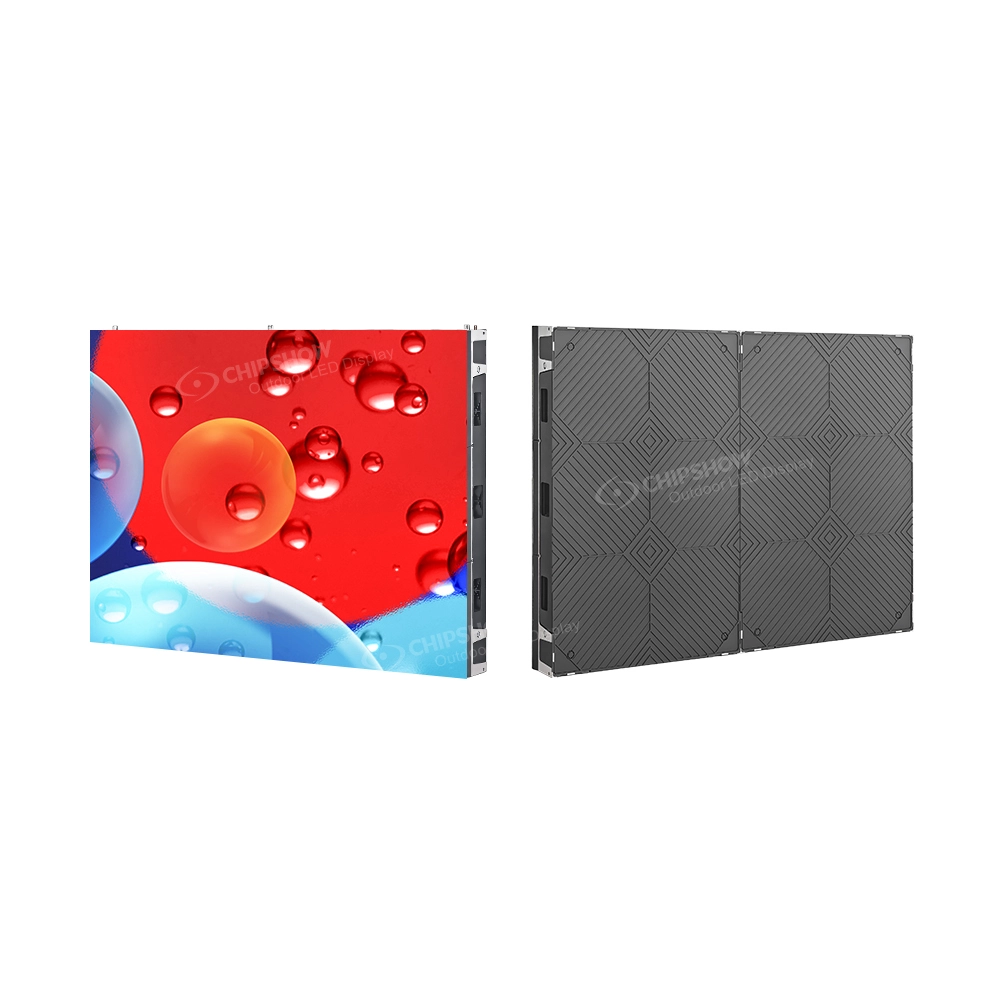
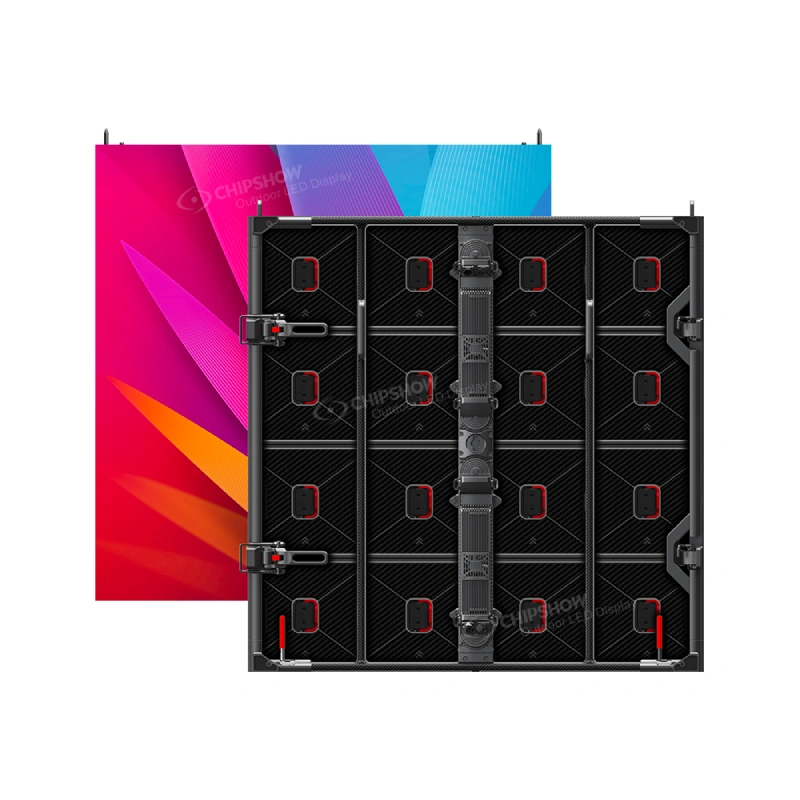
The C-MAX-COB brochure specifies front access to modules, power supplies and system cards. Confirm installation clearances, access for removing components and the mounting method on the selected system’s drawings.
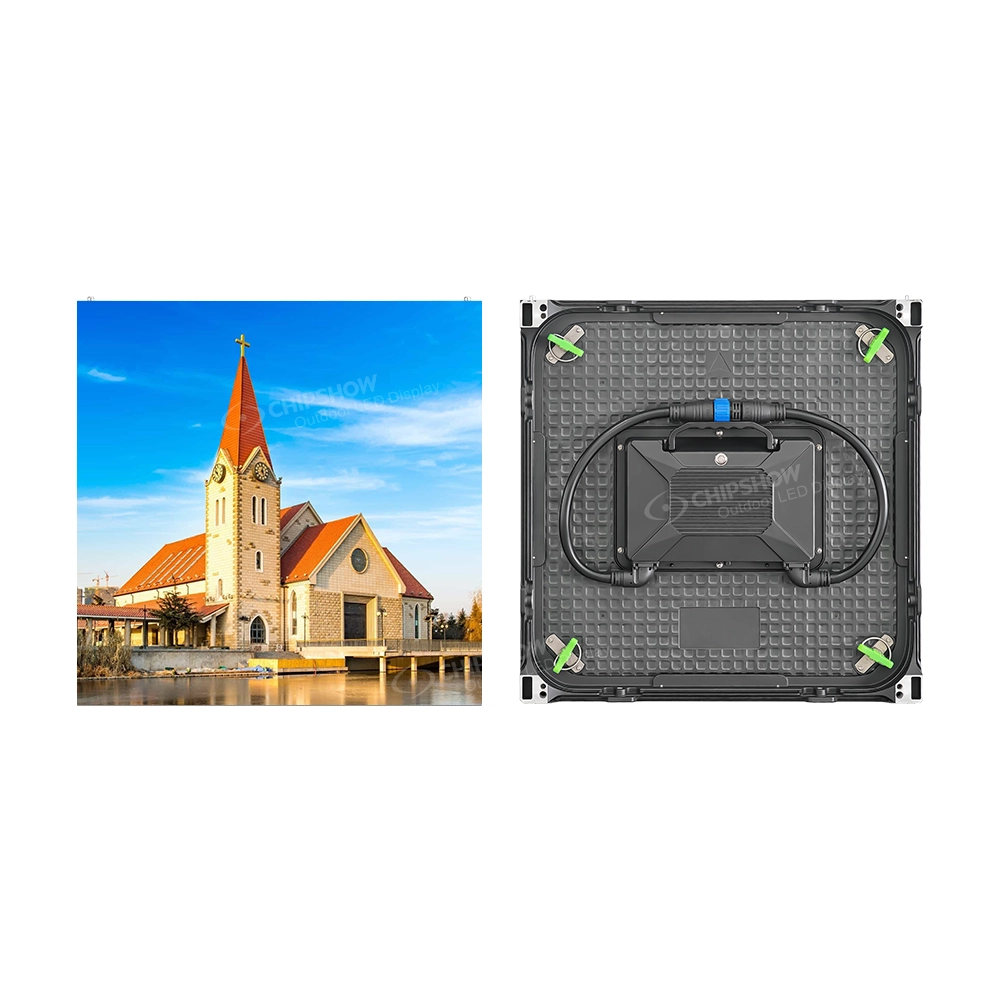
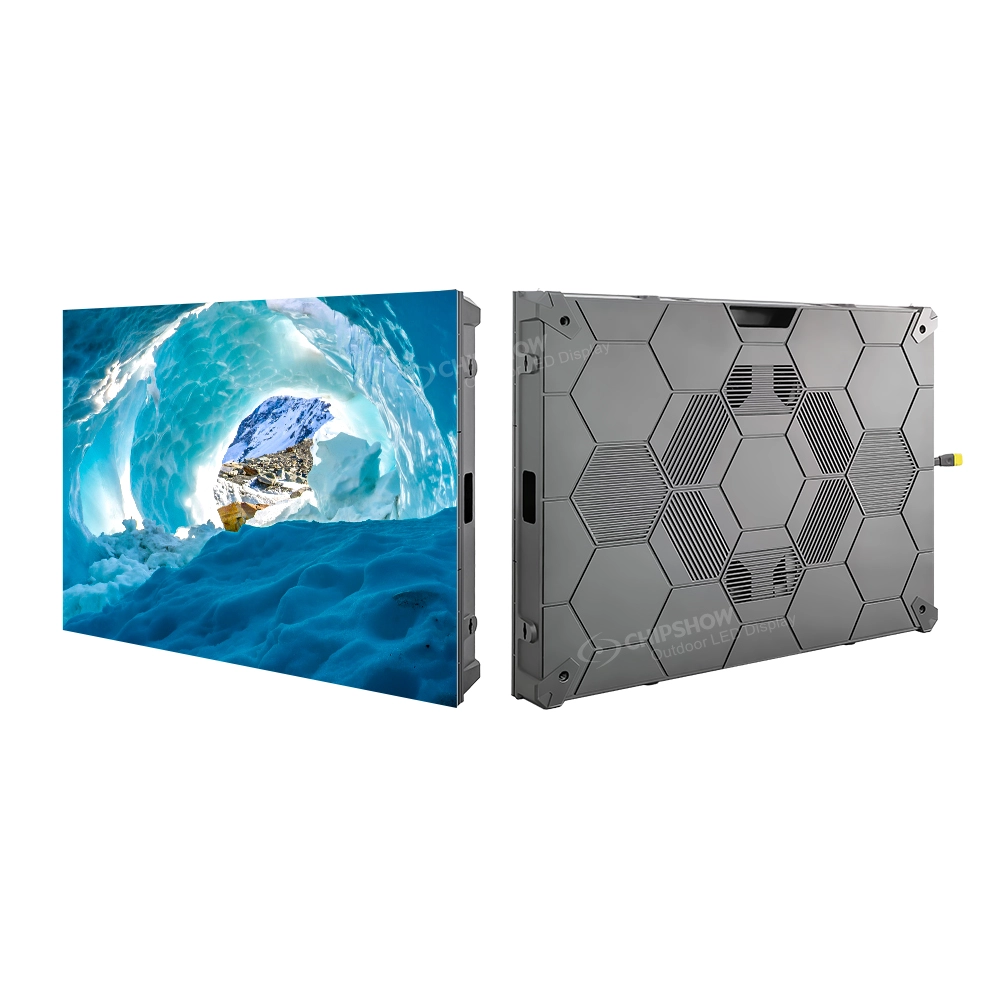
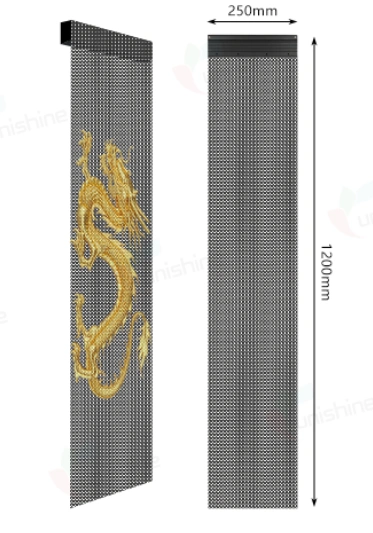
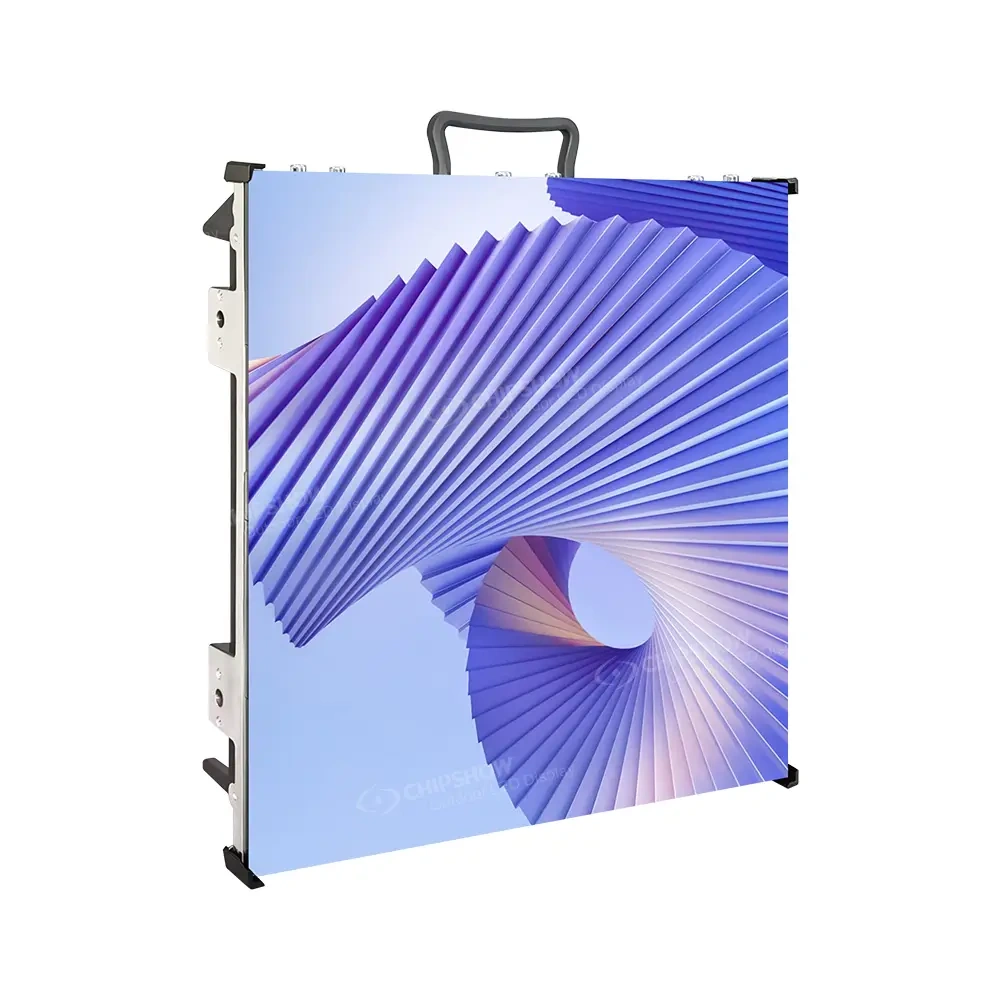
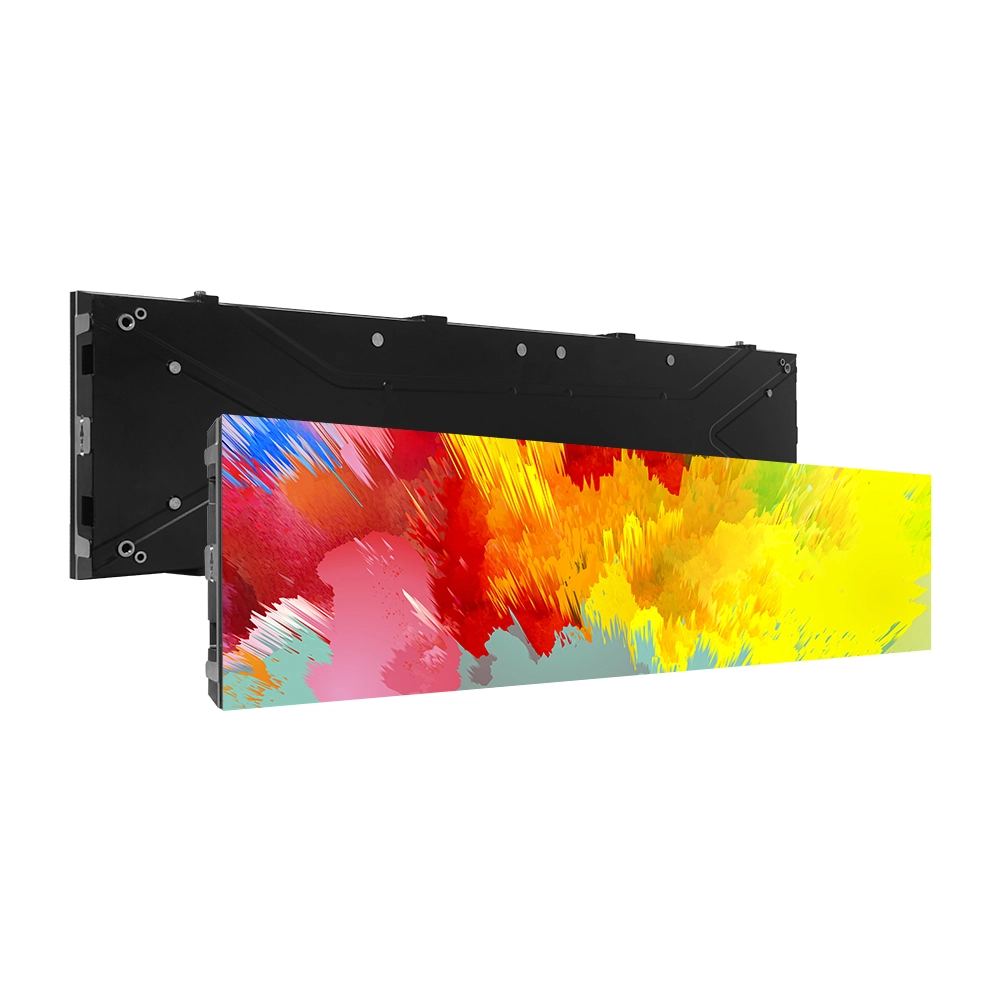
The C-MAX-COB cabinet has a 640 × 480 mm face (4:3). When replacing an LCD wall, check the completed LED wall’s active area, native resolution, mounting and service access against the existing opening. Other C-Max formats, including retail ribbons, use different cabinet sizes. Check measured system power at the planned brightness and content settings.
Step 3: Install the Support Framework
Build and check the support framework against the approved load and fixing drawings for the mounting substrate and the manufacturer’s installation instructions. Check alignment before fitting the cabinets. Service direction alone does not determine structural loads.
Step 4: Mount the LED Cabinets
Follow the mounting sequence and lifting procedure specified for the selected cabinet system, checking seam alignment as you go. Confirm the thermal design and noise level of the chosen model from its datasheet — relevant criteria for conference rooms and public buildings.
Agree spare-module quantities and delivery terms. Assign responsibility for equipment collection, reuse or recycling under the arrangements applicable to the equipment and destination country.
Step 5: Calibrate, Test, and Commission
Calibrate brightness and colour using the selected system’s procedure and check grayscale at the intended operating settings. Record test content, brightness settings and measured system input power under those conditions. Include controller configuration backups, spare-part identification and the agreed maintenance plan in the handover. Plan periodic recalibration to maintain image uniformity.
Start Your Project with Confidence
Follow survey → plan → framework → cabinets → calibration. Use the survey, layout, quoted product data, support drawings and commissioning records to guide the handover. Agree energy and sustainability targets with the supplier so that the selected configuration and operating settings can be assessed against them.
Contact the Chipshow Europe team for a tailored recommendation — whether you need the budget-friendly C-Max-Eco, versatile C-Max SMD, premium C-Max COB, or creative C-Max-C ribbon displays.
Ready to scope your display? The LED screen selector walks through viewing distance, format and layout in one pass.